As an expert in model railroading, I’m excited to share with you the top 7 accessories that every novice enthusiast should consider for their hobby in 2024. These accessories will enhance your model railroading experience, improve the realism of your layouts, and make your hobby more enjoyable overall. Let’s dive into the must-have items for the coming year!
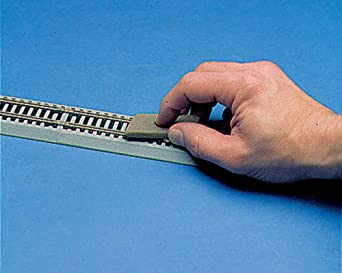
- Digital Command Control (DCC) System
In 2024, Digital Command Control (DCC) systems continue to be at the forefront of model railroading technology. A DCC system allows you to control multiple trains independently on the same track, offering a more realistic and engaging experience. For novices, I recommend starting with a user-friendly DCC starter set, which typically includes:
- A DCC command station
- A power supply
- At least one handheld throttle

Look for systems from reputable brands like Digitrax, NCE, or ESU. These starter sets are expandable, allowing you to add more features as your skills and layout grow. With DCC, you’ll be able to control train speed, direction, lighting, and even sound effects with precision.
- LED Lighting Kit
Proper lighting can transform your model railroad layout from good to great. In 2024, LED lighting kits are more affordable and versatile than ever. A good LED lighting kit for your layout should include:
- Flexible LED strip lights
- A power supply
- Connectors and mounting hardware

Look for kits that offer different color temperatures, allowing you to simulate various times of day or different lighting conditions. Some advanced kits even offer programmable RGB LEDs, enabling you to create dynamic lighting effects. Woodland Scenics.
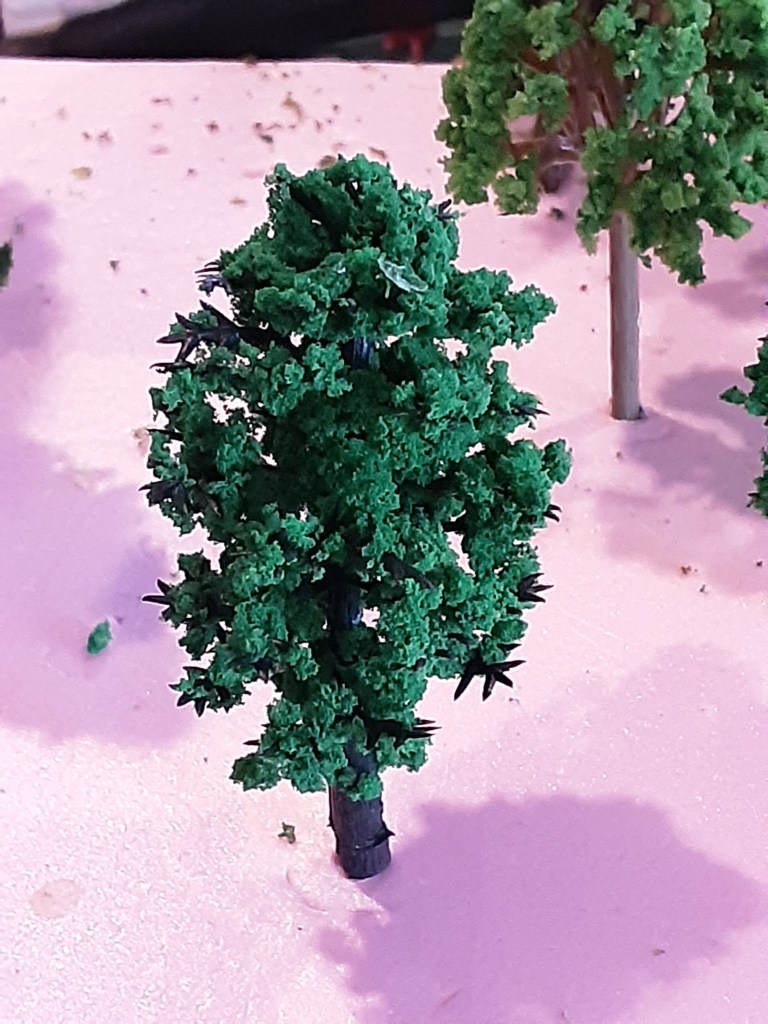
- Weathering Powders and Tools
Weathering is the process of making your models look more realistic by simulating the effects of age, use, and environmental exposure. In 2024, weathering powders and tools are essential accessories for creating authentic-looking models. A basic weathering kit should include:
- A set of weathering powders in various earth tones
- Fine brushes for application
- A sealing spray to fix the weathering in place

Brands like AK Interactive and Vallejo offer excellent weathering products. As you gain experience, you can expand your weathering toolkit to include specialized powders, washes, and pigments for different effects.
- Static Grass Applicator
Static grass has revolutionized the way model railroaders create realistic ground cover. A static grass applicator uses an electric charge to make grass fibers stand upright, creating a lifelike appearance. In 2024, these tools have become more affordable and user-friendly. Look for a static grass applicator that includes:

- The applicator unit
- A power supply (some are battery-operated for portability)
- A selection of different grass lengths and colors
Brands like Woodland Scenics and Noch offer reliable static grass applicators. This tool will dramatically improve the realism of your layout’s landscape.
- Airbrush and Compressor Set
While not strictly necessary for beginners, an airbrush can significantly enhance your ability to paint and weather models. In 2024, entry-level airbrush and compressor sets are more affordable and easier to use than ever. A good starter set should include:
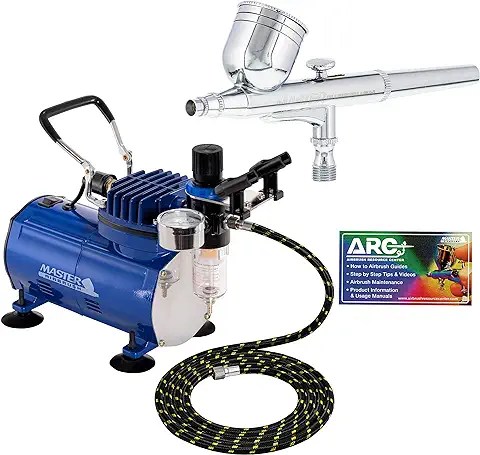
- A dual-action airbrush
- A small, quiet compressor
- Basic cleaning and maintenance tools
Brands like Iwata and Badger offer excellent beginner-friendly airbrush sets. With an airbrush, you’ll be able to achieve smooth, professional-looking paint jobs on your locomotives, rolling stock, and structures.
- Digital Multimeter
A digital multimeter is an invaluable tool for troubleshooting electrical issues on your layout. In 2024, even basic multimeters offer features that can help you diagnose and fix common problems. Look for a multimeter that includes:

- Voltage measurement (AC and DC)
- Resistance measurement
- Continuity testing
Brands like Fluke and Klein Tools offer reliable, user-friendly multimeters. This tool will help you identify short circuits, test track power, and ensure your wiring is correct.
- 3D Printer
While this might seem like an advanced accessory, 3D printers have become increasingly affordable and user-friendly in recent years. In 2024, a basic 3D printer can be a game-changer for model railroaders. With a 3D printer, you can:
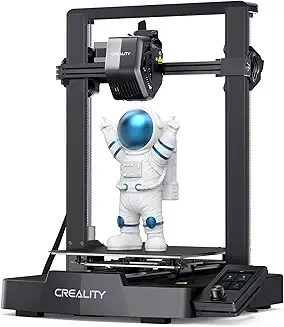
- Create custom parts and details for your models
- Print entire structures or scenic elements
- Prototype your own designs
Look for an entry-level 3D printer with a build volume of at least 200mm x 200mm x 200mm. Brands like Creality and Prusa offer excellent printers for beginners. While there is a learning curve, the ability to create custom parts can take your modeling to the next level.
Tips for Choosing and Using These Accessories:
- Research and read reviews before purchasing any of these accessories. Look for products that are well-regarded in the model railroading community.
- Start with the basics and gradually expand your toolkit as your skills and interests grow.
- Join online forums or local model railroad clubs to learn from experienced modelers about how to use these accessories effectively.
- Always prioritize safety, especially when working with electrical components or tools like airbrushes.
- Keep your accessories organized and well-maintained to ensure they last for years to come.
- Don’t be afraid to experiment and try new techniques with your accessories. Model railroading is as much about the journey as it is about the final product.
- Consider the scale of your layout when choosing accessories, as some tools may be better suited for certain scales.
Conclusion:
As we look ahead to 2024, these seven accessories represent some of the most valuable additions to any novice model railroader’s toolkit. From enhancing the control and operation of your trains with DCC to creating stunningly realistic scenery with static grass and 3D-printed details, these tools will help you take your hobby to the next level.
Remember, model railroading is a journey of continuous learning and improvement. Don’t feel pressured to acquire all of these accessories at once. Start with the ones that align best with your current interests and goals, and gradually expand your collection as you grow in the hobby.
With these accessories at your disposal, you’ll be well-equipped to create a model railroad that not only looks great but also provides countless hours of enjoyment and satisfaction. Happy modeling!
Citations:
[1] https://www.trains.com/mrr/how-to/model-train-layouts/a-beginners-ho-scale-layout-from-one-sheet-of-plywood/
[2] https://www.youtube.com/watch?v=rbPZkp8gaY0
[3] https://www.youtube.com/watch?v=oJL8DZO5mks
[4] https://www.nmra.org/beginners-guide-part-2-layout-planning
[5] https://kalmbachhobbystore.com/product/book/12466