Part 3 Trees
In part 3 we will finally talk about trees.
I part 1 we talked about preparing the contour of the land. We got an idea for the hills and valleys, used crumpled paper for hills and covered it all with plaster cloth. Lightly sprayed to cover the white cloth, then covered it with fine turf (earth). To read part 1 go here
I part 2 we went to the green stuff, grass, (fine turf grass), then some course turf and blended turf for that weedy look. And finally clump turf for the small shrubs and bigger weeds. To read part 2 go here.
Now in part 3 we will finish the six steps with some small trees.

The white area next to the roadbed is plaster cloth that needs to be covered.

In this photo I have applied ballast, only from the rail to the grass. This area is in fron of the passenger station and I will apply ballast, brick or concrete at a later time.
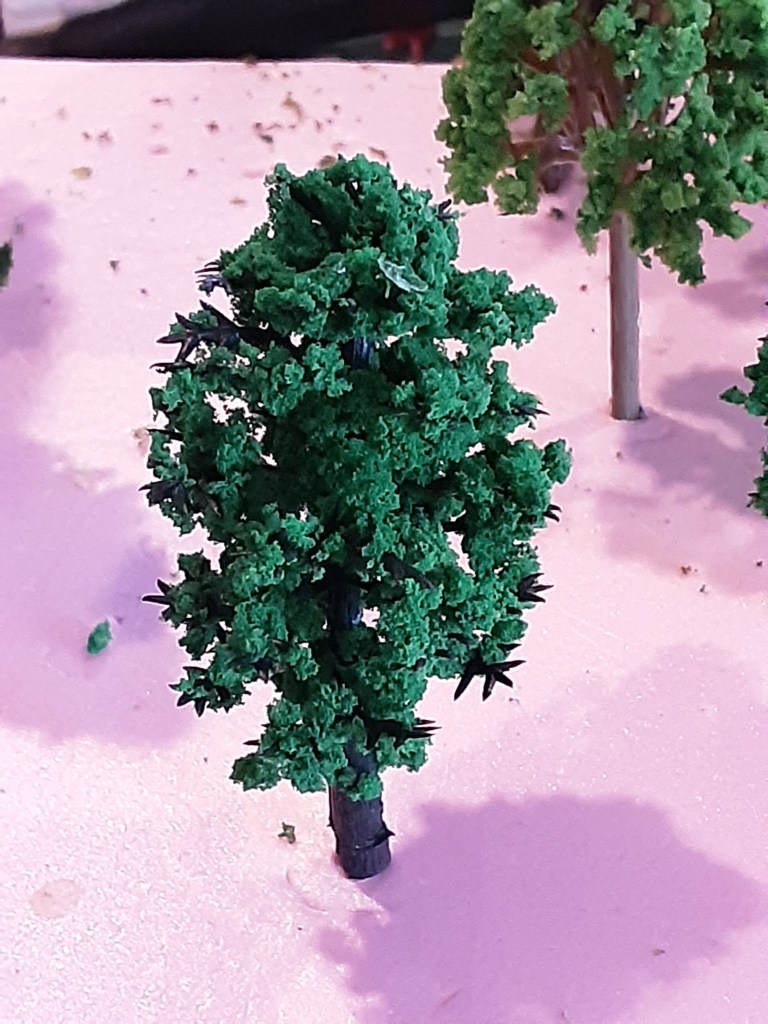
In the photo to the right the tree now looks fuller, you can’t see thru it.
I repeated this process with all the trees to be placed in this area.
In this photo you can see that some of the trees are thin and you can see thru.
to fix this I sprayed the leafy area with Elmers adhesive spray. The sprinkled fine turf over the area just sprayed. Then resprayed and sprinkled a second time to fill out the tree.


Now place a couple of drops of white glue, I use Elmers. On top of the hole, this will hold the tree in place and the snug hole will keep it near straight.
Now the trees will be planted (placed) on the layout. This is random. Take a look at the scene and place the trees where you think they will fit best.
Use an auger or something similar that will create a hole about the size of the tree trunk. You want it to be snug.


You have just planted a tree on your Layout in this scene. The first of many. Repeat this for as many or as few as you feel necessary to complete the scene.


Trees can be used for many purposes one I will discuss in a future article will be to use them to separate scenes. Also I will discuss the various types and brands of trees available.
I hope that you found my six steps of scenery informative, they are quick and easy to complete. At the same time go a long way in bringing your model railroad to life. As you can see from some of the photos I use figures and vehicles and other items that also help bring a layout to life. We will discuss as many as you like in the future.
Thank you for reading. Till the next time.
Other Articles on Model Railroading
The History Of Model Railroading
Model Train Scales
5 Top Model Train Accessories
Discover Model Trains
Deciding a Track Plan Before Building Your Model Railroad Layout
How to Add Excitement to Model Railroad Scenery on Your Model Train Layout
Inexpensive Ways to Make Trees and Ground Cover For Your Model Railroad Layout
A Train Set For Christmas
Scenery Six Steps – Part 1
Scenery Six Steps – Part 2
Scenery Six Steps – Part 3

