Part 2
There are many methods and articles for scenery. I have read many articles, attended a few seminars (classes) and and discussed these methods at our club meetings. We have come up with our own methods for scenery. The six steps that work best for us. These steps are not hard and fast rules, merely a suggestion that will help you get to the point where you are not looking at a train running on plywood.
In part 1 I demonstrated how I use the plaster cloth over the styrofoam or the crumpled paper to create a contour on the land. Then I used the fine turf after lightly painting the surface to simulate the earth. At this point I am ready to start with the addition of the grass. Return to read Part 1.

Since the area has been idle for several days to allow it to dry I sprayed spray adhesive on the area to be covered with grass.
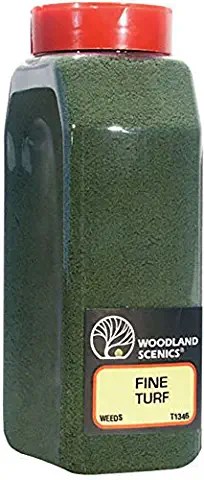
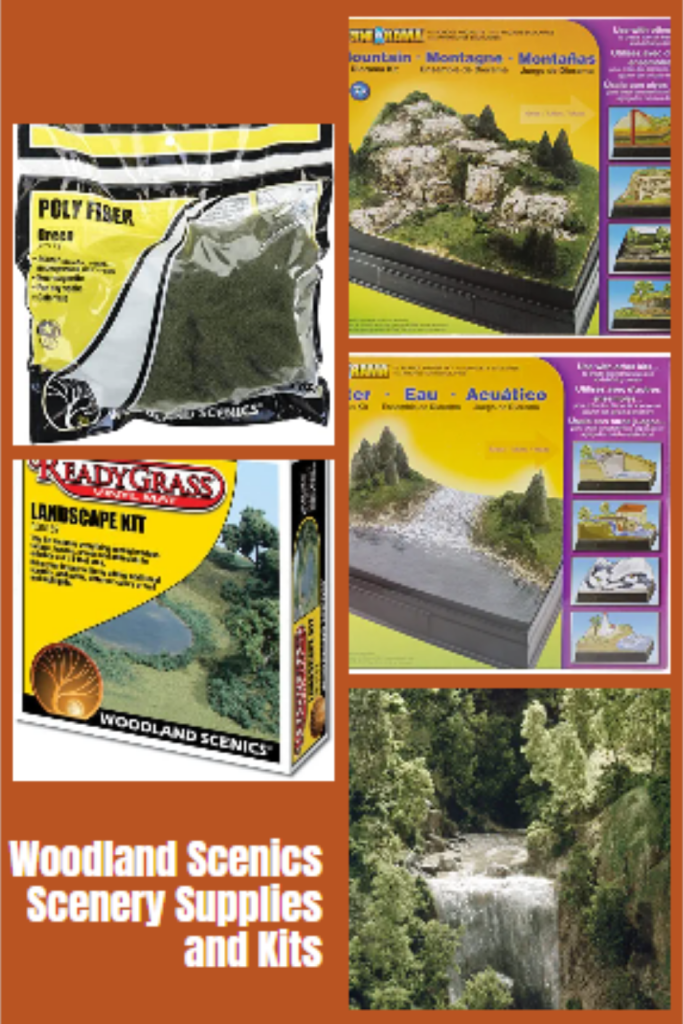
Step 3 is fine green Grass, Woodland Scenics and Scenic Express make several shades of green and burnt grass. Again sprinkle lightly covering all or most of the area. Again if this appears too thick is some area you can work a brush to lightly smooth or let it go.
.
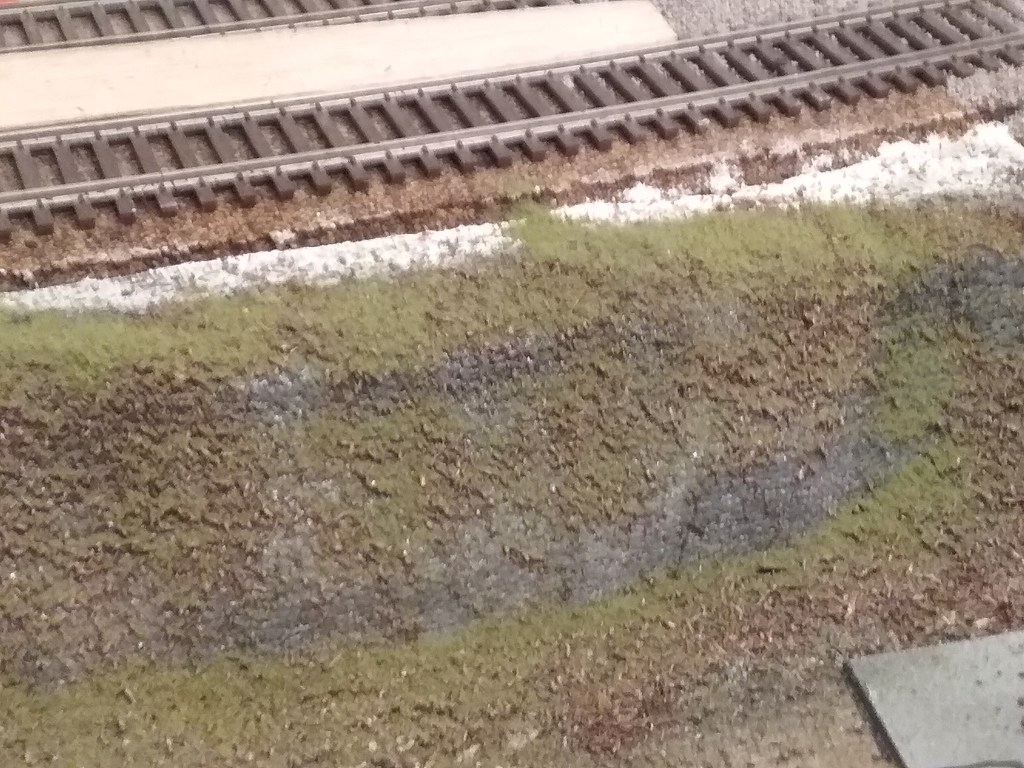
In the photo above you will see more grass on the top and bottom (flat surfaces). Grass isn’t very thick on the slope we’ll fix this shortly. The white areas will be covered with ballast as will the cork roadbed. I’ll cover track and ballast in a later post. I have used several methods and I will demonstrate what I do. I believe in easy.
Step 4 is coarse foam. Again this product is available from both companies. Sprinkle SPARRINGLY. LIGHTLY.

At this point I want to introduce wet water. I prefer water with several drops of dish soap (Dawn or something similar). This is applied with an eye dropper or a spray bottle. This is applied to the area prior to applying a 50/50 mix of water and white glue (Elmers). The wet water helps the glue saturate the the material and hold it to the painted base. You can see this work by first placing a drop of the 50/50 mix on you grass, it will sit there. Put a drop of wet water on the glue and it will penetrate the material.

Cover the area you just completed with wet water followed by the 50/50 glue mix and let it dry.
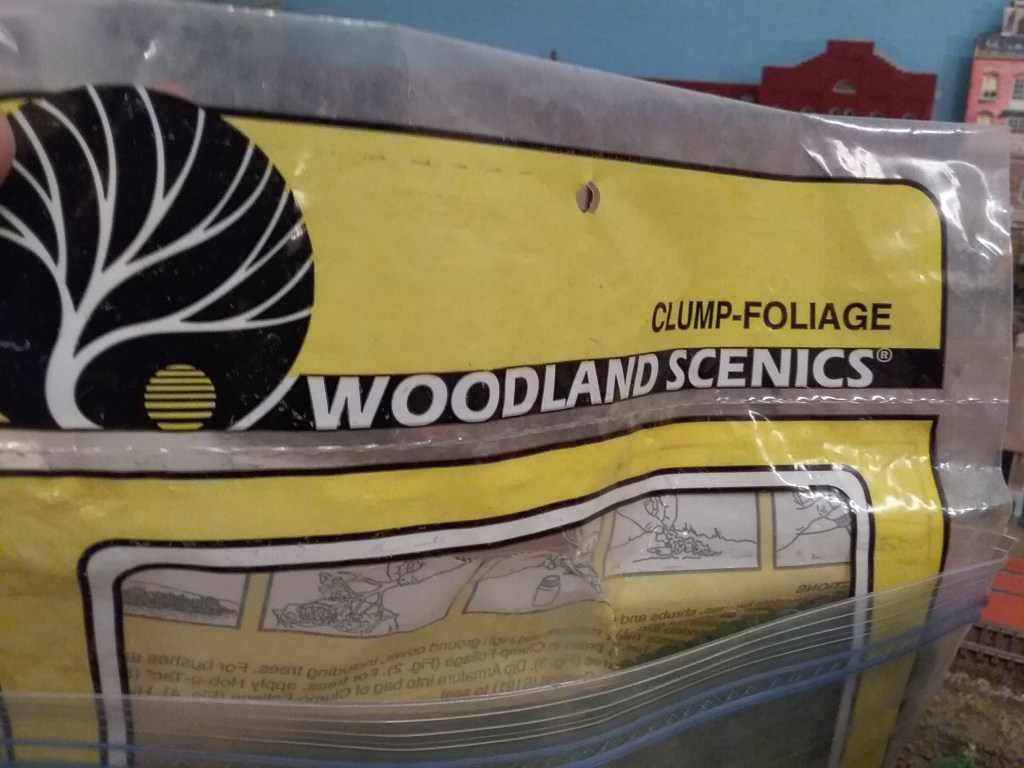
Step 5 Clump foliage. This clump foliage can be placed or not, it resembled small shrubs. If you do use it, place a small circle of white glue where it will be placed and place the clump there. The glue should be about the same size as the clump and dries clear. Again this step is a personal touch, use it or not.

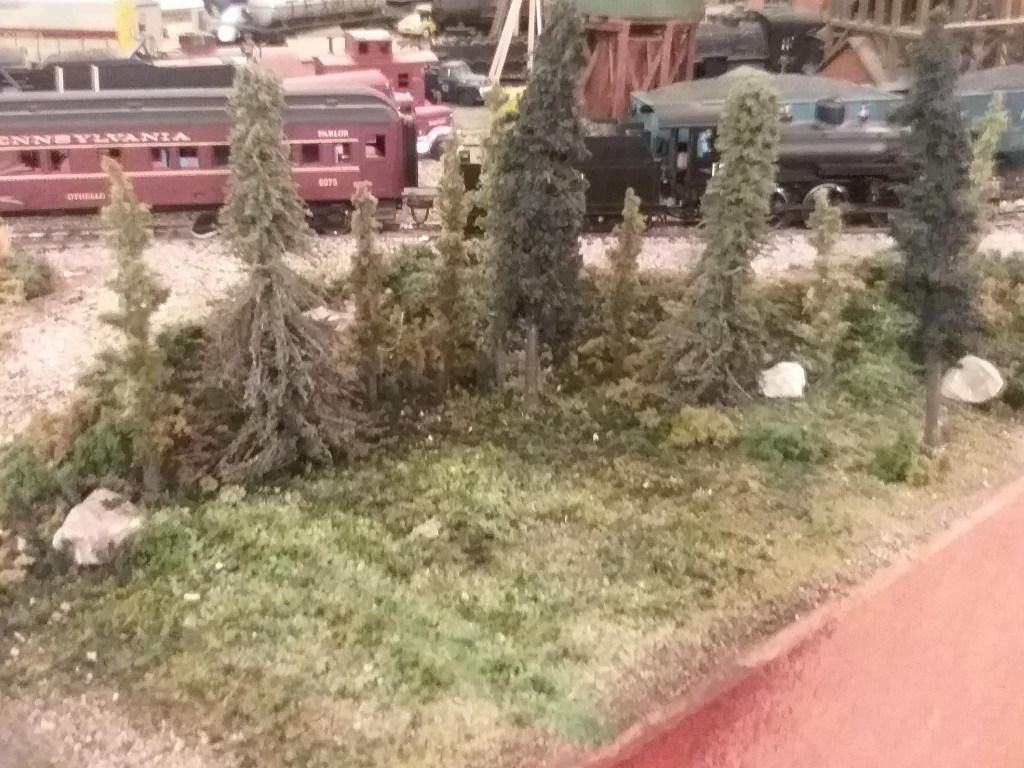
Step 6 Trees to be covered in a future article (Part 3 )
Till the next post on trees.
.
Scenery Supplies and Kits
