Here’s a guide on the best wines to pair with popular football snacks, using insights from various sources.
Football season is synonymous with delicious snacks, and while beer has traditionally been the beverage of choice, wine can elevate your game day experience. Here’s how to pair some classic football snacks with the perfect wines.
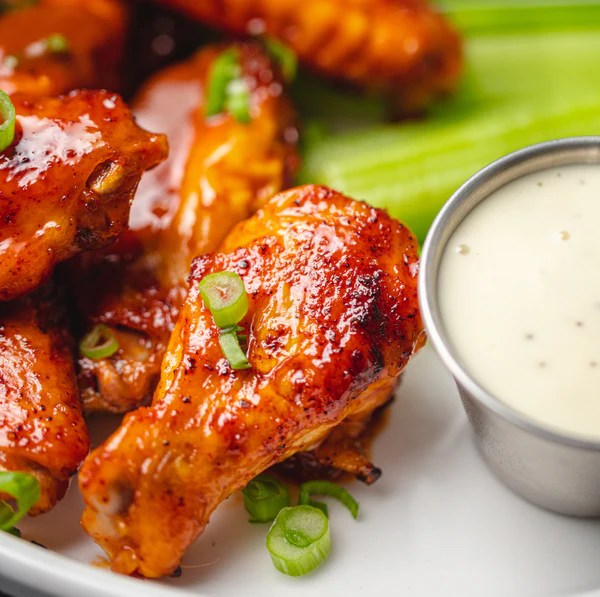
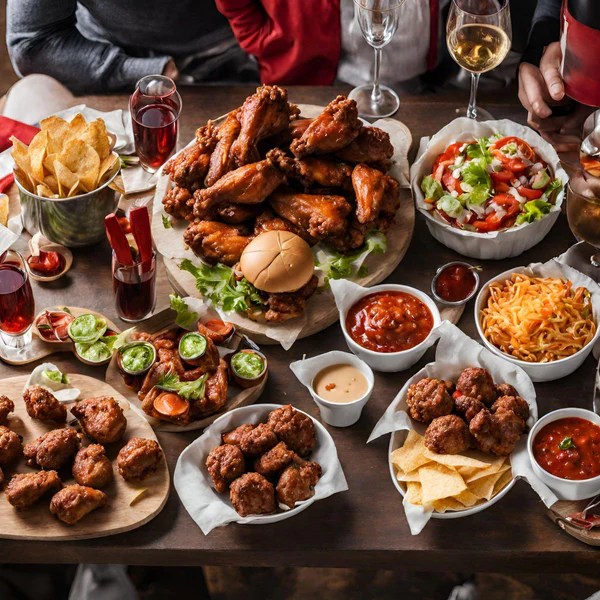
1. Buffalo Wings
Best Wine Pairings:

- Riesling: A light and slightly sweet Riesling can balance the heat of buffalo wings. Its fruity notes and acidity refresh the palate, making it a great match for spicy flavors. A recommended choice is the 2019 Von Hövel Saar Riesling Kabinett, which offers aromas of pink grapefruit and a lime zest finish[2].
- Zinfandel: This bold red wine features jammy fruit flavors that complement the tangy sauce of buffalo wings. Its peppery notes enhance the overall experience[4].
- Prosecco: The effervescence of Prosecco cleanses the palate between bites, making it an excellent choice for classic buffalo wings. Look for options like Bisol Prosecco DOC “Jeio”[3].
2. Nachos
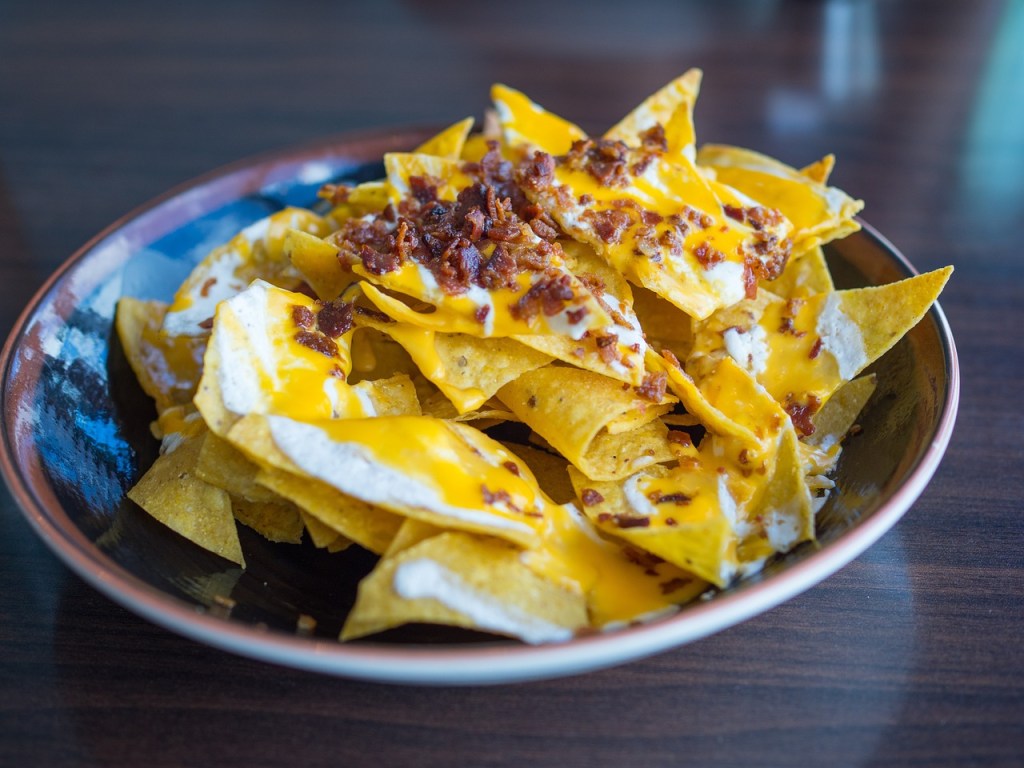
Best Wine Pairings:
- Beaujolais: A light and fruity Beaujolais is perfect for nachos loaded with cheese, jalapeños, and guacamole. Its acidity cuts through the richness of the cheese while enhancing the flavors of the toppings[3].
- Sauvignon Blanc: This white wine’s zesty acidity complements the flavors of nachos, especially when paired with salsa or guacamole.
3. Pizza
Best Wine Pairings:
- Rosso di Montalcino: This Sangiovese-based wine pairs beautifully with pizza, enhancing its tomato sauce and cheese flavors. A good choice would be Lisini Rosso di Montalcino from the 2016 vintage[3].
- Chianti: Another Sangiovese option, Chianti’s bright acidity and cherry notes work well with various pizza toppings.
4. Cheese Balls

Best Wine Pairings:
- Pinot Noir: A California Pinot Noir complements the creamy texture of cheese balls perfectly. Its light body and fruit-forward profile enhance cheesy appetizers without overpowering them[2].
- Pinot Blanc: For those preferring white wine, Pinot Blanc offers a crisp alternative that pairs well with cheese-based snacks.
5. Spinach Artichoke Dip
Best Wine Pairings:
- Aligoté: This lesser-known white wine has floral notes and a refreshing acidity that pairs wonderfully with spinach artichoke dip. The 2019 Buisson-Charles Aligoté Sous le Chemin is a great option[2].
- Chardonnay: A buttery Chardonnay can also complement this rich dip, providing a nice contrast to its creaminess.
6. Pigs in a Blanket
Best Wine Pairings:
- Red Blend: A bold red blend can stand up to the savory flavors of pigs in a blanket. Look for one that offers earthy and fruity notes to enhance this classic snack[2].
- Zinfandel or Merlot: Both wines have enough body to complement this dish while adding a layer of complexity.
7. Sliders
Best Wine Pairings:
- Malbec or Syrah: These full-bodied reds pair excellently with sliders, especially beef or BBQ varieties. Their rich fruit flavors and tannins complement grilled meats well[1].
- Chardonnay: For chicken or turkey sliders, a medium-bodied Chardonnay can provide a nice balance.
Tips for Successful Pairing
- Consider Spice Levels: When choosing wines for spicy snacks like buffalo wings or jalapeño poppers, opt for wines with higher acidity or slight sweetness to balance out the heat.
- Serve at Proper Temperatures: Whites should be chilled (45-50°F), while reds are best served slightly cooler than room temperature (60-65°F).
- Experiment and Enjoy: Encourage guests to try different pairings and share their favorites; this adds an interactive element to your gathering.
Conclusion
Pairing wine with football snacks is an excellent way to enhance your game day experience. From spicy buffalo wings to cheesy nachos, there’s a perfect wine for every snack. By considering flavor profiles and personal preferences, you can create an enjoyable atmosphere that elevates your football viewing party beyond traditional beer offerings. So grab your favorite wines, prepare those snacks, and enjoy the game!
Citations:
[1] https://drinkboxt.com/blogs/unboxt-blog/your-ultimate-football-and-wine-pairing-guide
[2] https://www.coravin.com/blogs/community/super-bowl-snack-wine-pairings
[3] https://flatiron-wines.com/blogs/the-latest/kickass-2020-super-bowl-pairings-1
[4] https://cambridgewinesnj.com/blogs/news/the-perfect-match-football-and-wine-pairings-for-buffalo-wings
[5] https://www.wine4food.com/food/wine-chicken-wings/
[6] https://www.brightcellars.com/blogs/learn/wine-wings-a-pairing-guide
[7] https://www.thewinecellargroup.com/scoring-a-touchdown-with-your-wine-and-football-pairings/
[8] https://www.1winedude.com/wine-for-football-tailgaiting/