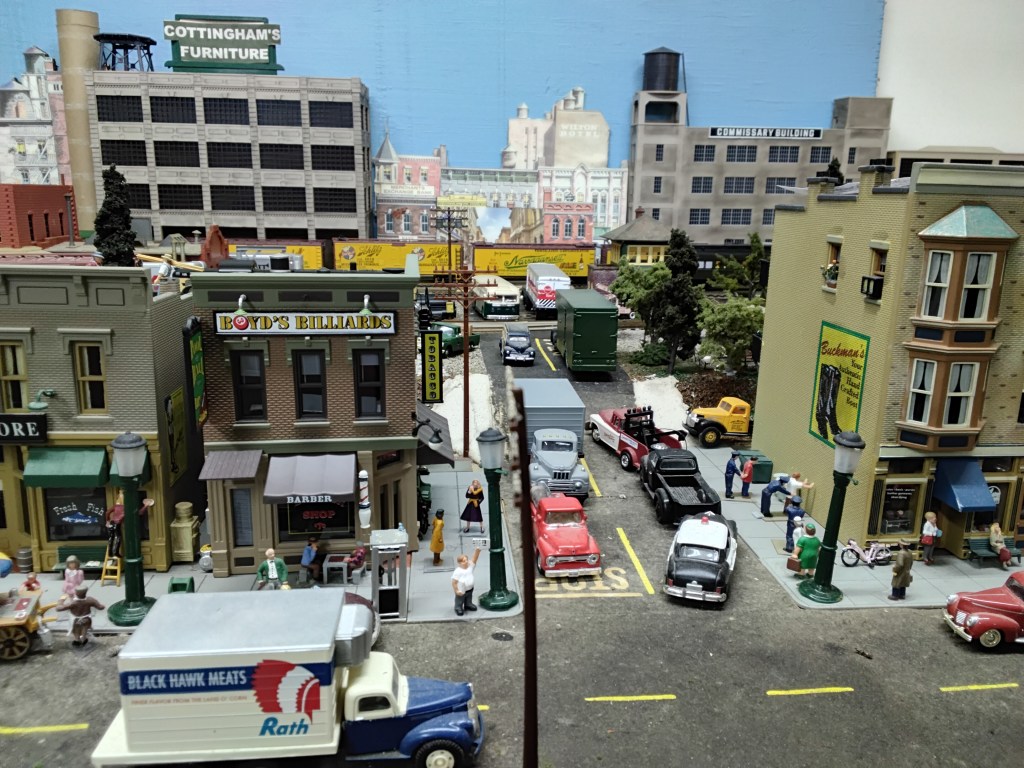
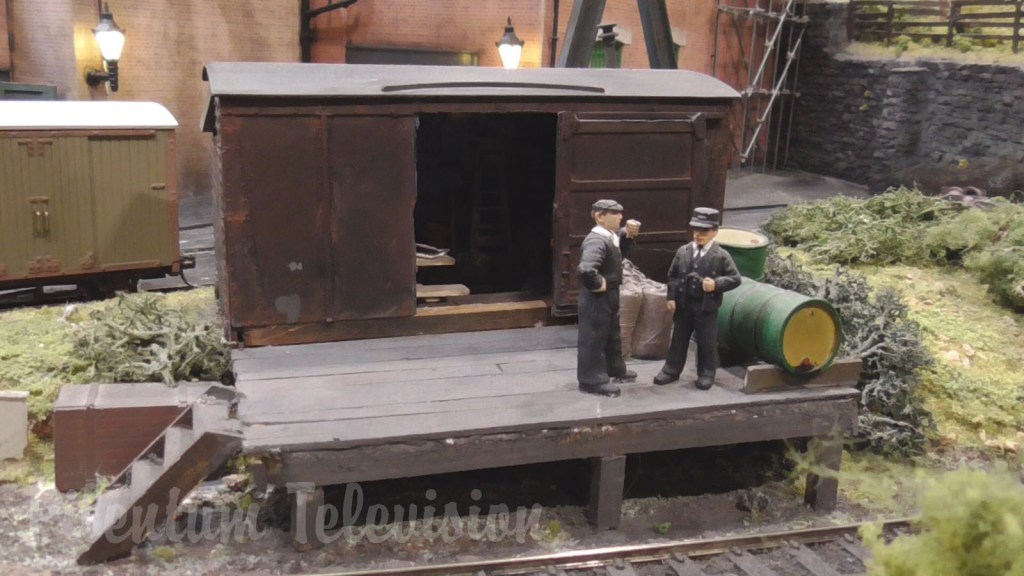
Now that your miniature town is officially bustling with its new HO scale citizens, they’re going to need a safe, realistic way to get around! Welcome back to our model railroad series. This month, we are stepping away from the tracks and hitting the pavement.
Designing realistic roads, sidewalks, and crosswalks is one of the most rewarding steps in layout building. It bridges the gap between your commercial and residential districts, transforming scattered buildings into a cohesive, living community. Best of all, it’s a fantastic, hands-on weekend project the whole family can join in on.
Grab your masking tape, craft paint, and imagination—your miniature drivers and pedestrians are counting on you!
The Blueprint: Planning Your Town’s Traffic Flow
Before opening up your modeling asphalt, you need a plan. Just like real-world civil engineers, model railroaders must consider traffic flow, era accuracy, and scale spacing.
1. Match Your Era
The look of your streets depends heavily on the time period your railroad represents:
- The Steam Era (1900s–1940s): Brick, cobblestone, or heavily patched early asphalt. Dirt roads are common in rural areas.
- The Transition & Classic Diesel Era (1950s–1970s): Weathered asphalt with concrete curbs, simpler lane markings, and classic billboards.
- The Modern Era (1980s–Present): Bright, crisp yellow and white lane markings, designated turn lanes, smooth asphalt, and modern ADA-accessible sidewalk ramps.
2. Get the Scale Dimensions Right
In HO scale (1/87), standard dimensions translate beautifully into manageable real-world measurements:
- Two-Lane Street: About 2.5 – 3.5 inches wide.
- Standard Sidewalk: About 3/4 – 1 inch wide.
- Parking Lanes: Add an extra 1 inch if you want your miniature citizens to parallel park outside the local diner.
Family-Friendly Modeling Tip: Trace your roads onto cardboard or construction paper first. Lay them out on your layout to see how your miniature cars and trucks fit before committing to any permanent materials.
Step 1: Laying Down Smooth Paved Streets
There are several ways to build model roads, but for families, we love using smooth-surface craft foam, sheet styrene, or lightweight spackling paste. Today, we’ll focus on the spackling and paint method, as it creates a beautifully organic, slightly weathered texture that looks exactly like real asphalt.
Materials & Tools Needed:
- Painter’s Tape: ScotchBlue Original Multi-Surface Painter’s Tape
- Spackling Paste: DAP DryDex Spackling Paste (Goes on Pink, Dries White)
- Putty Knife: Bates Choice 2-Inch Flexible Putty Knife
- Sandpaper: 3M Wetordry Fine-Grit Sandpaper Assortment Pack
- Craft Paints: Apple Barrel Acrylic Paint Set (Assorted Matte Colors)
The Method:
- Tape the Boundaries: Use your ScotchBlue Painter’s Tape to outline the edges of your road. This keeps your layout clean and defines your straightaways and curves.
- Apply the Spackle: Spread a thin layer of DAP DryDex Spackling Paste between the tape lines using your Bates Putty Knife. Aim for a thickness of about $1/16$ of an inch. Don’t worry if it isn’t perfectly flat; real roads have slight crowns and dips for water drainage.
- Smooth and Dry: Let the spackle dry completely (it will turn from pink to white). Once dry, let the kids gently sand the surface smooth using 3M Fine-Grit Sandpaper. Vacuum up the dust.
- Paint the Asphalt: Real asphalt is rarely pitch black unless it was poured yesterday. Mix medium gray, dark gray, and a tiny drop of brown or black acrylic paint from your Apple Barrel Paint Set to achieve a realistic, sun-weathered asphalt color. Paint the surface and let it dry before peeling away the tape.
Step 2: Crafting Realistic Concrete Sidewalks
Sidewalks lift your town off the ground board and give your commercial storefronts depth. The easiest, most precise method for crafting HO scale sidewalks is using 0.040-inch thick sheet styrene or heavy chipboard (cereal box cardboard).
Materials & Tools Needed:
- Plastic Sheets: Evergreen Scale Models Plain .040″ Sheet Styrene
- Precision Cutting: Excel Blades K1 Light Duty Hobby Knife with Blades
- Measuring Tool: Westcott 12-Inch Stainless Steel Office Ruler
The Method:
- Cut the Strips: Cut your Evergreen Sheet Styrene into strips measuring $0.75$ to $1$ inch wide using your Excel Hobby Knife and Westcott Steel Ruler. (Adult supervision required!)
- Scribe the Expansion Joints: Real concrete sidewalks are poured in blocks. Use your ruler and the back of a hobby knife blade to gently score lines across the width of the sidewalk every $1$ inch. These are your expansion joints.
- Paint the Concrete: Avoid pure gray paint, which can look cold and unnatural. Mix light gray with a touch of tan or off-white to replicate aged, sun-bleached concrete.
- Weathering the Cracks: To make the expansion joints pop, run a very sharp No. 2 pencil lightly through the scored lines. You can even draw a tiny, zigzagging “crack” in a few blocks for added realism!
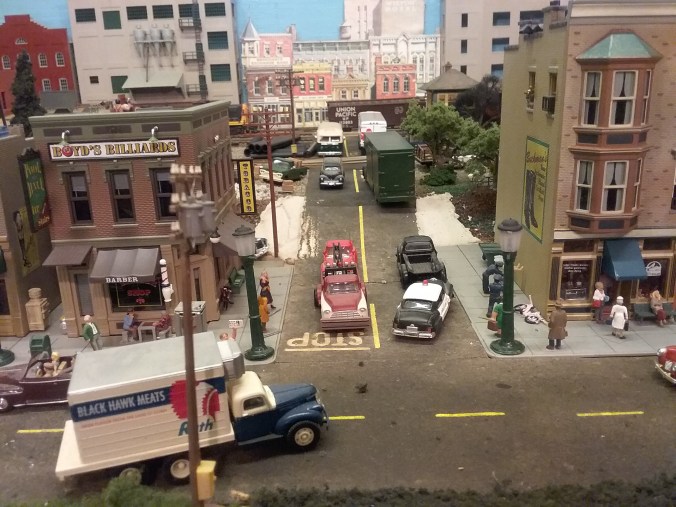
Step 3: Safety First! Adding Crosswalks and Lane Markings
Now that your roads and sidewalks are installed, it’s time to bring order to the chaos. Streets look bare without lines, and your miniature pedestrians need a safe place to cross.
How to Paint Perfect Lines:
- The Paint Pen Method: For a highly controlled, kid-friendly approach, bypass messy tiny brushes and buy a pack of Flymax White and Yellow Fine-Tip Acrylic Paint Pens. Use your Westcott Steel Ruler to guide the paint pen straight down the center of the road.
Creating the Crosswalks:
Place crosswalks at your town’s main intersections, leading directly from one sidewalk corner to another. For a classic 1950s layout, two parallel white lines work best. For a modern layout, paint the bold, vertical “zebra stripes” (the Continental style) to give your downtown a bustling, safety-conscious feel.
The Finishing Touches: Weathering and Street Details
To truly tie your commercial and residential districts together, you need details. This is where the magic happens, and it’s the perfect step for family collaboration.
1. Oil Stains and Tire Tracks
Real cars leave a history behind them. Dip a stiff-bristled brush into highly diluted black paint (a “wash”). Dab most of it off onto a paper towel, then lightly drag it down the center of your traffic lanes to simulate years of oil drips and tire wear.
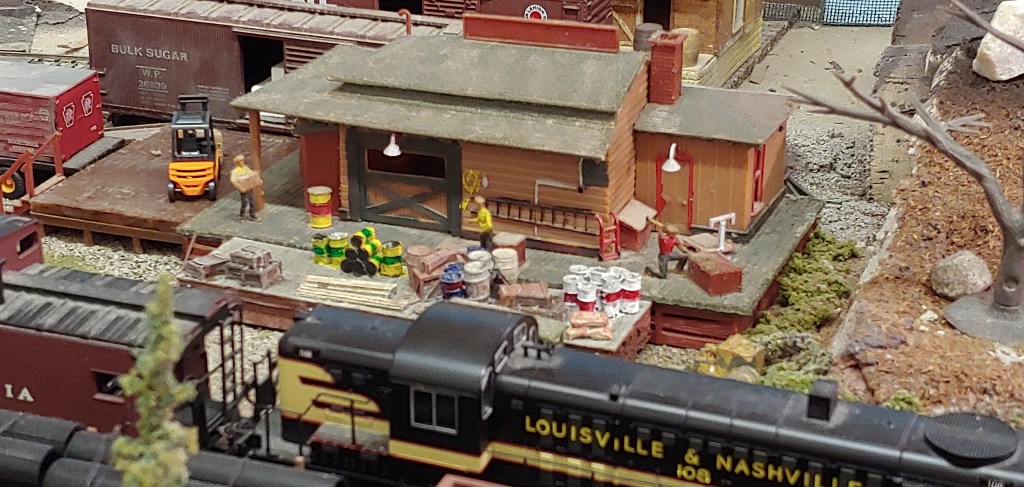
2. Street Furniture & Scenery
Populate your sidewalks with authentic details that tell a story:
- Scene Enhancements: Woodland Scenics HO Scale Scenic Accents Street Items (Includes fire hydrants, trash cans, and park benches).
- Lighting: Evemodel HO Scale 3V Streetlights and Lamps (Position them evenly along the sidewalks to illuminate your town for night running).
3. Populating the Scene
Place your HO scale vehicles into the lanes. Turn some front wheels slightly on parked cars to make them look like they just pulled in. Position your pedestrians chatting on the sidewalk corners, pushing strollers, or waiting patiently at your newly painted crosswalks.
Summary Table: Quick Reference Guide
| Feature | HO Scale Dimension | Recommended Material | Best Color Palette |
| Two-Lane Road | 2.5 to 3 inches wide | DAP DryDex Spackling | Medium/Dark Gray, touch of Umber |
| Sidewalk | 0.75 to 1 inch wide | Evergreen Sheet Styrene | Light Gray, Tan, Off-White |
| Lane Markings | Approx. 1/32 inch wide | Flymax Acrylic Paint Pens | School-Bus Yellow, Bright White |
Join Us Next Month!
Your town is now fully connected! The local grocery store is accessible, the kids can walk safely to the park, and your HO scale drivers finally have smooth streets to cruise on.
Join us next month for our next installment, “Greenery and Groves: Master the Art of Easy Miniature Trees and Ground Cover.” We will break down how to turn your bare plaster hillsides into lush, vibrant forests, manicured suburban lawns, and overgrown trackside brush using simple, budget-friendly materials.
Until then, happy modeling, and keep those trains rolling!
Disclaimer: This article contains affiliate links. If you click on one of these product links and make a purchase, we may receive a small commission at no extra cost to you. Thank you for supporting our model railroading series!