As the holiday season approaches, finding the perfect gift for the budding astronomer in your family can be a delightful yet challenging task. Whether you’re shopping for a curious child or an adult hobbyist, binoculars and telescopes make excellent gifts that can ignite a passion for stargazing and exploration of the night sky. This guide will help you choose the right equipment, ensuring your loved ones have the best tools to embark on their astronomical adventures.
Why Choose Binoculars or Telescopes?
Binoculars and telescopes offer unique ways to explore the cosmos. Binoculars are portable, easy to use, and provide a wide field of view, making them ideal for beginners and casual stargazers. Telescopes, on the other hand, offer higher magnification and more detailed views of celestial objects, perfect for those ready to dive deeper into astronomy.
Binoculars: A Gateway to the Stars
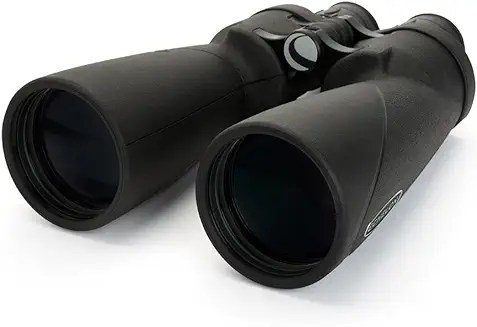
Celestron SkyMaster Pro 20×80
For those seeking powerful magnification and large objective lenses, the Celestron SkyMaster Pro 20×80 binoculars are an excellent choice. These binoculars provide bright, clear images of stars and galaxies, making them perfect for serious stargazers[1].

Nikon 10×50 Aculon A211
Ideal for entry-level astronomy enthusiasts, these binoculars offer 10x magnification and 50mm objective lenses. They are lightweight and easy to handle, providing a great balance between performance and portability[6].

Celestron Echelon 20×70
Designed specifically for astronomy, these binoculars feature powerful magnification and are also suitable for long-range terrestrial viewing. They are robustly built to withstand various environmental conditions[4].
Look here for the perfect Binocular Gift
Telescopes: Delving Deeper into Space
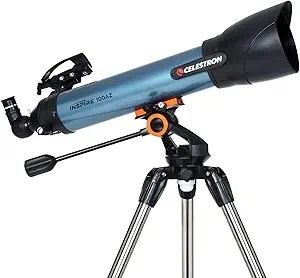
Celestron Inspire 100AZ Refractor Telescope
Perfect for beginners and families, this telescope is easy to set up and use. It features an innovative design with integrated smartphone adapters for capturing images of celestial objects. The Inspire 100AZ provides clear views of the Moon, planets, and bright deep-sky objects.
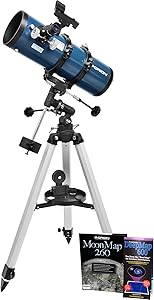
Orion StarBlast II 4.5 Equatorial Reflector Telescope
This telescope is an excellent choice for those who want to learn how to manually track celestial objects using an equatorial mount. Its compact design makes it portable, while its optics provide crisp views of planets and star clusters.
Sky-Watcher Dobsonian Telescope (8-inch)
For hobbyists ready to take their stargazing to the next level, this Dobsonian telescope offers large aperture optics at an affordable price. It delivers stunning views of deep-sky objects like nebulae and galaxies.

Choosing the right Christmas Gift
Choosing the Right Equipment
When selecting binoculars or telescopes as gifts, consider the recipient’s age, experience level, and interests. Here are some tips to guide your decision:
- Age Appropriateness: For young children or beginners, start with binoculars or simple telescopes that are easy to use. Avoid overly complex models that might discourage them.
- Portability: Consider how portable the equipment needs to be. Binoculars are generally more portable than telescopes, but some compact telescopes can also be easily transported.
- Ease of Use: Look for equipment with straightforward setup processes. Telescopes with alt-azimuth mounts are generally easier for beginners compared to equatorial mounts.
- Budget: Set a budget that fits your needs. There are quality options available at various price points.
- Features: Consider additional features like smartphone adapters for astrophotography or computerized mounts for automatic tracking of celestial objects.
Enhancing the Stargazing Experience
To complement binoculars or telescopes, consider these additional gift ideas:
- Star Charts or Astronomy Apps: These tools help users identify constellations and celestial objects.
- Red Flashlights: Preserve night vision while reading star charts.
- Astronomy Books: Provide educational content about stars, planets, and other celestial phenomena.
- Observation Journals: Encourage note-taking during stargazing sessions to track observations over time.
Family-Friendly Stargazing Activities
Stargazing can be a wonderful family activity that fosters curiosity and learning. Here are some ideas to make it engaging for all ages:
- Plan a Stargazing Night: Choose a clear night and head outside with your new equipment. Use star charts or apps to locate constellations and planets.
- Create a Constellation Craft: Use glow-in-the-dark stickers or paint to recreate constellations on paper or canvas.
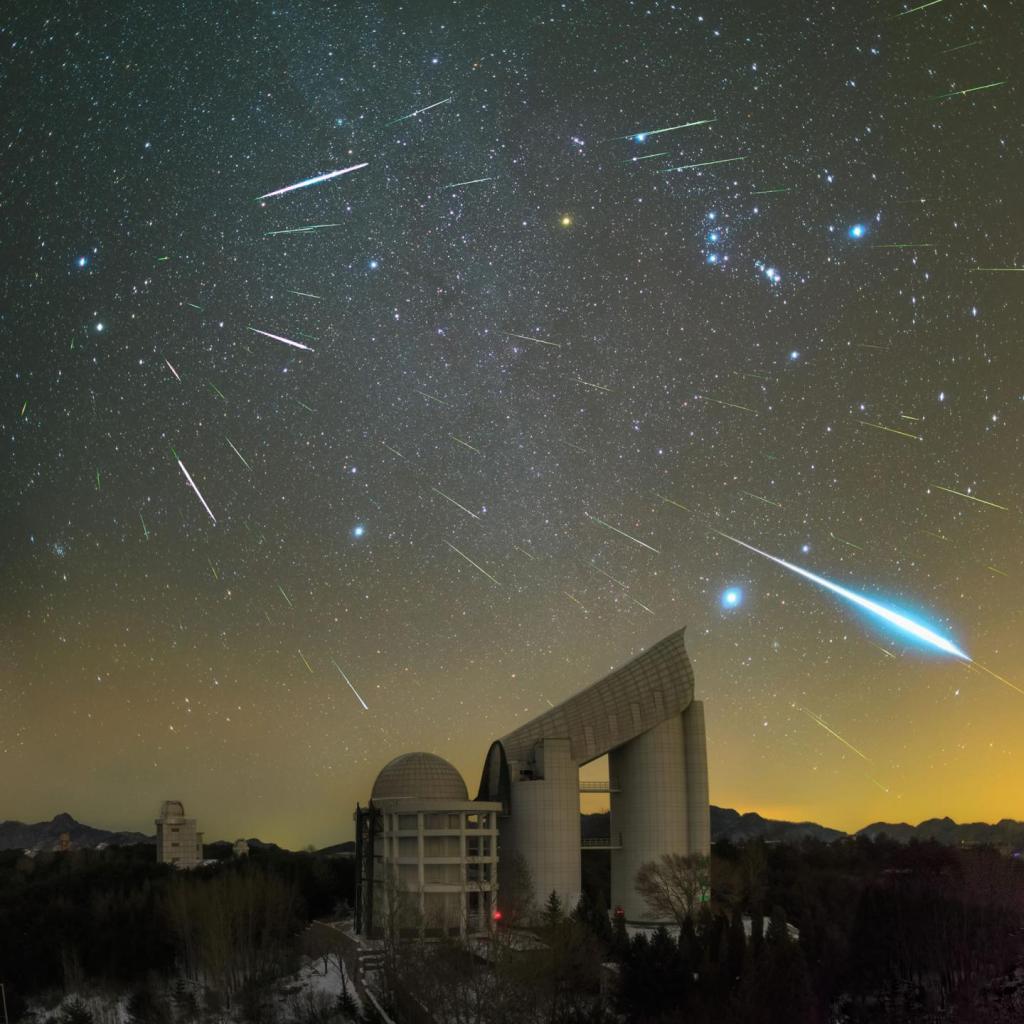
- Host a Meteor Shower Party: Gather friends and family during meteor showers like the Geminids in December for a night of sky-watching.
- Attend Local Astronomy Events: Check if local observatories or astronomy clubs host public viewing nights or events.
Conclusion
Binoculars and telescopes make thoughtful Christmas gifts that can spark a lifelong interest in astronomy. Whether you’re gifting a child their first pair of binoculars or helping an adult upgrade their telescope setup, these tools open up a universe of exploration right from your backyard.
By considering factors like age appropriateness, ease of use, portability, budget, and features, you can select the perfect equipment tailored to your loved one’s needs. Complement these gifts with educational materials and family-friendly activities to enhance their stargazing experience.
As you prepare for the holiday season, remember that the gift of astronomy is not just about observing distant worlds but also about creating memories under the stars with family and friends. Happy stargazing!
Citations:
[1] https://www.livescience.com/best-binoculars-for-stargazing
[2] https://www.space.com/29798-best-telescopes-for-kids.html
[3] https://teachbesideme.com/fun-kids-astronomy-activities-for-teaching/
[4] https://www.bestbinocularsreviews.com/astronomy/best-astronomy-binoculars.php
[5] https://littlebinsforlittlehands.com/space-activities-for-kids/
[6] https://www.space.com/26021-best-binoculars.html
[7] https://www.skyatnightmagazine.com/advice/science-projects-kids-children
[8] https://www.skyatnightmagazine.com/advice/best-binoculars-for-astronomy