Model railroading is a hobby that has captivated people of all ages for generations. This unique craft allows enthusiasts, from novices to professionals, to develop small-scale railway systems complete with miniature trains and intricate scenery. With no skill or age restrictions, it’s an ideal activity for bringing families together. Let’s explore why model railroading remains a fantastic family-friendly hobby in 2025.
Everyone Can Participate
One of the most appealing aspects of model railroading is its inclusivity. Individuals of all ages, from young children to seniors, can participate and find enjoyment. Building a model railroad fosters teamwork and collaboration within the family. Each member can contribute to different aspects of the project, whether it’s designing the layout, constructing buildings, laying track, or adding scenery. This shared effort creates a sense of accomplishment and strengthens family bonds.
Educational Value
Model railroading offers significant educational opportunities. The hobby encompasses various subjects, including history, engineering, and design. Researching prototype railroads and their historical context deepens knowledge of transportation history and technological advancements. Constructing the model railroad itself involves practical engineering skills such as electrical wiring, track design, and spatial planning. These hands-on activities encourage problem-solving, critical thinking, and creativity.
Therapeutic Value
Beyond its educational benefits, model railroading can also be incredibly therapeutic. The hobby provides a means of stress relief and relaxation. The focus and concentration required in model railroading can help individuals detach from daily worries and immerse themselves in a positive and engaging activity. The creative process of designing and building a miniature world can be deeply satisfying, fostering a sense of accomplishment and well-being.
Endless Possibilities
Model railroading offers endless possibilities for customization and creativity. Enthusiasts can create their own unique worlds, designing layouts that reflect their personal interests and preferences. The choice of era, location, and type of trains allows for endless variation. Adding scenery, buildings, and other details allows for further personalization, making each model railroad a one-of-a-kind creation.
Long-Lasting Hobby
Model railroading is a hobby that can span a lifetime. Many enthusiasts begin their journey in childhood and continue to enjoy the hobby throughout their lives. Model railroading creates lasting memories and provides an opportunity to pass on a cherished tradition to future generations. Additionally, the hobby fosters connections with other enthusiasts through clubs, online forums, and model railroad shows, creating a supportive community of like-minded individuals.
What’s New in 2025?
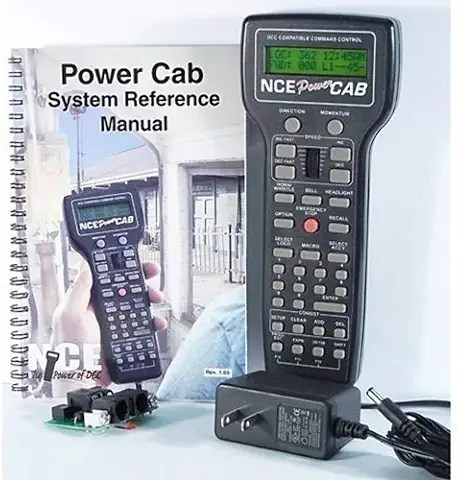
- Digital Command Control (DCC) is More Accessible: DCC systems are more user-friendly and affordable, making it easier for families to control multiple trains independently and add sound effects to their layouts.
- 3D Printing Revolutionizes Customization: 3D printers have become more accessible, allowing modelers to create custom parts, buildings, and details that were previously difficult or impossible to find.
- Augmented Reality (AR) Integration: New AR apps allow users to overlay virtual scenery and details onto their physical layouts, creating a blended reality experience that enhances immersion and realism.
- Focus on Sustainability: There’s growing interest in using sustainable materials and practices in model railroading, such as recycled cardboard, biodegradable ground cover, and energy-efficient LED lighting.
- Emphasis on Realistic Operations: More modelers are focusing on replicating real-world railroad operations, including switching maneuvers, freight car routing, and timetable-based operation.
Conclusion
In conclusion, model railroading remains a rewarding and family-friendly hobby in 2025. It provides opportunities for learning, creativity, relaxation, and connection. With its endless possibilities and long-lasting appeal, model railroading is sure to provide hours of entertainment and enjoyment for families for years to come. Now is the perfect time to gather your family, spark your imagination, and embark on the exciting journey of building your own miniature world. The innovative technologies and techniques available today make it easier than ever to create a truly immersive and engaging model railroad experience.
Citations:
[1] https://stanshobbiesandinterests.com/2023/09/18/model-railroading-a-great-family-friendly-hobby/