Every summer, as July transitions into August, a lesser-known yet enchanting celestial event graces the night sky: the Delta Aquariid meteor shower. Peaking from July 28 to July 31, 2025, this meteor shower promises a memorable spectacle for families, skywatching beginners, and anyone hoping to experience a night of awe under the stars. This guide will help you understand, prepare for, and enjoy the Delta Aquariids—even if you’re new to stargazing.
What Are the Delta Aquariids?
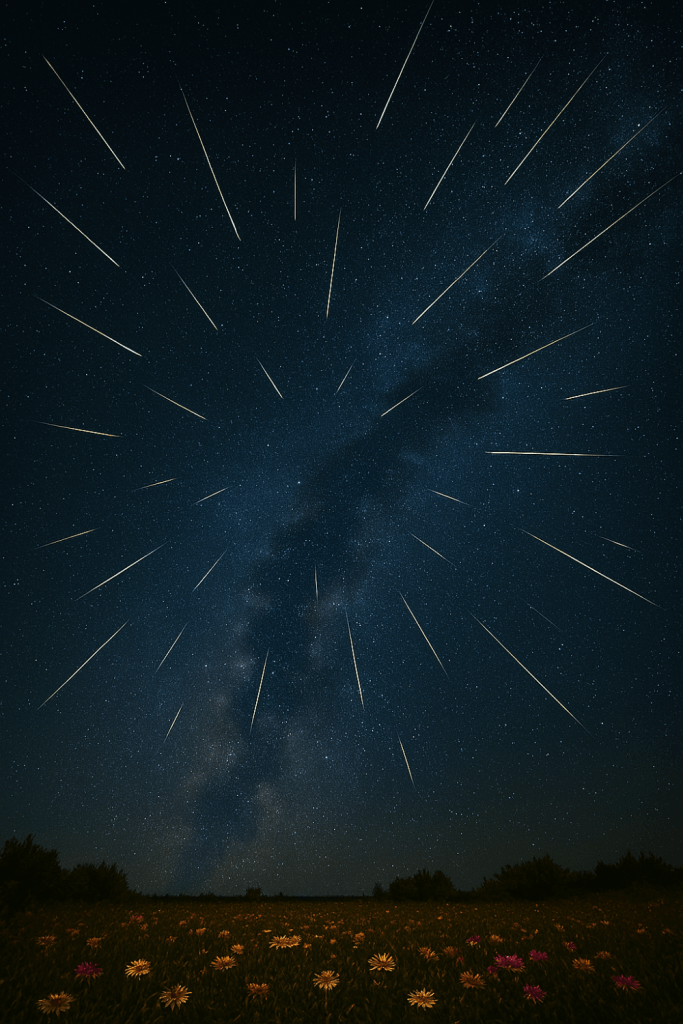
The Delta Aquariids are an annual meteor shower named after the star Delta Aquarii in the constellation Aquarius, where the meteors appear to originate (their radiant point). The shower is caused by Earth passing through debris left behind by the comet 96P/Machholz. As tiny bits of comet dust enter our atmosphere at over 90,000 miles per hour, they burn up and streak across the sky as meteors, or “shooting stars”.
Why the Delta Aquariids Are Special
While the Delta Aquariid shower isn’t as famous as the Perseids in August, it is beloved by skywatchers for several reasons:
- Steady Meteor Rate: During the peak, you can expect to see 15–20 meteors per hour from a dark, rural sky.
- Early Show: It kicks off the summer “meteor shower season” and sometimes overlaps with early Perseid meteors for a double show.
- Long-Lasting Meteors: Many Delta Aquariids produce faint but long-lasting trails—sometimes glowing for a second or more.
When and Where to Watch in 2025
Peak Dates & Times
- Best Nights: July 28, 29, 30, and 31, 2025
- Best Hours: Between midnight and 4:00 a.m. (local time). The shower is best after midnight when the constellation Aquarius climbs higher in the southern sky.
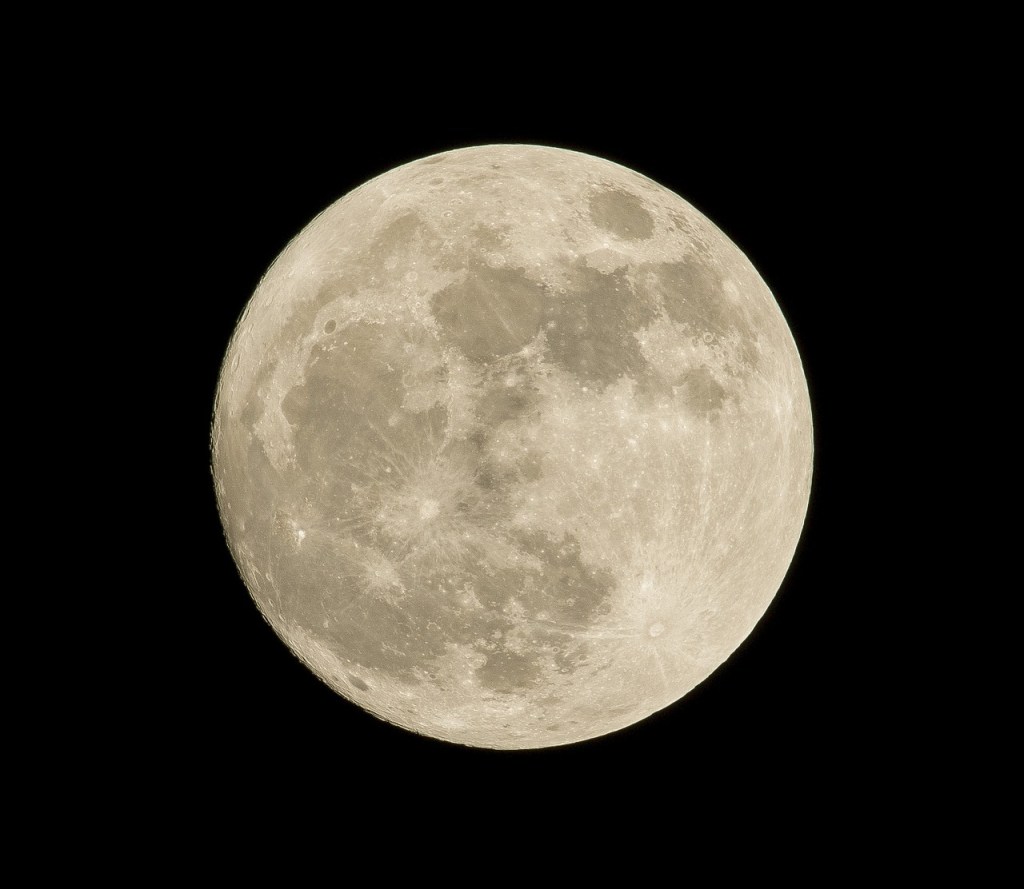
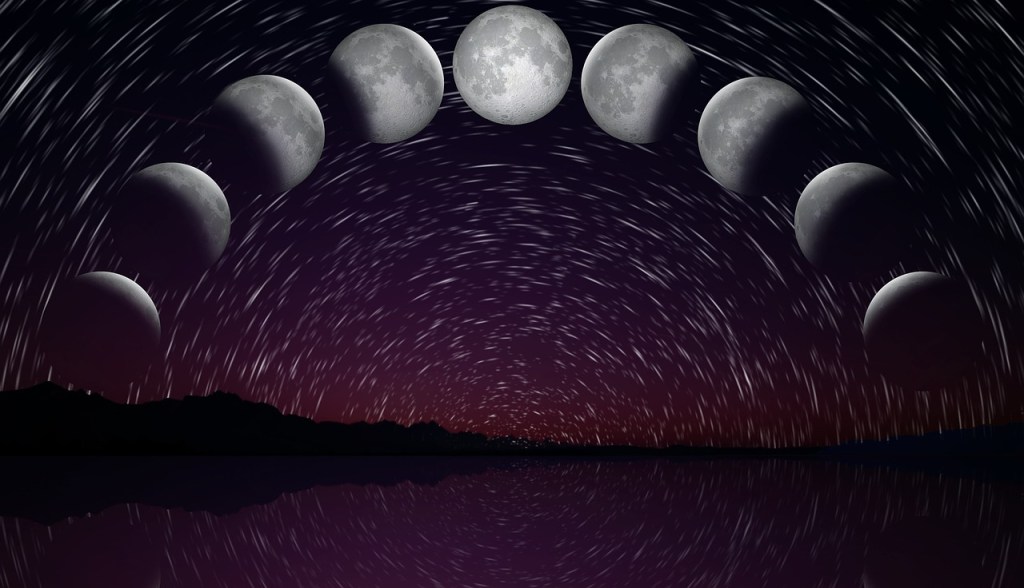
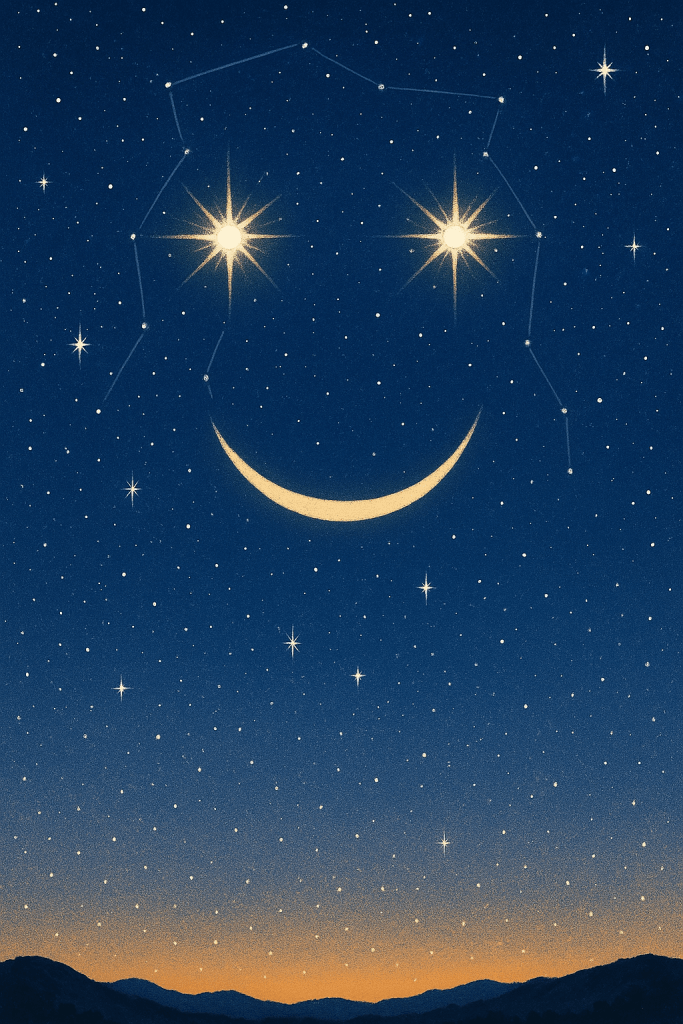
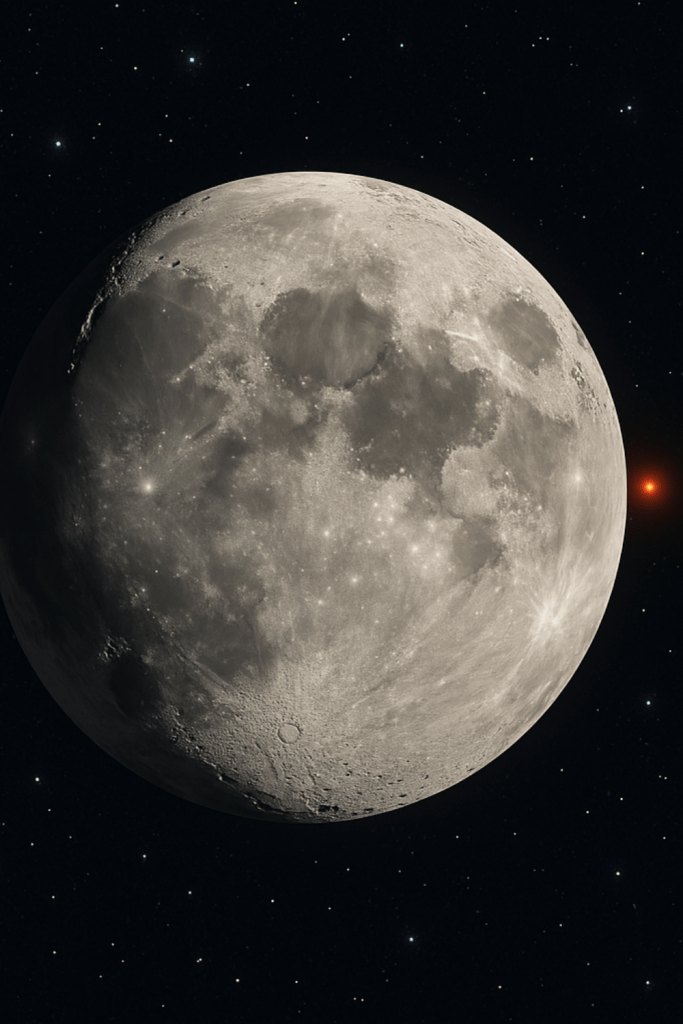
- Moon Phase: The Moon will be a waning crescent, setting before the best radiant hours, leaving the sky mostly dark—excellent for meteor watching.
Where to Look
- Direction: Face generally southeast or south. Find a broad, open view of the sky, focusing east to south.
- Constellation: Meteors will radiate from the area near Aquarius, but “shooting stars” can appear anywhere overhead.
Preparing for Your Meteor-Watching Night
What You’ll Need
- No Telescopes Required: Meteors move too fast for telescopes or binoculars; use just your eyes!
- Comfort Essentials:
- Blanket, sleeping bag, or reclining lawn chair to lie back and watch comfortably.
- Warm clothes and bug spray—even summer nights can get chilly or buggy.
- Snacks and drinks for your meteor party.
- Optional:
- A red flashlight (to preserve night vision).
- Star charts or a free stargazing app for finding constellations like Aquarius and Capricornus.
Family-Friendly Tips to Maximize the Experience
1. Make It a Nighttime Picnic
Pack favorite snacks and turn the meteor shower into an event. Invite family, neighbors, or friends for a backyard “shooting star” picnic.
2. Get Kids Involved
- Encourage children to keep count of meteors or sketch their favorite ones.
- Turn it into a science lesson about comets, space, and Earth’s atmosphere.
- Have kids make a wish on each shooting star!
3. Safety First
Observe from a safe location away from busy roads. Bring flashlights for safe navigation but keep lights off while watching.
4. Choose the Right Spot
For the best show, escape city lights. A rural park, beach, or even a family-friendly campsite will reveal many more meteors.
What to Expect
- Patience Pays Off: It can take 15–20 minutes for your eyes to adapt to darkness. The more time spent outside, the more meteors you’ll see.
- Persistence: Meteors arrive at random. Sometimes, several appear in a quick burst, followed by a lull.
- Look Up All Around: While the radiant is in Aquarius, meteors may streak across any part of the sky.
Suggested Viewing Timeline
| Time (Local) | What’s Happening | Tips |
|---|---|---|
| 10:00 p.m. | Twilight ends, stars appear | Settle in and get comfy |
| Midnight | Aquarius rises higher, meteors begin | Start serious watching |
| 2:00–4:00 a.m. | Peak meteor activity | Highest rates, darkest sky |
| Dawn | Shower ends as sky brightens | Time for breakfast stories! |
Fun Delta Aquariid Facts
- Parent Comet: The debris stream comes from Comet 96P/Machholz—a visitor that returns every five years.
- Speed: Delta Aquariid meteors travel at about 25 miles per second!
- Best in the South: The further south you are (e.g., southern US states), the higher Aquarius appears, and the more meteors you’ll spot.
- Double Show: Early Perseid meteors (from August’s more famous shower) sometimes mingle with the Delta Aquariids, offering extra surprises.
Bringing Astronomy to Life
Meteor showers are a magical entryway to astronomy for families and beginners. They require no equipment, no expertise—just a little patience, wonder, and a clear night. Watching shooting stars is also a shared experience, connecting all ages with the wonders of the universe.
If you’d like to identify more stars or planets while you wait for meteors:
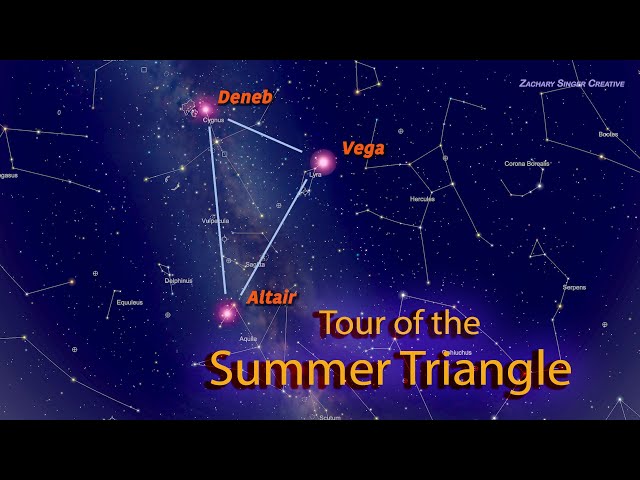
- Look for the bright Summer Triangle stars: Vega, Deneb, and Altair high overhead.
- Saturn, the ringed planet, will be rising in the southeast before midnight.
- Jupiter may rise before dawn in the east by the end of July.
Common Questions
Are showers best seen at their radiant?
Not necessarily—meteors can appear anywhere in the sky. But more will appear to originate from the Aquarius region.
What if it’s cloudy?
If clouds cover your location, try another night within the peak window, or tune in to online streams from observatories.
Can I photograph meteors?
A camera with a tripod and long-exposure settings may capture bright “fireballs,” but relax and enjoy watching with your eyes first.
Summary
The Delta Aquariids offer families and beginners a perfect opportunity to enjoy the universe together. On a warm night in late July, all you have to do is lie back, look up, and watch as cosmic dust transforms into fleeting, brilliant streaks of light. The memory of a shared meteor shower may last far longer than the meteors themselves.
References & Further Reading
- American Meteor Society – Delta Aquariid Meteor Shower Overview
- Star Walk – Delta Aquariids 2025 Viewing Guide
- EarthSky – 2025 Meteor Shower Calendar
- Royal Astronomical Society – How to Watch Meteor Showers
- Sky & Telescope – July 2025 Night Sky Guide
Wishing you clear, star-filled skies and a wonderful Delta Aquariid experience!