Model railroading is more than creating tracks and running trains—it’s about building a miniature world that sparks imagination and invites viewers to explore its stories. One of the simplest and most effective ways to enhance your layout’s realism and give it a greater sense of depth is by using flats on the backdrop. Flats are a clever solution for adding layers, scenery, and visual interest to your layout, all while saving space and keeping things budget-friendly. Whether you’re a beginner dipping your feet into this rewarding hobby or a seasoned model railroader looking to elevate your setup, this guide will walk you through everything you need to know about flats—from what they are to how to prepare, install, and customize them.
What Are Flats in Model Railroads?
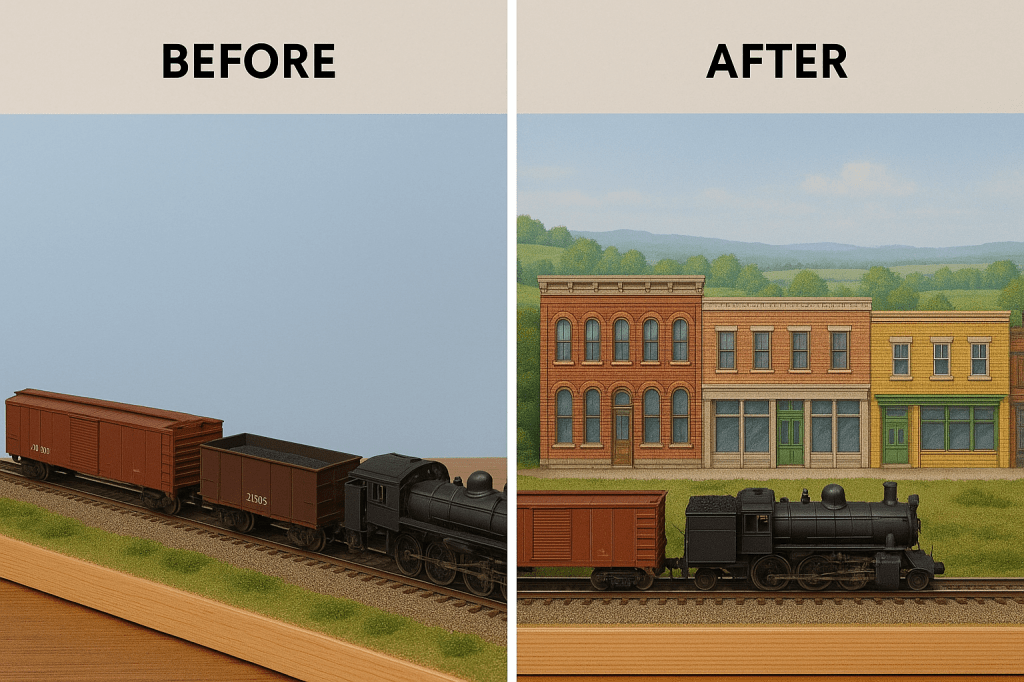
Backdrop flats, commonly referred to as “flats,” are shallow or two-dimensional models of buildings, scenery, or other features designed to sit against the backdrop of a layout. Instead of being fully three-dimensional, flats are either partially 3D or completely flat, creating the illusion of depth without occupying much space.
Flats work by tricking the eye through “forced perspective.” They blend the foreground (where 3D elements like tracks and buildings sit) with the background (the painted or printed scenery behind your layout). A row of flats depicting distant buildings, for instance, can make an urban layout feel like a sprawling city, even if the actual layout table is small.
Types of Flats
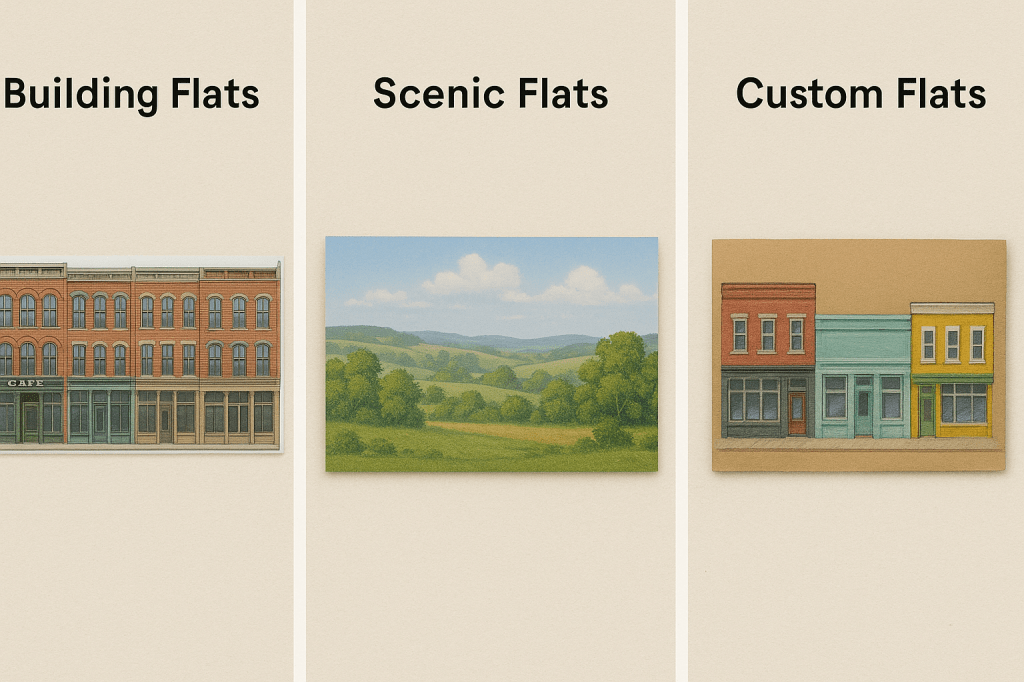
- Building Flats
These replicate structures such as factories, warehouses, houses, or skyscrapers. They’re ideal for creating cityscapes or industrial areas. - Scenic Flats
These feature natural elements like hills, trees, or mountains, offering a perfect solution for rural or wilderness scenes. - Custom Flats
Want something unique? Custom flats let you design elements to match your exact layout theme, whether it’s a vintage small town, futuristic city, or fantasy world.
Why Flats Are Important
Flats bridge the gap between your foreground and backdrop, creating a smooth transition that immerses viewers in the world you’re building. They’re also a space-saving marvel, allowing you to add complexity and character to layouts of any size.
Why Use Flats?

Flats aren’t just practical; they’re a game-changer for any model train enthusiast. Here’s why you should consider incorporating them into your layout:
1. Save Space
Layouts often have limited real estate, and flats allow you to pack in detail and depth without taking up valuable space. Instead of building a large factory, a flat on the backdrop can represent a distant industrial zone, leaving room for tracks, trains, and other scenery closer to the viewer.
2. Enhance Realism
Flats create the illusion of a larger world by layering scenery. By playing with scale and perspective, flats can make your layout feel expansive and immersive. For example, a backdrop featuring hills painted with scenic flats can suggest miles of open countryside stretching beyond the layout.
3. Budget-Friendly
Full-scale buildings and scenery can be expensive, but flats are often more affordable. Pre-made kits, printable flats, or DIY options can save you money while allowing for incredible creativity.
4. Expand Storytelling Opportunities
Every model railroad tells a story, and flats add rich context to your scene. A row of building flats on a cityscape could suggest bustling neighborhoods or industrial hubs, while scenic flats showing barns or forests evoke quiet rural charm.
5. Perfect for Beginners
Flats are easy to use and beginner-friendly. With pre-made options and print-and-mount designs widely available, you can quickly add depth to your layout without advanced modeling skills or tools.
Choosing Flats for Your Layout
Selecting the right flats depends on your layout’s theme, scale, and overall vision. Follow these tips to choose flats that will elevate your scene.
1. Match Flats to Your Theme
- Urban Layouts: Use building flats like skyscrapers, shops, or factories.
- Rural Layouts: Scenic flats featuring barns, trees, rolling hills, or mountain ranges work well.
- Custom Layouts: Design flats that fit your unique theme, such as historic towns, futuristic cities, or fantasy villages.
2. Pay Attention to Scale
Flats must match the scale of your layout to maintain realism. For example:
- HO Scale (1:87): The most common scale with plenty of pre-made options.
- N Scale (1:160): Great for compact layouts. Flats should have fine details.
- O Scale (1:48): Larger layouts need bigger flats with intricate textures to maintain proportionality.
3. Flat Materials
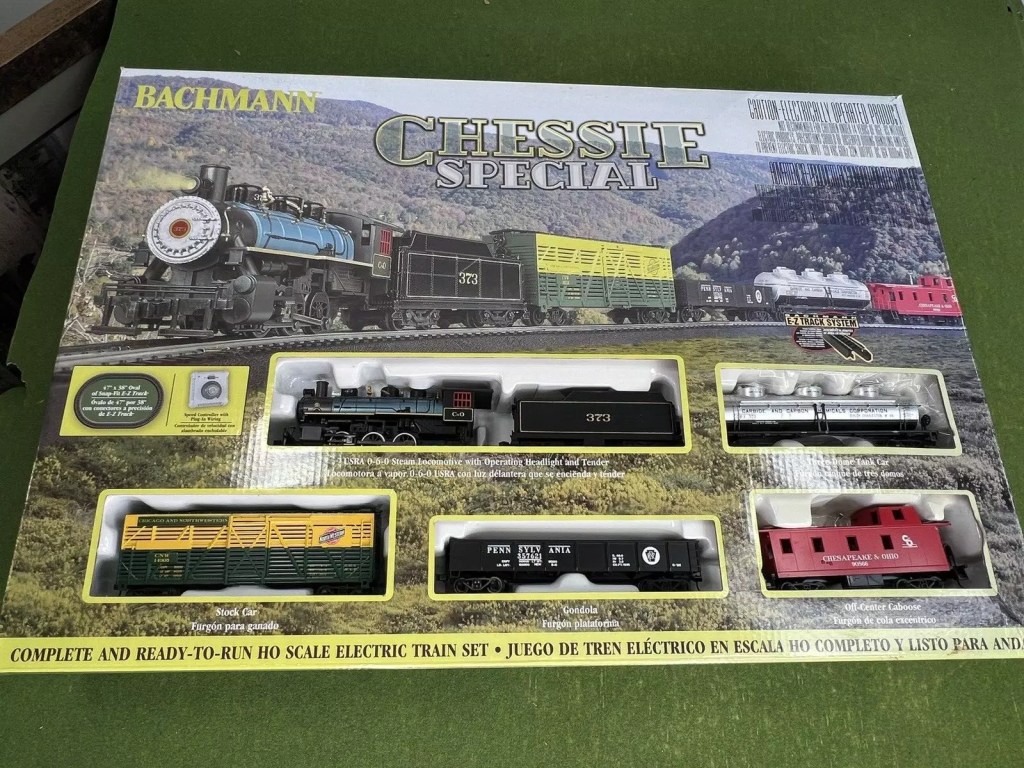
- Pre-Made Kits: Plastic, resin, or cardstock kits from trusted brands like Walthers, Woodland Scenics, or Faller.
- DIY Options: Create flats using foam board, cardboard, or printed images. More on DIY later!
Preparing and Installing Flats

1. Preparing the Backdrop
Proper preparation and installation ensure your flats look polished and cohesive.
- Painted Backdrops: Create a gradient from light blue (sky) to white (horizon). Add clouds or distant hills for realism.
- Printed Backdrops: Use photo-realistic backdrops featuring skies or landscapes from brands like Scenic Express or TrainJunkies.
2. Installing Flats
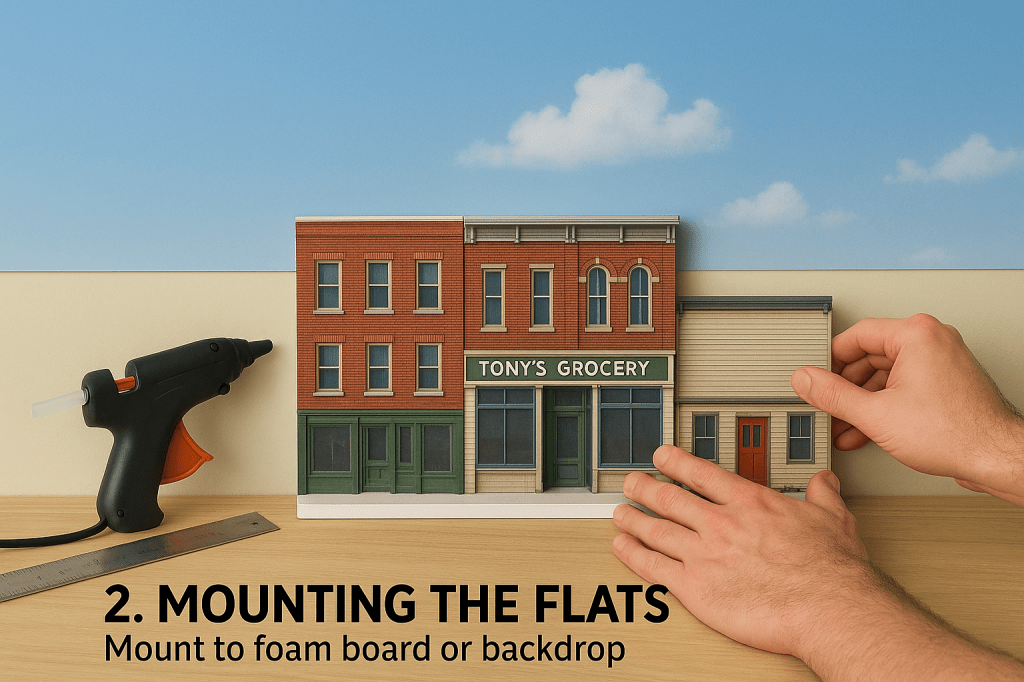
- Use double-sided tape or spray adhesive for lightweight flats.
- Heavier flats can be attached with Velcro for removability or mounted on a wooden frame for support.
- Align flats with the backdrop’s horizon line to ensure a smooth transition between flat and background.
3. Blend Flats with the Foreground

- Add bushes, fences, or roads at the base of the flats to hide edges and create a natural transition.
- For scenic flats, use foam flocking or static grass to blend seamlessly.
Enhancing Flats for Realism
Simple flats can become stunning with the right enhancements:

Add Details:
- Apply decals for windows, signs, or advertisements.
- Weather them with chalk pastels or dry brushing to simulate age and wear.
Lighting:
- Add LEDs behind building windows for a glowing effect.
- Use strip lights or spotlights to cast shadows and create depth.
Play with Perspective:
- Position taller, more detailed flats closer to the foreground and smaller, muted flats further back to mimic distance.
DIY Flats: Save Money and Add Personality
Creating your own flats is affordable, fun, and lets you add unique touches to your layout.
Steps for DIY Flats:
- Print Templates: Use printable flats from sites like Railserve or Pinterest. Print on cardstock and mount on foam board for durability.
- Hand-Paint Designs: Sketch buildings or landscapes on foam board and paint them with acrylics.
- Layer for Depth: Add raised windows, doors, or signage for a 3D effect.
DIY flats let you recreate landmarks, add personal flair, and experiment with themes in a cost-effective way.
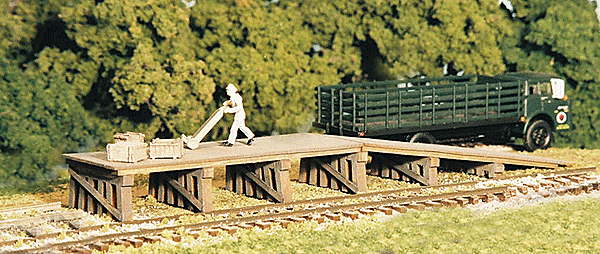
Photos from my layout showing the use of flats all of which are described above.
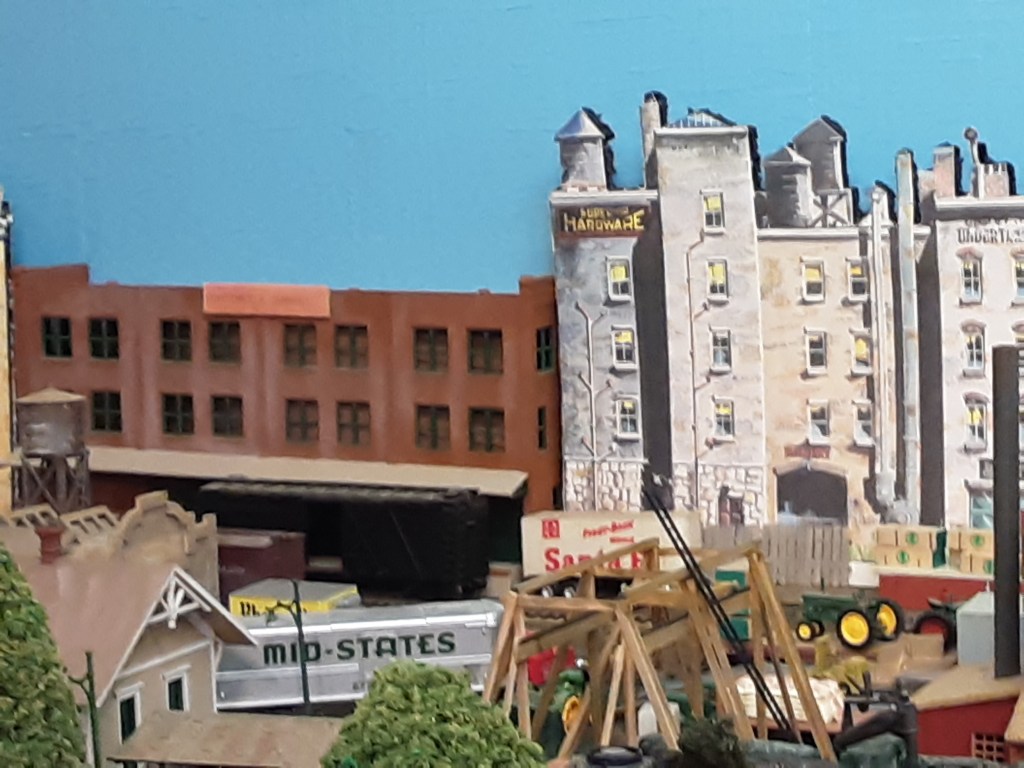


The photos above show how I use flats to enhance the depth of the layout. In the photo above I inserted a photo from google city scenes to add depth to the street continueing on.
Common Mistakes and How to Avoid Them
- Misalignment: Ensure flats align with the backdrop’s horizon. Use a ruler to check placement.
- Overcrowding: Space flats appropriately to avoid a cluttered look.
- Ignoring Scale: Match flats to the scale of your layout to maintain realism.
- Poor Blending: Use foliage or scenery to integrate flats with 3D elements.
Conclusion
Using flats is a transformative technique for model railroading, adding depth, realism, and personality to your layout without taking up extra space. From pre-made kits to DIY creations, flats bring your miniature world to life and immerse viewers in the story you’re telling. Whether you’re a beginner or an experienced model railroader, mastering the art of flats will elevate your layout to new heights. So, grab some flats, experiment with their placement, and watch your layout expand before your eyes!
References
- Walthers Model Railroading (2025). Building and Scenic Flats.
Website: https://www.walthers.com - Woodland Scenics (2025). Backdrop Design Techniques.
Website: https://woodlandscenics.woodlandscenics.com - TrainJunkies Backdrops (2025). Printed Backdrops and Scenic Flats.
Website: https://www.trainjunkies.com - RailServe (2025). Downloadable Flats & Templates.
Website: https://www.railserve.com