Welcome back to the blog! Last year, we published our popular guide, “5 Top Model Train Accessories for 2025: A Family-Friendly Guide for Beginners.“ That article focused on the immediate essentials needed to get a starter set up and running smoothly.
Now, we are expanding our horizons. Whether you are building an HO scale layout or operating a festive family empire, navigating the hobby means discovering tools and additions that make your miniature world more reliable, realistic, and fun.
This guide highlights 10 excellent accessories and tools for beginners. Even if you aren’t ready to purchase them today, knowing they exist will prepare you for future expansion and help troubleshoot common layout hiccups down the road.
1. Automatic Rerailer Tracks
What It Is:
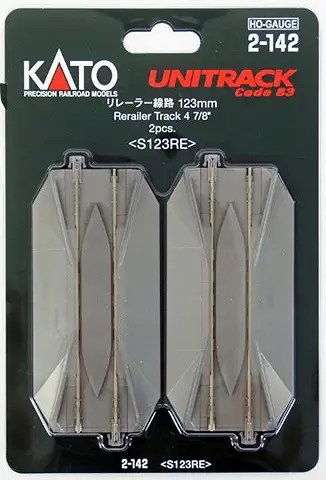
An ordinary-looking piece of track with raised, sloped plastic grooves molded between and outside the rails.
The “Why” and “How”:
Getting all the tiny wheels of a steam locomotive or a long freight car perfectly aligned on the rails can be frustrating, especially for younger kids. You simply place this track section directly after a difficult curve or in a staging area. When you gently roll a train across it, the molded sloped grooves catch misplaced wheels and guide them smoothly onto the metal tracks.
Future Helpfulness:
Even if your hands are steady now, placing a rerailer track inside a dark tunnel or behind a large building ensures hidden derailments fix themselves automatically before a pileup happens.
2. A Dedicated Track Cleaning Block
What It Is:
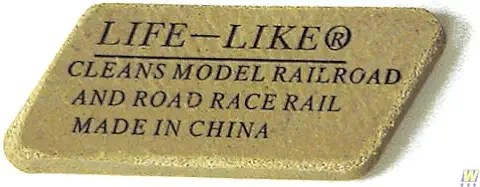
A rubberized, mildly abrasive handheld block (often called a “Bright Boy” or abrasive track cleaner) designed specifically to polish model railroad rails.
The “Why” and “How”:
Model trains run on electricity passed from the tracks to the locomotive’s wheels. Over time, microscopic dust, airborne oils, and oxide films form an invisible barrier on the metal rails. If your train starts blinking its lights, jerking, or stopping entirely, you gently rub this block along the top of the rails to restore a mirror-like shine and clean connection.
Future Helpfulness:
Instead of assuming your train’s motor is broken when it stalls, having a track block on hand solves 90% of sudden electrical issues instantly.
3. Plastic-Compatible Lubricant Kit
What It Is:
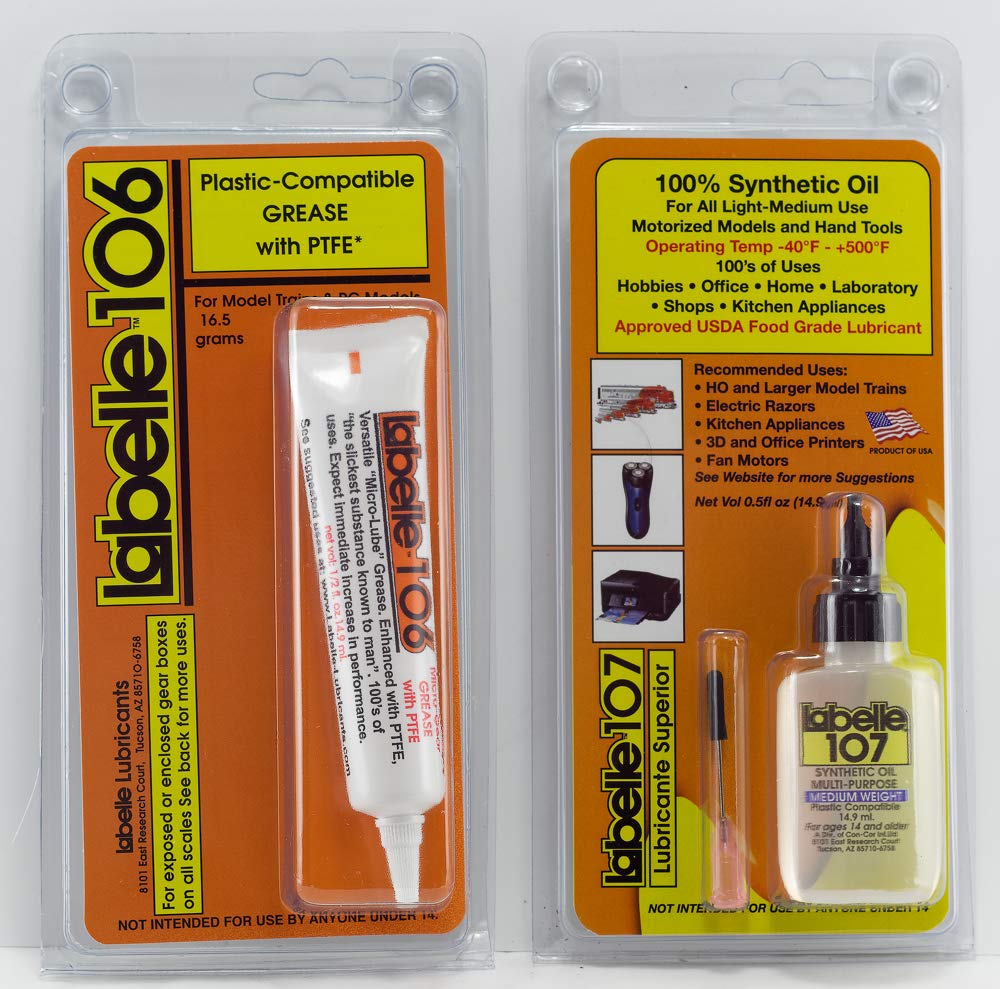
A specialized set of light oils and heavy greases (such as a Labelle kit) explicitly formulated not to degrade the plastic gears inside model locomotives.
The “Why” and “How”:
Household oils like WD-40 or standard cooking sprays will melt plastic gears and attract layout dust like a magnet. Model train lubrication kits feature fine-tip applicators. You apply a tiny drop of light oil to the motor bearings and a speck of grease to the gear towers every few months to keep your fleet running silently.
Future Helpfulness:
Squeaking, grinding, or sluggish train performance can be prevented entirely with a proper maintenance schedule, saving your family from expensive locomotive repairs.
4. An HO & N Scale Truck Tuner
What It Is:
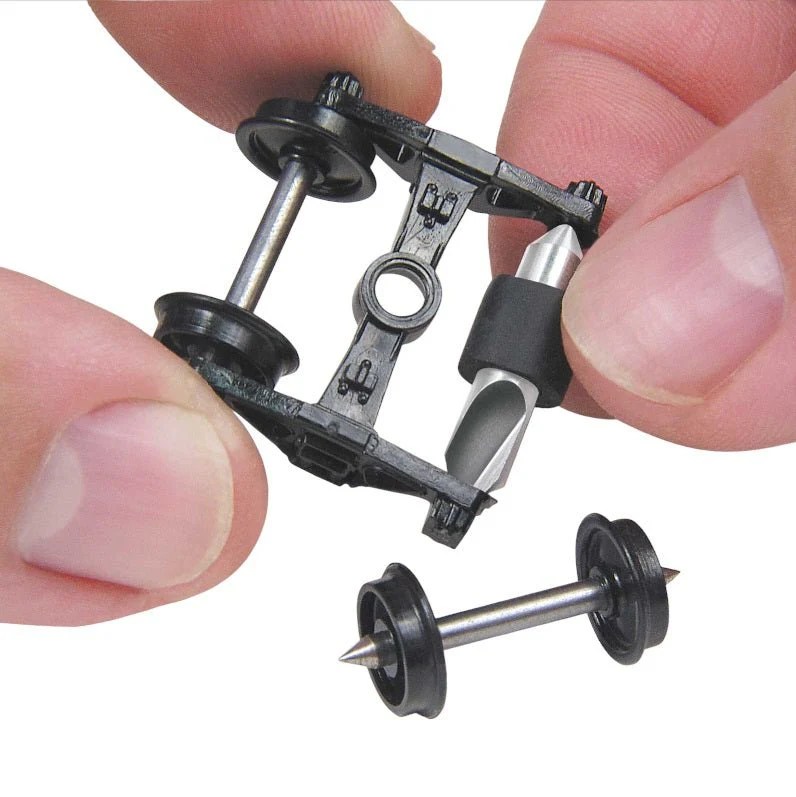
A small, hand-twirled metal tool shaped like a miniature train axle with tiny, sharp cutting bits on the pointed ends.
The “Why” and “How”:
The “truck” is the plastic piece underneath a train car that holds the wheels. If the plastic molding is too tight, the wheels won’t spin freely, causing your locomotive to strain when pulling a long train. You slip this tool into the axle slots and spin it a few times to clean out extra plastic flash and carve a perfect, frictionless pocket.
Future Helpfulness:
When you start expanding your rolling stock with budget-friendly cars, this tool ensures they roll smoothly without forcing you to buy premium replacements. This tool is available thru Micro Mark.
5. Acrylic Paint Pens (Fine Tip)
What It Is:
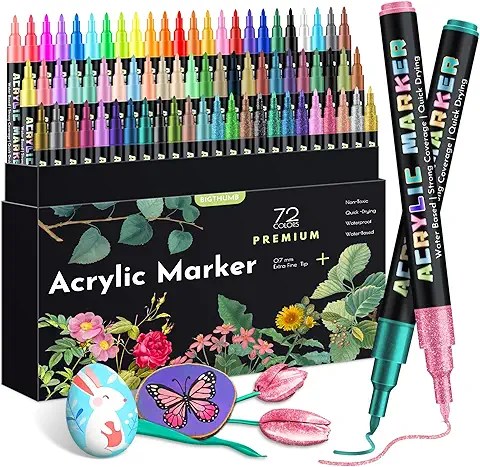
Mess-free paint pens filled with fast-drying, matte acrylic colors like concrete-gray, dirty-black, and rust-brown.
The “Why” and “How”:
Plain plastic structures and shiny silver tracks can look toy-like out of the box. Paint pens let family members of all ages safely draw realistic weathering effects—like rusty track sides, oil stains at the station, or concrete cracks on sidewalks—without setting up messy brushes, water cups, or airbrushes.
Future Helpfulness:
As your layout transitions from a starter board to a realistic miniature city, these pens offer an accessible, low-stress entry point into the world of model weathering.
6. Premium Bulk Tree Packs
What It Is:
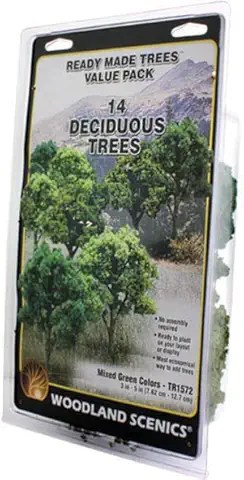
A large box containing 30 to 50 assorted miniature trees of varying heights, species, and shades of green.
The “Why” and “How”:
Starter sets rarely come with foliage, leaving layouts looking bare. Placing a variety of tree sizes along hillsides or behind a station instantly adds depth and hides the edges of your layout board. Beginners can simply plant them into foam bases or temporarily stabilize them using modeling clay.
Future Helpfulness:
Using different tree heights creates an forced-perspective optical illusion, making a compact, family-sized layout look twice as large to the human eye.
7. Handheld Digital Multi-Meter
What It Is:
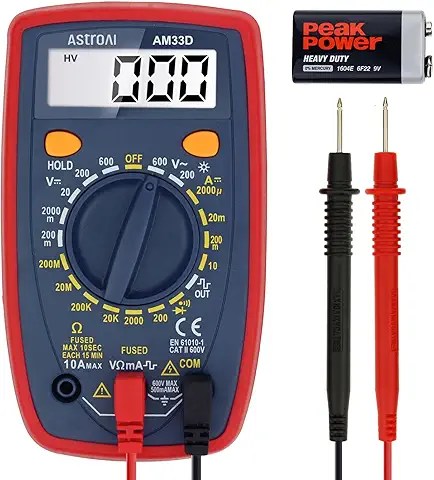
A budget-friendly electronic tool with two wire probes used to measure voltage and track electrical continuity.
The “Why” and “How”:
When a section of a large layout suddenly loses power, finding the break visually is nearly impossible. By placing the red and black probes on the rails, you can verify if electricity is flowing down the line, pinpointing exactly where a wire loose under the table has cut off the current.
Future Helpfulness:
As you grow from a simple loop into an advanced layout with multiple tracks, sidings, and accessories, a multi-meter turns frustrating electrical guesswork into a quick, family-friendly troubleshooting game.
8. Precision Track-Cutting Nippers
What It Is:
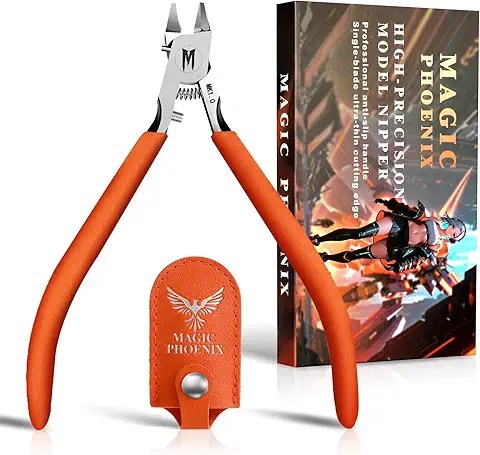
A specialized, ultra-flush side-cutter tool designed specifically to slice cleanly through metal model railroad rails without bending them.
The “Why” and “How”:
Standard household wire cutters squeeze metal, leaving a rough, jagged edge on a rail that will derail your trains. Track nippers cut completely flat, ensuring that when you connect a new piece of custom track or insert a switch, the rail joints align perfectly flush.
Future Helpfulness:
The moment you decide to break away from rigid plastic track mats and try your hand at custom flexible track layouts, this tool becomes completely indispensable.
9. Mechanical Uncoupling Tools
What It Is:

A simple wand or magnetic hand tool designed to gently open the microscopic plastic knuckle couplers that connect train cars together.
The “Why” and “How”:
Using big human fingers to unhook miniature train cars often knocks the trains off the tracks or breaks the delicate plastic coupling springs. A slender uncoupling tool slips between the cars, mimicking a real brakeman’s movements to detach cars smoothly without interrupting your layout operations.
Future Helpfulness:
If you want to run realistic switching games—like dropping off a coal car at the local power plant while leaving the rest of the train on the main line—this tool keeps the action running cleanly.
10. Multi-Scale Standards Gauge (NMRA)
What It Is:
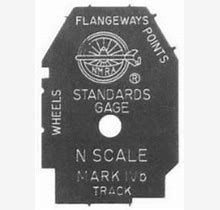
A precise, flat metal template pocket-tool designed by the National Model Railroad Association to measure clearances, wheel spacing, and track width.
The “Why” and “How”:
If a train car constantly derails at a specific turn or switch, it’s usually because the rails are slightly too close together or the wheels are pinched out of alignment. You slide this metal gauge between the tracks or against the wheels to see if they match international modeling standards.
Future Helpfulness:
This tool acts as your ultimate layout referee. Before you waste hours trying to modify a train car, the gauge tells you exactly where the physical tracking error lies.
Summary Reference Table
| Accessory / Tool | Purpose | How It Helps Beginners |
| Automatic Rerailer | Fixes wheel alignment | Saves time and frustration setting trains on tracks |
| Track Cleaning Block | Removes oxidation/dirt | Instantly fixes stalling, blinking, or jerky trains |
| Plastic-Safe Lubricant | Protects gearboxes | Stops grinding noises and extends motor lifespan |
| Truck Tuner | Reams out plastic axles | Allows cars to roll smoothly with less motor strain |
| Acrylic Paint Pens | Detailed weathering | Easy, mess-free way to make plastic look realistic |
| Bulk Tree Packs | Visual landscaping | Adds instant realism and creates a sense of scale |
| Digital Multi-Meter | Tracks power drops | Pinpoints broken wires under the layout quickly |
| Track Nippers | Flush-cuts metal rail | Prevents jagged joints that cause derailments |
| Uncoupling Wand | Disconnects cars cleanly | Minimizes accidental derailments during switching |
| NMRA Standards Gauge | Verifies scale accuracy | Finds hidden errors in track width and wheel spacing |
Knowing these tools are out there changes how you approach layout building. You don’t need to gather them all today, but keeping them on your radar ensures that as your hobby space evolves, you’ll always have a practical solution handy for your family’s next great railroading adventure.
Clear tracks and have fun!