Curiosity about the cosmos has never been higher, and with today’s wealth of resources, getting started in astronomy is easier and more rewarding than ever. Whether you dream of seeing the rings of Saturn, want to marvel at meteor showers with your family, or simply crave quiet nights under the stars, 2025 offers new tools, sky events, and community connections for beginner and advancing astronomers alike. Here’s your updated roadmap to exploring the universe from right where you are.
Why Astronomy?
Astronomy connects us across space and time. Watching the night sky fosters awe, science curiosity, and a sense of place in the cosmos. It’s also an easy, affordable hobby—no expensive gear required to begin—making it perfect for families, solo explorers, and lifelong learners.
1. Start With the Naked Eye
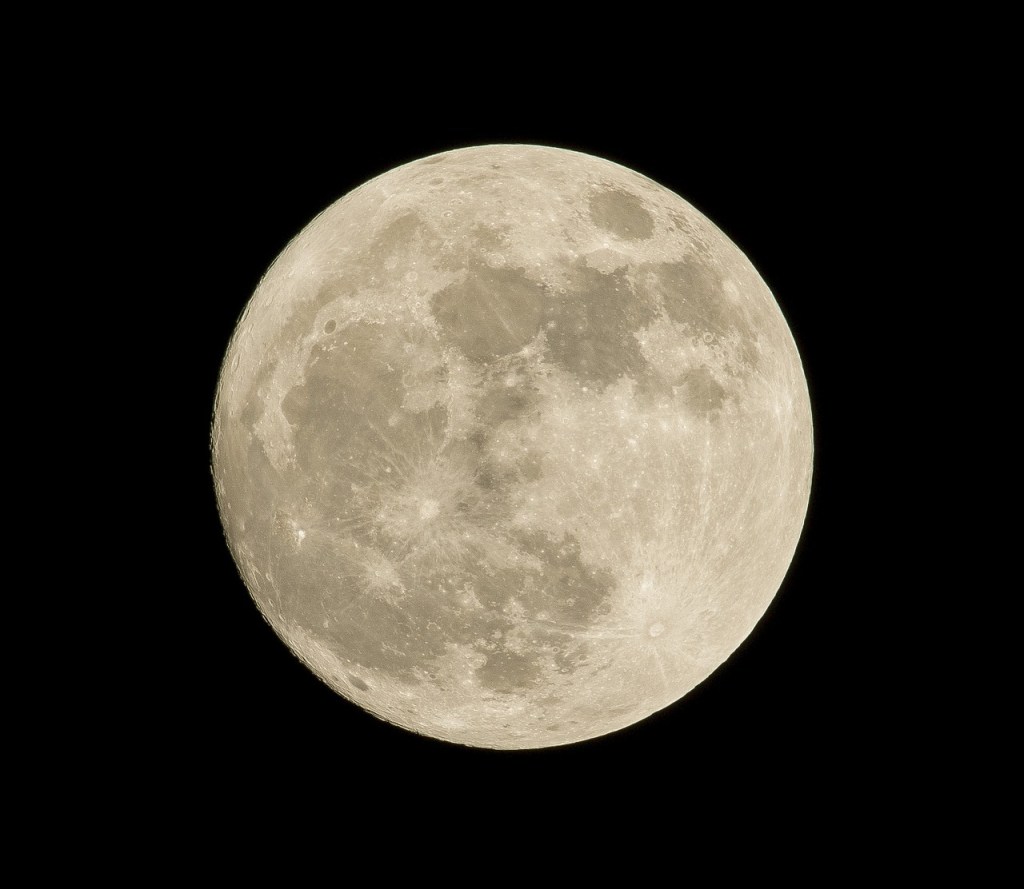
Astronomy is an outdoor nature hobby. The most important first step is simply to go outside at night and look up. Take in the Moon, note the brightest “stars” (some are planets!), and see if you can spot patterns or constellations as the ancients did.skyandtelescope+2
- Learn the sky’s basics:
- Identify a few bright stars (like Vega, Arcturus, or Sirius).
- Trace constellation shapes: the Big Dipper, Orion, Cassiopeia, or the Summer Triangle are perfect starters.
- Use a star wheel (planisphere) or printable star map to guide your exploration—these show you “what’s up” based on date and time.ras
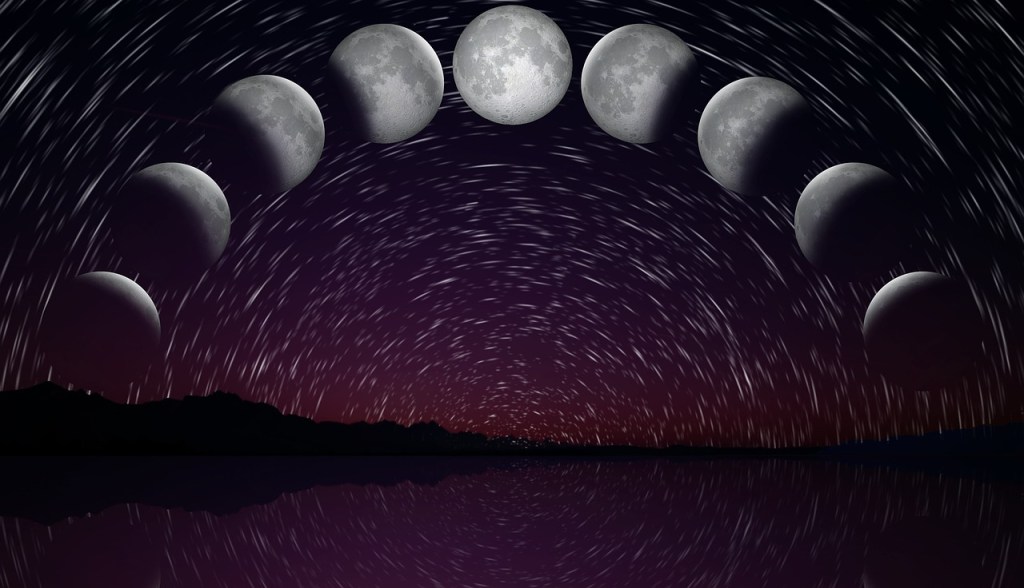
- Observe the sky regularly: Patterns change with the seasons, making the hobby fresh all year.planetary+1
2. Leverage Modern Technology: Apps and Online Resources
Smartphones and tablets have revolutionized astronomy. Point your device at the sky, and apps instantly tell you what you’re seeing—stars, planets, constellations, satellites, and more.highpointscientific+2
Top free/recommended apps for 2025:
- Stellarium Mobile (Android free, iOS paid): A digital planetarium; see real-time sky maps.
- SkyView Lite (iOS/Android): AR overlays highlight and name sky objects.
- Star Walk 2 Free (iOS/Android): Beautiful, intuitive, and great for families.
- Sky Map (Android): Simple, reliable, always free.
Tips:
- Download your app of choice and allow camera/location access.
- Use the built-in night mode (often red light) to preserve your night vision.
- Try exploring ahead of time: many apps let you “time travel” to future (or past) sky events.
3. Upgrade Your Sky Experience With Binoculars
You don’t need a telescope to see more! Binoculars are a simple, budget-friendly next step that reveal lunar craters, Jupiter’s moons, and star clusters invisible to the naked eye.discoverspace+1
- Ideal specs: 7×50 or 10×50 binoculars are a common recommendation—big enough to gather light, light enough to hold.ras+1
- Bonus: Binoculars are great for daytime use as well (birds, landscapes)—and you might already have a set in the closet!
4. Join the Astronomy Community
Astronomy is a social hobby!
- Find a local astronomy club: Most welcome beginners and host star parties, telescope “try-it” nights, and educational programs.reddit+1
- Online forums and social groups (Cloudy Nights, Reddit’s r/Astronomy or r/Stargazing): Share your questions, photos, and discoveries; get advice before buying equipment.cloudynights
- Attend virtual sky events: Many observatories stream sky tours or planetary alignments, with real-time Q&A.
5. Try a Telescope (When Ready!)
Ready to go deeper? Take your time before buying a telescope; starting with binoculars or observing with a club is often best.pathloom+2
For 2025, these beginner scopes earn high marks:
- Celestron Inspire 100AZ (refractor): “Best beginner telescope for kids,” easy to use.space+3
- Celestron NexStar 5SE (computerized): Tracks objects for you, great optics, top pick for families and serious beginners.nytimes+1
- Sky-Watcher Heritage 100P Tabletop Dobsonian: Compact, portable, and praised for value.skyatnightmagazine+1
Pro tips:
- Avoid low-quality “toy store” telescopes—they often disappoint.ras
- Look for scopes with sturdy mounts, good finders, and included eyepieces.
- Many scopes now feature smartphone app integration to help you find and track objects.pathloom+1
6. Keep Learning and Observing
- Get a good starter book: “NightWatch” by Terence Dickinson or “Turn Left at Orion” are favorites.
- Follow a sky calendar: Websites like Stellarium-Web, timeanddate.com, or astronomy magazines highlight each month’s best events.
- Track your observations: Keep a simple logbook or photo journal—kids especially love charting their “discoveries.”
7. Best Practices for Enjoyable Stargazing
- Dress warmly, bring snacks, and a comfortable chair.
- Use red light only: Protect your (and your family’s) night vision.
- Be patient: Some objects (distant galaxies, nebulae) can be faint even through good optics.
- Adapt to your sky: Even in cities, planets, the Moon, and some bright stars/charts remain visible.planetary+1
- Share the moment: Stargazing is more fun with others—invite friends, neighbors, or participate in community events.
8. Exciting 2025 Sky Events for Beginners
This year’s memorable highlights include:astronomy
- Saturn’s rings edge-on (rare sight!).
- Total lunar eclipse (visible in the Americas).
- Mars at opposition (bright and easy to spot).
- Meteor showers: Perseids (August), Geminids (December)—great with the naked eye or binoculars.
Summary Checklist: Getting Started in Astronomy, 2025 Edition
- Step outside and look up often
- Use a planisphere/star chart or a free sky app
- Grab binoculars for a better view (7×50 or 10×50)
- Join a club or online community
- Try a telescope only after learning your way around the sky
- Keep a log and have fun with family and friends
- Follow a sky calendar for upcoming cosmic events
Resources and References
- Sky & Telescope – How to Start Right in Astronomyskyandtelescope
- The Planetary Society – Astronomy for Beginners Guideplanetary
- Royal Astronomical Society – Getting Started in Astronomyras
- BBC Sky at Night Magazine – Best Telescopes for Beginners 2025skyatnightmagazine
- Space.com – Best Beginner Telescopes 2025space+2
- Wirecutter (NYT) – Best Telescopes for Beginners 2025nytimes
- High Point Scientific – Top 25 Essential Tips for Beginner Astronomershighpointscientific
- Reddit Beginners’ Advice – Astronomy & Stargazingreddit+1
- Pathloom – Astronomy Gear Guidepathloom
- Stellarium Web, SkyView Lite, Star Walk 2 Free, Sky Map – Top Free Astronomy Apps for 2025
Enjoy your journey—every night sky is a new adventure. Clear skies in 2025 and beyond!
- https://skyandtelescope.org/astronomy-resources/stargazing-basics/how-to-start-right-in-astronomy/
- https://ras.ac.uk/education-and-careers/for-everyone/92-getting-started-in-astronomy
- https://milwaukeeastro.org/beginners/getting_started.asp
- https://www.planetary.org/night-sky/astronomy-for-beginners
- https://www.highpointscientific.com/astronomy-hub/post/astronomy-101/top-25-tips-for-beginner-astronomers
- https://www.reddit.com/r/Stargazing/comments/nzonu1/a_beginners_guide_to_stargazing/
- https://discoverspace.org/astronomy-equipment-dos-and-donts/
- https://www.reddit.com/r/Astronomy/comments/4xuin1/i_want_to_get_into_astronomy_as_a_hobby_but_dont/
- https://raleighastro.org/getting-started-in-astronomy/
- https://www.cloudynights.com/topic/957045-new-to-astronomy-advice/
- https://www.pathloom.com/post/beginners-astronomy-guide-basic-astronomy-gear
- https://www.space.com/15693-telescopes-beginners-telescope-reviews-buying-guide.html
- https://www.skyatnightmagazine.com/top-astronomy-kit/best-telescopes-beginners
- https://www.space.com/31229-best-beginner-telescopes.html
- https://www.livescience.com/best-telescopes
- https://www.nytimes.com/wirecutter/reviews/best-telescopes-for-beginners/
- https://www.reddit.com/r/telescopes/comments/1j0hv3f/is_it_just_me_or_is_this_a_terrible_list_of_2025/
- https://www.astronomy.com/observing/sky-guide-2025/
- https://www.instructables.com/How-to-Get-Started-in-Amateur-Astronomy/
- https://skyandtelescope.org/astronomy-resources/stargazing-basics/