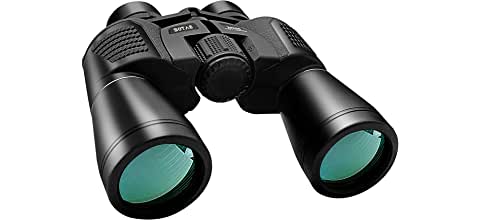
When you are thinking about astronomy, the first thing that comes to mind is a telescope. This misconception is found every day. Actually, the first thing you need to do is look at the stars with a pair of binoculars. You cam spend hundreds of dollars on a telescope that might not be the right one. One thing that star glazers will tell you is that some of the lunar eclipses and bright comets look better with binoculars than with a high-powered telescope.


You need to look around the sky with a star map and learn about the stars and other objects in space before you jump in and buy a telescope. Sometimes what you see through a telescope will be ugly, where as through the binoculars, it is a beautiful focused site to see. Once you learn about the stars themselves, you will have a better understanding of what you are looking at and how far away it really is.
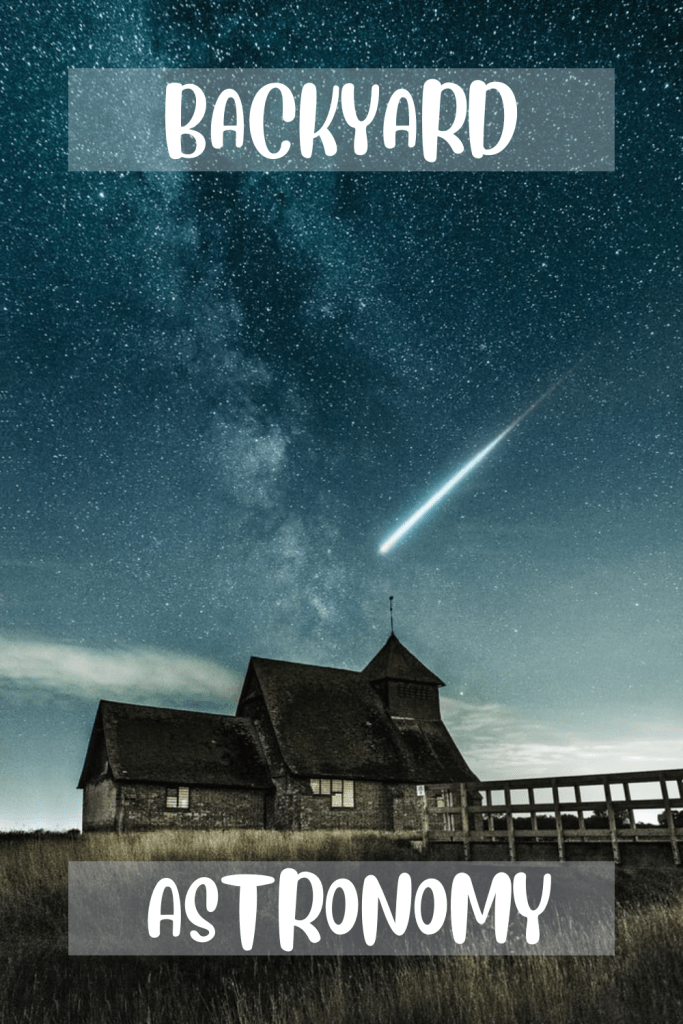
Guide to the Stars
After you learn about the sky above you are ready to look for a telescope. Before rushing out and buying a telescope, you should find some astronomers who will share their experiences and maybe even their telescopes with a group. Trying out a telescope before you buy it is something that will help you decide on what telescope will be best for you.
Some things to consider are what you plan to do with the telescope, how much you have to spend and are you going to take photographs of your sightings. If you are a causal backyard astronomer, you might even look at the Dobsonian telescopes. Never worry about power, but be more concerned about aperture and optics. If you will be viewing planets, you will need a telescope with high magnification. You would not want to buy a telescope with 600 power, as it will not have the aperture needed.
Most professional astronomers use a reflector type of telescope. This is where the light path is diverted to the concave lens or eyepiece. With the refractor telescopes, the light passes through the telescope by way of a lens to the eyepiece. In some of the opinions from astronomers, the refractor is the best type of telescope for looking at the solar system. However, reflectors are cheaper than the refractors. Reflector telescopes are recommended for beginning astronomers.

You will find areas with complete darkness are the best, but city viewing is fine if you have very little light to distract your viewing. Keep in mind that planet viewing is spectacular. You can see the ring around Saturn as well as view Venus. Jupiter, which changes every time you view it, is an amazing planet to keep an eye on.
You will want to have a star map, planet map and keep an eye on the news to find out when any interesting things are appearing in the solar system. Experience the sighting of a comet or meter shower, you will find that astronomy is a great way to spend the evening by yourself or with friends.
OTHER FASCINATING ARTICLES
The Wow Hobby
The Science Of Astronomy Really Is Fascinating
Tips For Getting Started In Astronomy
The Night Sky
Look Up In The Sky
The Best Sights for Astronomy
Moon Fever A NEW WAY TO VIEW THE MOON
Astronomy Binoculars A Great Alternative
Moon Gazing
CHECK OUT
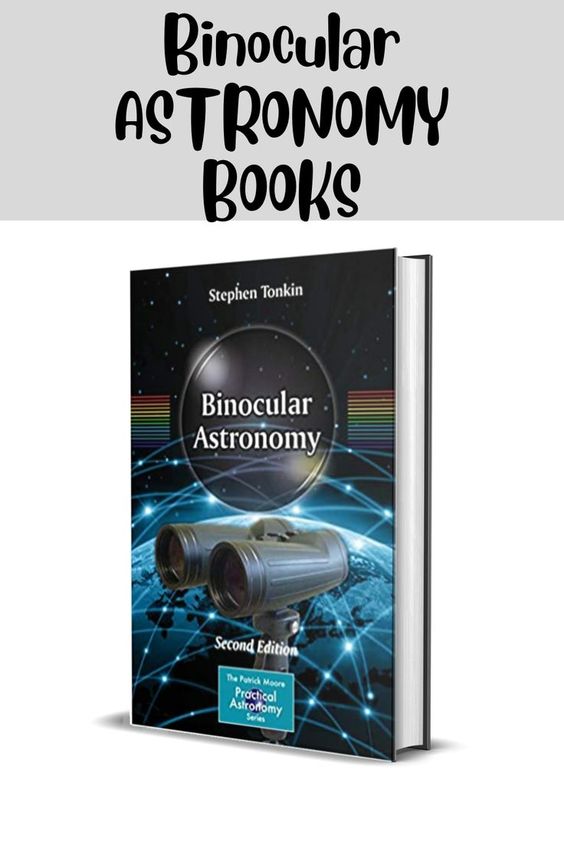
Books on Binoculars for Astronomy

BINOCULARS for ASTRONOMY
Stephen James O’Meara’s Observing the Night Sky with Binoculars: A Simple Guide to the Heavens


 How long does it take to make a wine?
