🌿 Why SuperTrees Are a Game‑Changer
The Scenic Express SuperTrees Starter Kit is one of the most respected tools in model railroading. It uses natural sea foam plant material to create miniature tree armatures that look astonishingly real. Each branch, curve, and twig mimics nature’s randomness — something plastic molds can’t replicate.
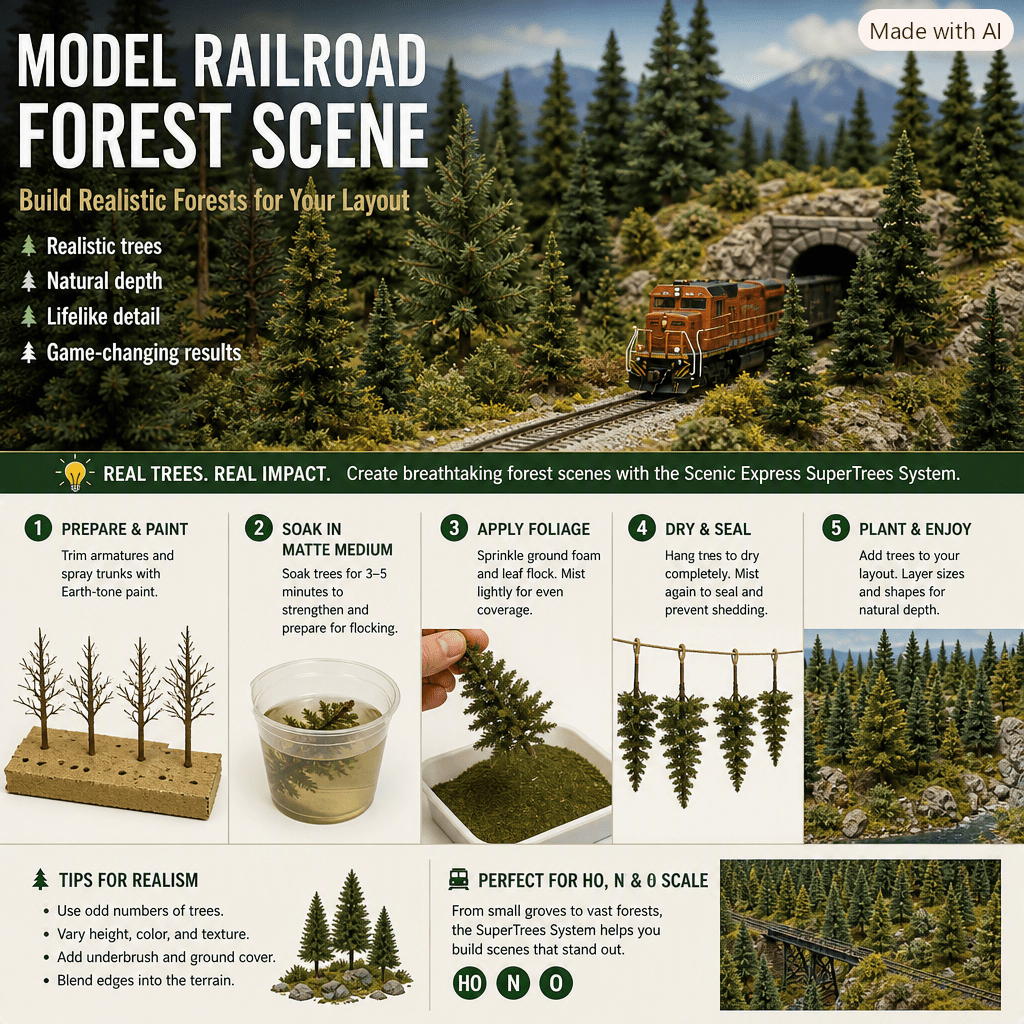
📦 What’s Inside the Kit
| Item | Purpose | Expert Tip |
|---|---|---|
| Natural armatures | Tree skeletons | Sort by size and shape before painting for consistent forest layering |
| Matte medium concentrate | Adhesive and sealer | Dilute 1:7 with water for soaking and spraying |
| Spray bottle | Glue application | Use a fine mist setting to avoid clumping |
| Ground foam (dark & medium green) | Base foliage texture | Mix colors for depth and seasonal variation |
| Leaf‑flock samples | Realistic leaf texture | Layer lightly for highlights and realism |
| Tweezers (angled & straight) | Precision handling | Use angled tweezers for delicate branch placement |
| Flocking tray | Material recovery | Saves excess foam for reuse and keeps workspace clean |
👉 Affiliate Link: Buy Woodland Scenics Ground Foam and Leaf Flock
🎨 Step 1: Preparing and Painting Armatures

Before flocking, inspect each armature carefully. Remove oversized branches and trim uneven ends. For trees near the front of your layout, painting the trunks is essential for realism.
Paint Options:
Technique:
- Mount armatures upright in a cardboard box using holes in the corrugation.
- Spray light mist coats to preserve fine branch detail.
- Rotate the box for even coverage.
- Allow at least 3 hours of drying time before glue soaking.
Pro Tip: For bark texture, lightly dust trunks with gray chalk or dry‑brush tan acrylic after painting.
💧 Step 2: Mixing and Applying Matte Medium
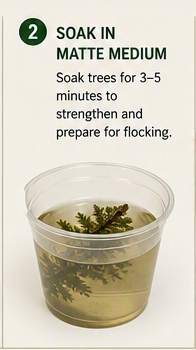
Matte medium acts as both adhesive and sealant. Mix one part concentrate with seven parts water. Pour into a container for soaking and fill the spray bottle for later use.
Recommended Product: Liquitex Matte Medium Concentrate
Process:
- Fill a cup with matte medium.
- Add seven cups of water.
- Stir gently to avoid bubbles.
- Add a drop of dish soap to improve wetting.
- Soak armatures for 3–5 minutes to strengthen branches.
Expert Insight: The matte medium bath not only helps flock adhere but also toughens the natural plant fibers, preventing breakage during installation.
🍃 Step 3: Flocking and Leaf Application

This is where artistry meets technique — and where your trees come to life.
You’ll Need:
- Woodland Scenics Ground Foam – Medium Green
- Woodland Scenics Leaf Flock – Light Green and Fall Mix
- Scenic Express Flocking Tray
Process:
- Remove the soaked armature and shake off excess glue.
- Hold it over the flocking tray.
- Sprinkle ground foam evenly for base coverage.
- Mist lightly with matte medium.
- Add leaf‑flock for texture and highlights.
- Repeat misting and flocking for layered realism.
Color Blending Guide:
| Season | Foam Mix | Leaf Flock |
|---|---|---|
| Spring | Light green + yellow | Bright leaf mix |
| Summer | Medium + dark green | Standard leaf mix |
| Autumn | Orange + brown | Fall leaf mix |
| Conifer | Olive + dark green | Minimal leaf‑flock |
Pro Tip: Less is more. Sparse flocking reveals branch structure and enhances realism.
🌳 Step 4: Drying and Sealing
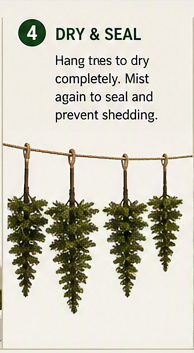
Hang trees upside down or clip them to a box edge. Once dry, mist again with matte medium to lock in foliage and prevent shedding.
Drying Tip: Use clothespins or alligator clips to suspend trees. Avoid touching branches until fully cured.
🪵 Step 5: Planting and Scene Composition
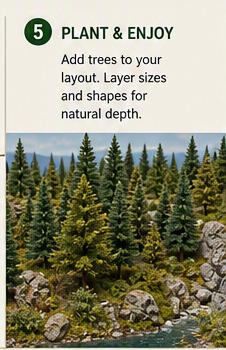
Planting trees is where your forest takes shape.
For Foam or Sculptamold Bases:
- Poke holes with a screwdriver.
- Add glue to the hole and trunk.
- Insert and adjust for natural lean.
For Wood Bases:
- Drill pilot holes for each tree.
- Use carpenter’s glue or epoxy for permanent placement.
Composition Tips:
- Group trees in odd numbers (3, 5, 7) for natural balance.
- Mix heights and colors for depth.
- Use broken branches as shrubs or fallen logs.
- Add underbrush with fine turf and static grass.
Creative Variation: Make potted trees for urban scenes using small containers filled with dirt and foam—perfect for sidewalks or courtyards.
🧠 Step 6: Expert Enhancements

Take your forest from realistic to breathtaking with these advanced techniques:
- Airbrush shading: Add subtle highlights with diluted acrylics.
- Seasonal variation: Create removable tree clusters for different times of year.
- Weathering: Dust trunks with gray chalk for aged bark effects.
- Integration: Blend tree bases into terrain using soil and scenic cement.
- Lighting: Add micro‑LEDs under canopy for nighttime realism.
👉 Affiliate Link: Shop Woodland Scenics LED Lighting Kit
🌌 Conclusion
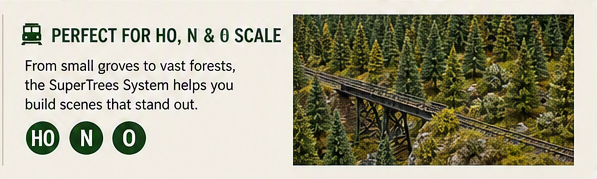
The Scenic Express SuperTrees system blends artistry and engineering. With careful painting, flocking, and composition, you can create forests that rival nature itself. Whether you’re building a small diorama or a sprawling HO layout, these techniques will make your scenery unforgettable — and your readers will love discovering how easy it is to bring their layouts to life.
Until then, happy modeling, and keep those trains rolling!

