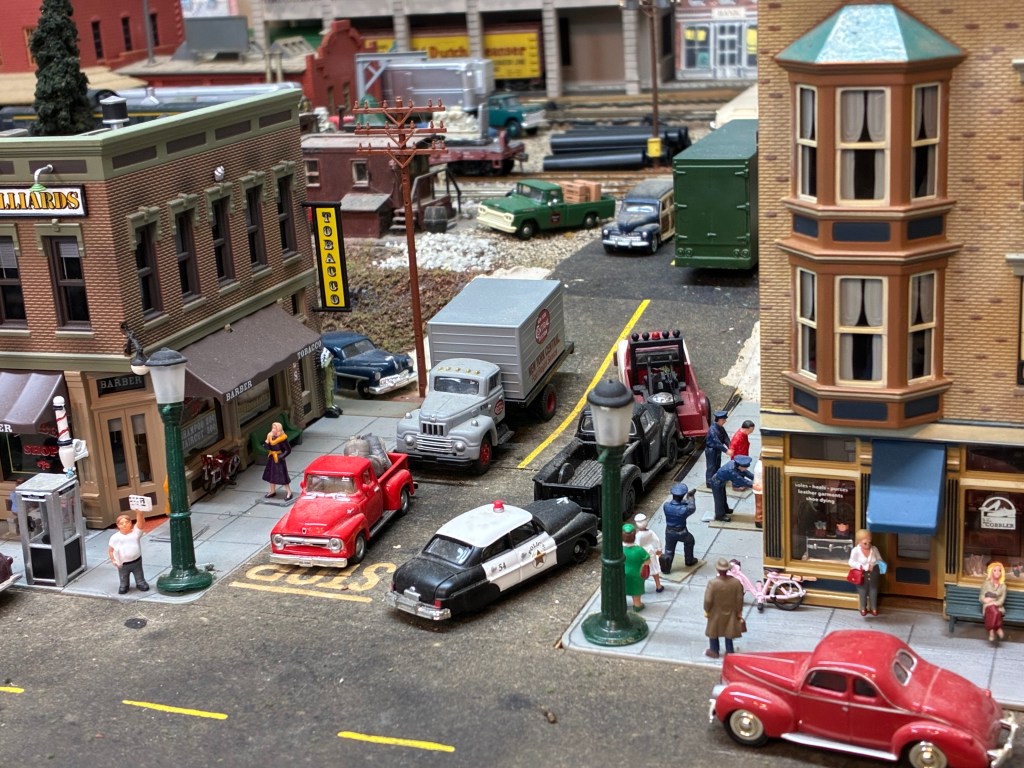
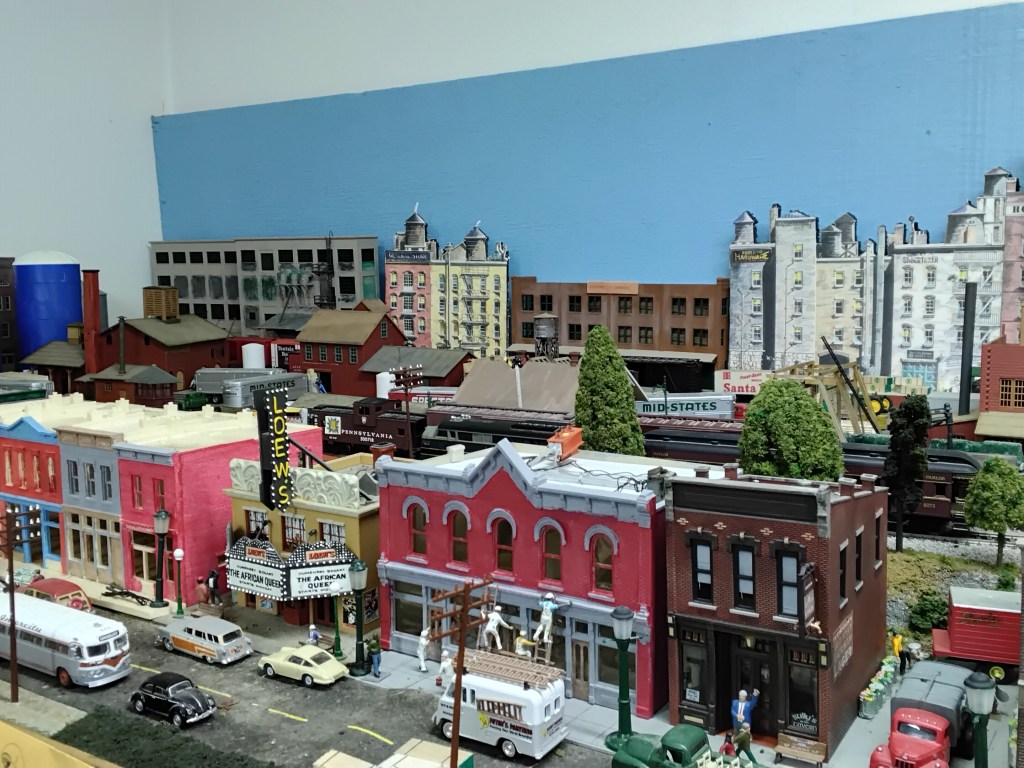
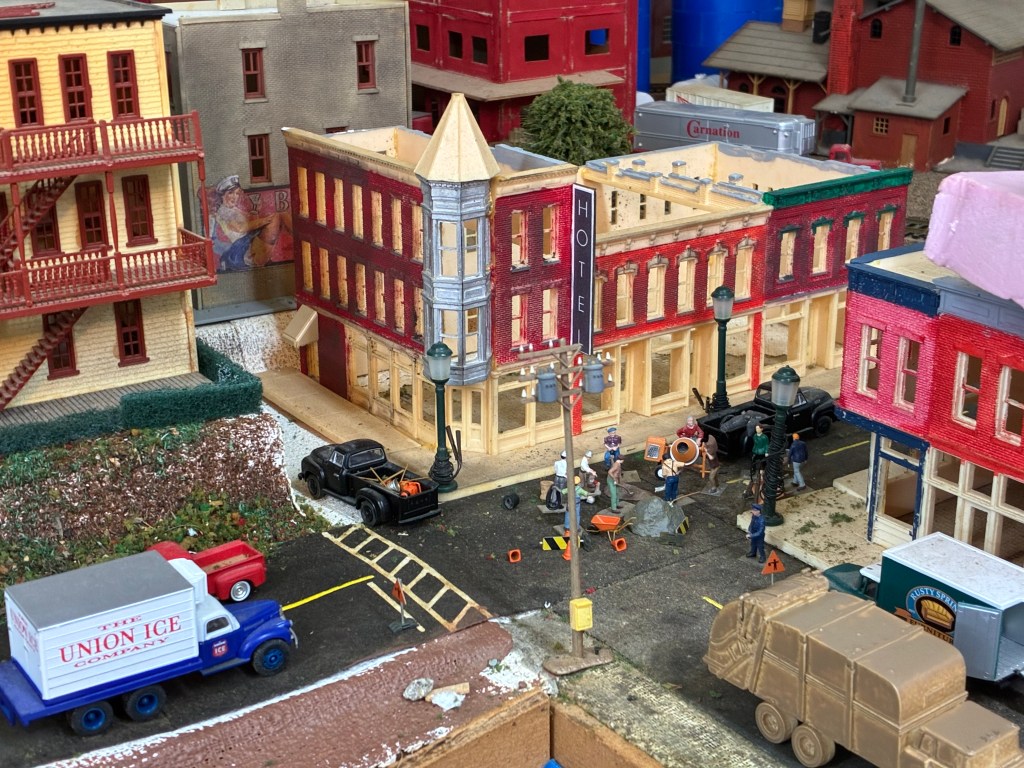
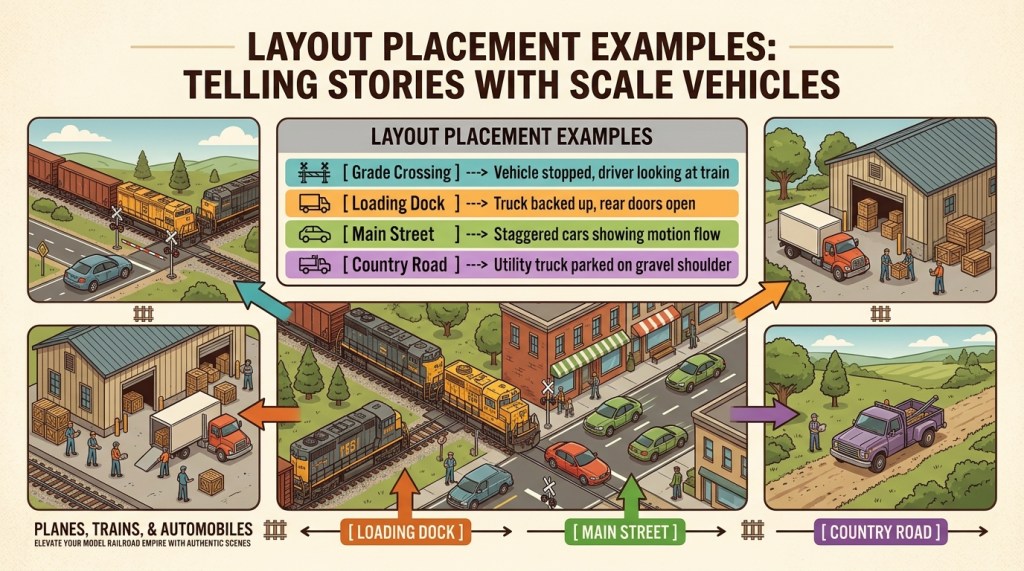
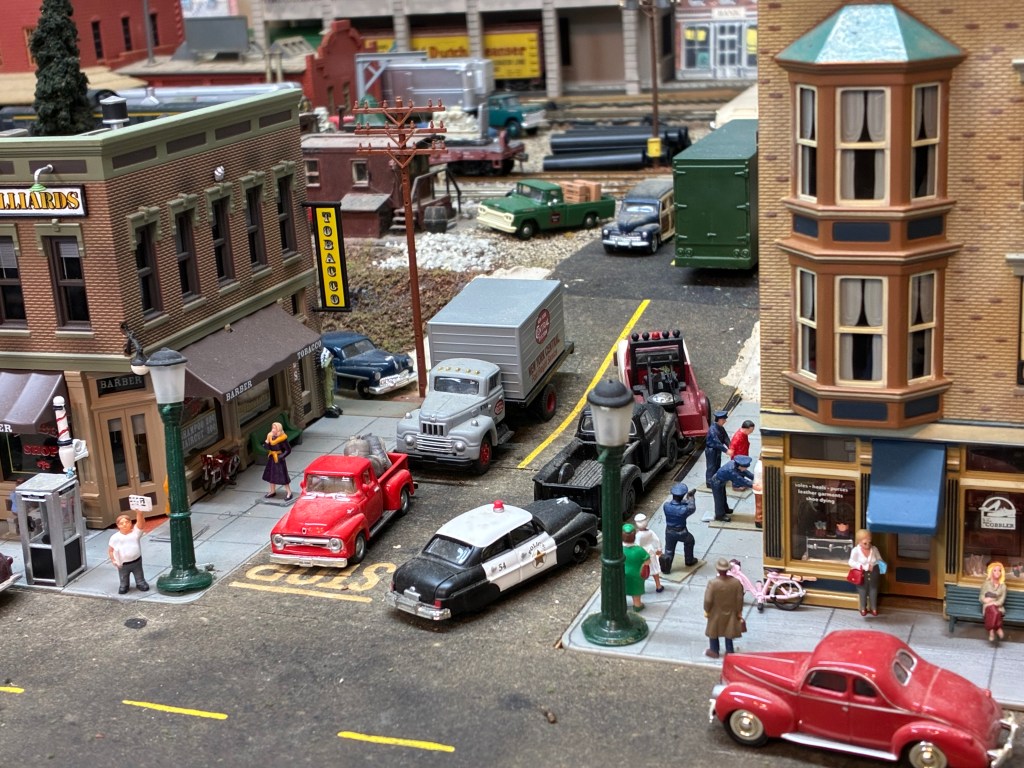
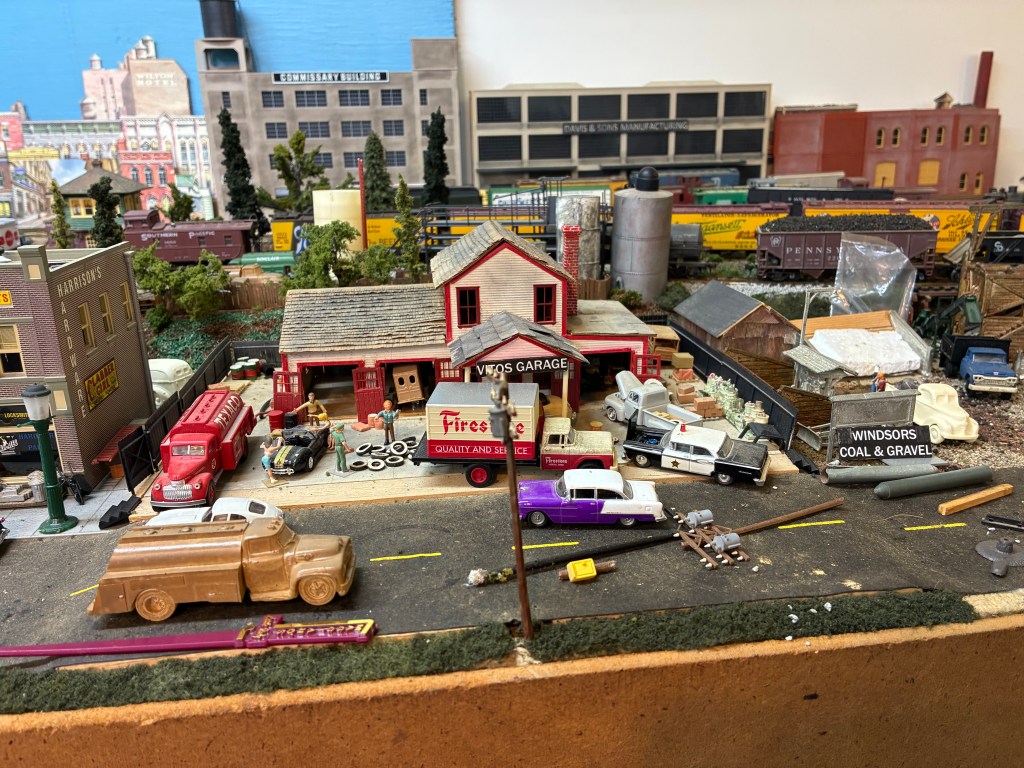
There is a distinct moment in every model railroader’s journey when a layout transforms from a table of moving trains into a living, breathing world. It happens the moment your locomotives have a destination—a place to set out a boxcar, pick up a hopper, or blow the whistle as they pass a weathered brick factory.
Following up on last month’s preview, this October installment of our Family Empire Series dives into building trackside structures and industrial scenery. Crafting buildings together is one of the most rewarding phases of model railroading for families. It blends scale modeling, painting, and storytelling into a hands-on project where everyone—from kids to grandparents—can leave their personal creative mark on the layout.
In this guide, we’ll walk step-by-step through customizing plastic building kits, creating authentic brick and concrete finishes, and applying weathered signage that gives your industries history, character, and purpose.
1. Why Industries Make the Layout
Before gluing a single plastic wall, it helps to ask: What story is this building telling?
In prototype railroading, tracks exist because industries need freight. A siding without a structure is just extra rail; add a freight warehouse, a grain elevator, or a manufacturing plant, and suddenly that siding becomes an operational hub.
When planning your industrial area with your family, decide what goods your railroad moves:
- Manufacturing & Freight Hubs: Perfect for boxcars bringing in raw materials and shipping finished goods.
- Building Supplies & Lumber Yards: Great for flatcars loaded with lumber or covered hoppers carrying cement.
- Fuel & Oil Distributors: Compact footprint structures that make excellent use of small corner spaces.
Assigning a clear role to each building gives your switching operations real purpose when operating your layout.
2. Kitbashing: Making a Common Kit Uniquely Yours
“Kitbashing” is simply the art of taking standard off-the-shelf plastic building kits—such as classic models from Atlas, Walthers, or Pikestuff—and modifying them to fit your specific space or layout story. It prevents your town from looking like every other layout and lets your family tailor buildings to exact dimensions.
Simple Kitbashing Techniques for the Family Workbench
- Wall Reconfiguration: Most plastic kits come with modular wall panels. Instead of building a square structure as shown on the box, glue the panels end-to-end to build a long, shallow “background building” that sits flat against your layout backdrop. This saves valuable table space while creating the illusion of a massive industrial facility.
- Door and Window Swaps: If you have extra parts from multiple kits, swap freight doors or loading docks between buildings to create custom wall layouts.
- Adding Overhead Crane Bays or Loading Docks: Extend an industrial kit by adding a basswood or plastic loading platform along your siding so HO scale workers can load boxcars directly.
Safety Tip for Family Workbench Sessions: When cutting plastic wall sections, adults should handle the utility knife scoring, while kids can help snap the scored lines clean and sand the rough edges smooth with medium-grit sanding sticks.
3. Painting Realistic Brick, Concrete, and Mortar
Straight out of the box, molded plastic building parts have a shiny, artificial sheen that screams “toy.” A quick layer of paint cures this instantly and brings out all the microscopic details molded into the plastic.
Step 1: Primer and Base Coat
Never apply paint directly to bare plastic. Spray all wall sections with a flat primer (light grey or dark red works best depending on the final building color).
- For brick structures, spray a base coat of flat terracotta, barn red, or dark brown acrylic paint.
- For concrete buildings or foundations, use a flat warm grey or beige spray paint.
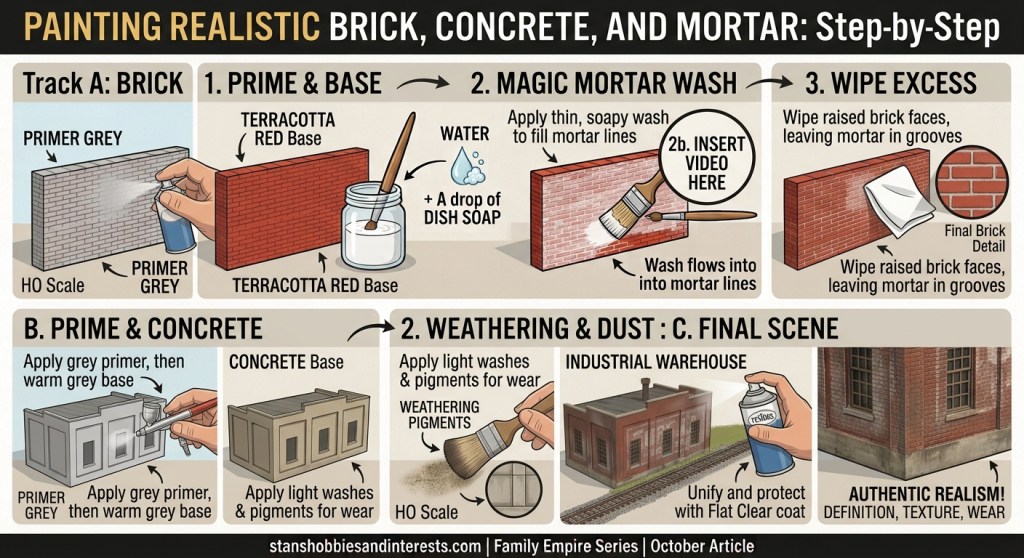
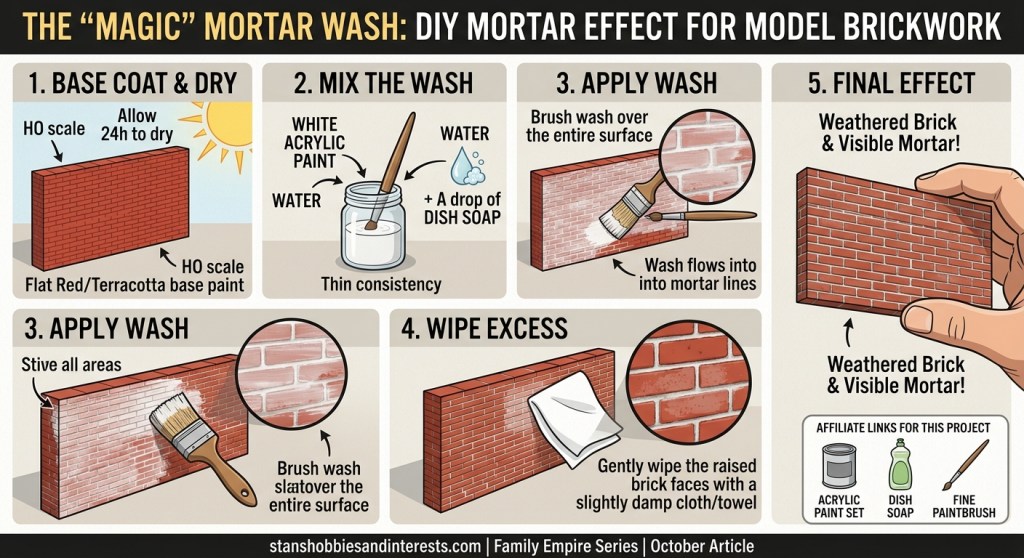
Step 2: The “Magic” Mortar Wash
The secret to making HO scale brick walls pop is highlighting the mortar lines between individual bricks. This technique is easy, forgiving, and yields instant results:
- Let your base coat red brick paint dry completely for 24 hours.
- Mix a thin wash using white or light-grey water-based acrylic paint, a drop of dish soap (which breaks surface tension), and plenty of water.
- Brush the wash liberally over the entire brick wall, making sure it flows into all the tiny recessed mortar lines.
- While the wash is still damp, take a slightly damp paper towel or sponge and gently wipe across the raised surface of the bricks.
- The white wash will stay trapped inside the recessed mortar lines while rubbing off the brick faces, instantly creating realistic, weathered brickwork!
4. Weathered Signage: Adding History to Wall Panels
Nothing tells a building’s backstory better than vintage advertising and industrial signage painted onto brick walls or mounted over loading docks.
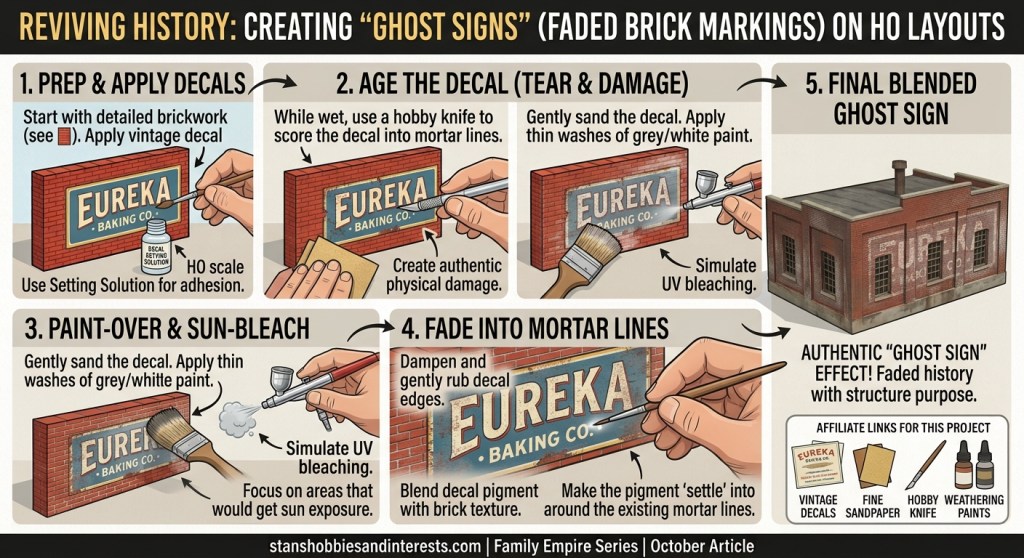
Ghost Signs (Faded Brick Markings)
“Ghost signs” are the faded, vintage advertisements seen on older brick structures in industrial districts. To create this effect on your model:
- Print vintage company logos or industrial signs onto standard paper using an inkjet or laser printer.
- Cut out the sign and lightly sand the back of the paper with fine sandpaper to make it as thin as possible.
- Apply a thin layer of matte Mod Podge or white craft glue to the brick wall and press the sign down firmly, using an old toothbrush to press the wet paper into the brick grooves.
- Once dry, gently rub the sign face with fine sandpaper or brush a light wash of grey acrylic paint over it to give it a sun-bleached, weathered look.
Industrial Decals and Dry Transfers
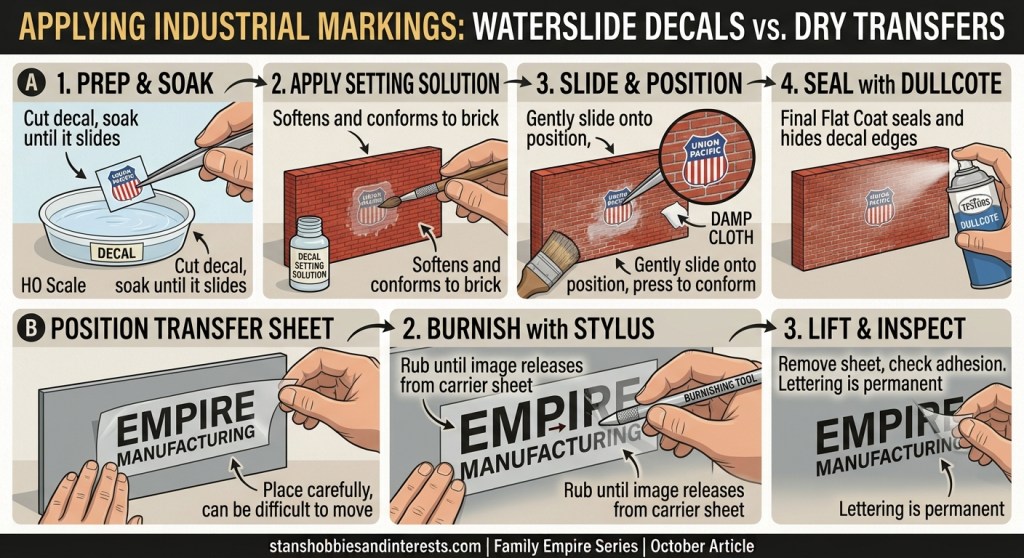
For steel or concrete buildings, apply waterslide decals or dry-transfer lettering with company names like Union Pacific Freight Depot, Empire Manufacturing, or custom family-named businesses (e.g., Stan & Sons Lumber Co.). Finish all wall panels with a coat of flat clear sealing spray (such as Testors Dullcote) to remove any remaining shine.
5. Trackside Details: The Finishing Touches
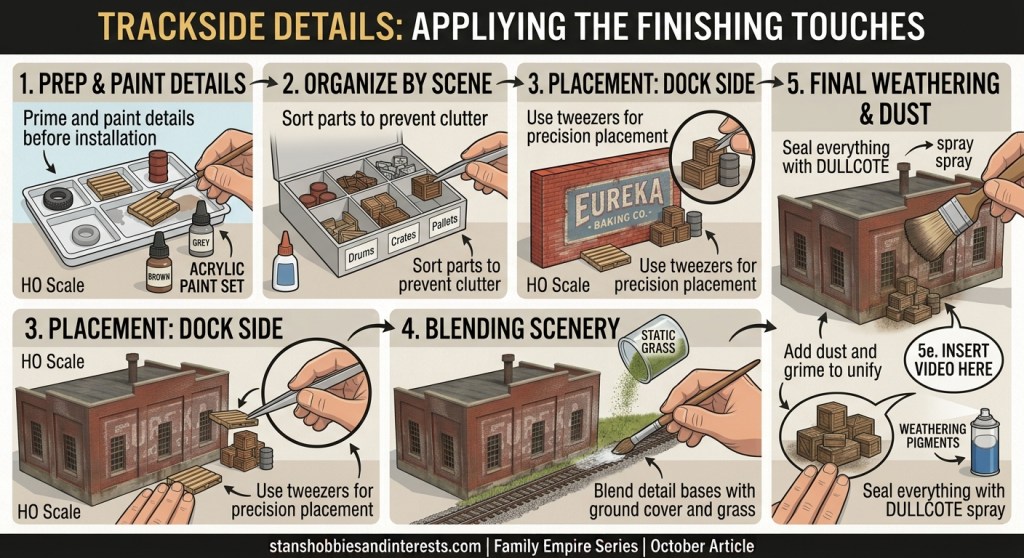
Once your structure is assembled and placed along your siding, surrounding details complete the scene. These small touches invite viewers to look closer:
- Pallets and Drums: Scatter HO scale wooden pallets, oil drums, and crates along the loading dock.
- Security Fencing and Lighting: Add chain-link fencing around industrial yards and install warm LED goose-neck lamps above freight doors.
- Ground Cover & Debris: Spread fine dark ballast, static grass, and bits of crushed coal or sawdust along the building foundation to blend it seamlessly into the ground scenery.
Recommended Tools & Supplies for Structure Building
To help get your family workbench equipped, here are the essential supplies used for assembly, painting, and detailing:
- Testors Liquid Plastic Cement: The gold standard for bonding plastic kit walls together securely.
- Vallejo Acrylic Paint Basic Set: High-pigment acrylic paints ideal for hand-brushing trim, brick mortar washes, and concrete details.
- HO Scale Freight Details & Pallets Kit: Perfect for populating loading docks and industrial yards with realistic cargo.
- Testors Dullcote Flat Clear Spray: Essential for removing plastic shine and sealing weathered paintwork.
Looking Ahead to November!
Now that your trackside industries are built, painted, and ready to receive freight, your layout is primed for full operations! Join us next month for our November installment, where we’ll dive into “Mastering Layout Operations: Scheduling, Waybills, and Running Trains Like a Real Railroad.” We’ll show you how to turn your new trackside structures into interactive switching puzzles the whole family can play together!
Until then, happy modeling, and keep those trains rolling!