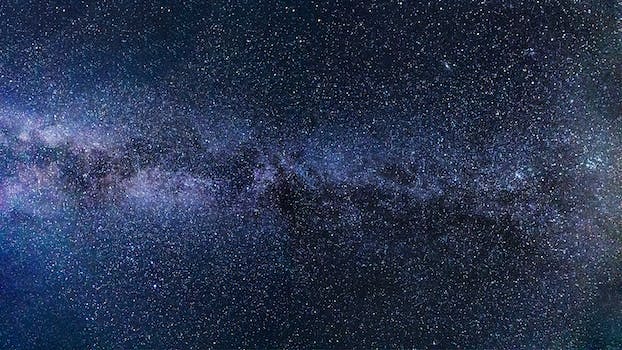
As we usher in the new year, the night sky promises a stellar show for families and astronomy enthusiasts alike. The celestial tapestry of 2024 unfolds with a myriad of highlights—planetary alignments, meteor showers, and the dance of constellations—that invite us to gaze upward and marvel at the wonders of the universe. In this family-friendly guide, we’ll embark on a journey through the upcoming year, unveiling the astronomical delights that will grace our night sky.
Chapter 1: The Dance of the Planets

1.1 Venus as the Evening Star
In the early months of 2024, Venus takes center stage as the Evening Star. Visible shortly after sunset, Venus gleams brightly in the western sky. Its brilliance and steady presence make it an excellent object for families to observe. Encourage children to spot Venus and witness how its position changes over the weeks.
1.2 Mars and the Red Planet’s Close Encounter
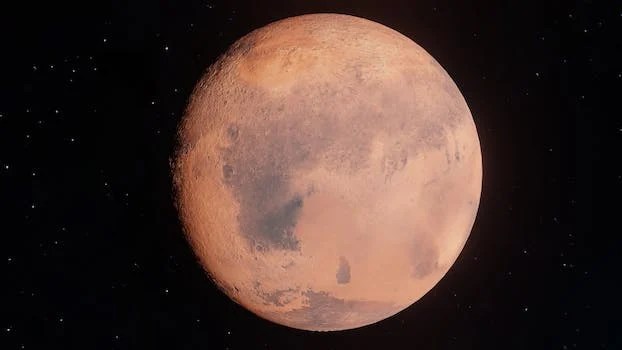
Mars, the Red Planet, makes a notable appearance in the night sky. Keep an eye out for Mars as it gradually becomes more prominent, presenting a reddish glow. In the latter part of the year, Mars and Earth experience a close encounter known as opposition, bringing Mars closer to us and offering optimal viewing opportunities. This celestial event occurs approximately every 26 months, making 2024 an ideal time to observe the Red Planet.
1.3 Jovian Delights: Jupiter and Its Moons
Jupiter, the largest planet in our solar system, graces the night sky throughout 2024. What makes this year special is the opportunity to observe Jupiter and its four largest moons, known as the Galilean moons—Io, Europa, Ganymede, and Callisto. These moons are visible through binoculars or a small telescope, providing a captivating sight for families. Challenge your loved ones to identify and track the changing positions of these celestial companions.
Chapter 2: Meteor Showers Painting the Night Sky
2.1 Lyrid Meteor Shower: April’s Celestial Fireworks
In April, the Lyrid meteor shower treats stargazers to a celestial fireworks display. This annual event is known for its fast and bright meteors, originating from the debris left behind by Comet C/1861 G1 Thatcher. Find a dark spot away from city lights, set up some blankets, and enjoy the Lyrid meteor shower as it peaks in mid-April. Each shooting star carries with it the remnants of a comet’s journey through our solar system.
2.2 Perseids Meteor Shower: August’s Dazzling Show
One of the most anticipated meteor showers of the year, the Perseids, graces the night sky in August. Known for its prolific display, the Perseids are caused by the debris trail left by Comet Swift-Tuttle. This shower is family-friendly, offering a high meteor count and often producing bright fireballs. Make it a summer night tradition to observe the Perseids, lying back on a blanket and counting shooting stars.
Chapter 3: Celestial Alignments and Conjunctions
3.1 Venus and Mercury Embrace
In the early part of the year, Venus and Mercury engage in a celestial dance. Look for these two planets low in the western sky after sunset. Their close proximity creates a captivating sight, especially in February and March. Witnessing planetary alignments provides a unique opportunity to appreciate the orbital dynamics of our solar system.
3.2 Triple Conjunction of Venus, Mars, and Saturn
As 2024 progresses, an exciting triple conjunction occurs involving Venus, Mars, and Saturn. This celestial alignment unfolds in the pre-dawn sky, creating a celestial trio that captivates early risers. The juxtaposition of these planets offers a stunning visual treat and a memorable moment for families to share.
3.3 Jupiter and Saturn’s Continued Dance
Building on the Great Conjunction of 2020, Jupiter and Saturn continue their celestial dance in 2024. While not as close as in the previous conjunction, the ongoing proximity of these gas giants provides a visual spectacle. Observe their changing positions throughout the year, tracing the majestic orbits of these two giant planets.
Chapter 4: Lunar Marvels and Moonlit Nights
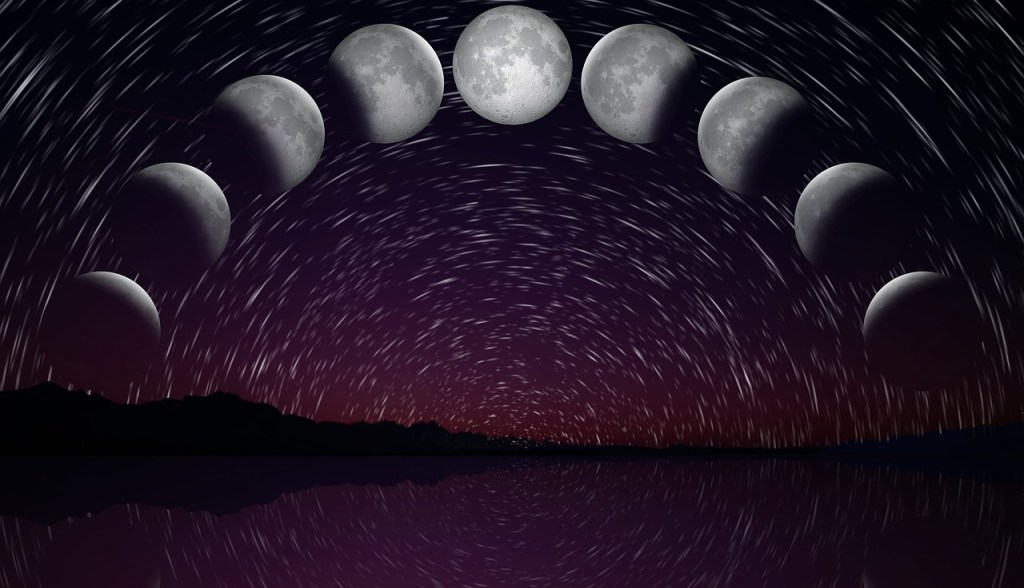
4.1 Supermoons: Luna’s Close Encounters
Several supermoons, where the Moon appears larger and brighter due to its closer proximity to Earth, adorn the night sky in 2024. These include the Full Moons of April, May, and June. Supermoons provide an excellent opportunity for families to observe and appreciate the Moon’s beauty, especially when it hangs low on the horizon, creating a mesmerizing illusion.
4.2 Total Lunar Eclipse: May’s Celestial Show
May brings a total lunar eclipse, a celestial phenomenon where the Earth casts its shadow on the Moon, resulting in a captivating red hue. Lunar eclipses are safe to observe with the naked eye, making them family-friendly events. Set up a telescope or simply step outside to witness the Moon’s transformation during this awe-inspiring celestial show.
4.3 Partial Solar Eclipse: A Glimpse of Cosmic Geometry
Later in the year, a partial solar eclipse occurs, treating certain regions to a celestial spectacle where the Moon
partially covers the Sun. While not visible everywhere, families within the eclipse path can safely observe this cosmic ballet. Remember to use proper solar viewing techniques to protect your eyes during solar events.
Chapter 5: Stargazing Tips for Families

5.1 Celestial Calendar for Family Planning
Create a celestial calendar for your family, marking the dates of meteor showers, planetary conjunctions, and other astronomical events. Engaging with a celestial calendar helps build excitement and anticipation for upcoming stargazing sessions.
5.2 Stellar Apps for Astronomical Exploration
Leverage stargazing apps that cater to families and beginners. These apps use augmented reality and real-time tracking to help identify constellations, stars, and planets. They can turn a simple stargazing session into an interactive and educational experience for the whole family.
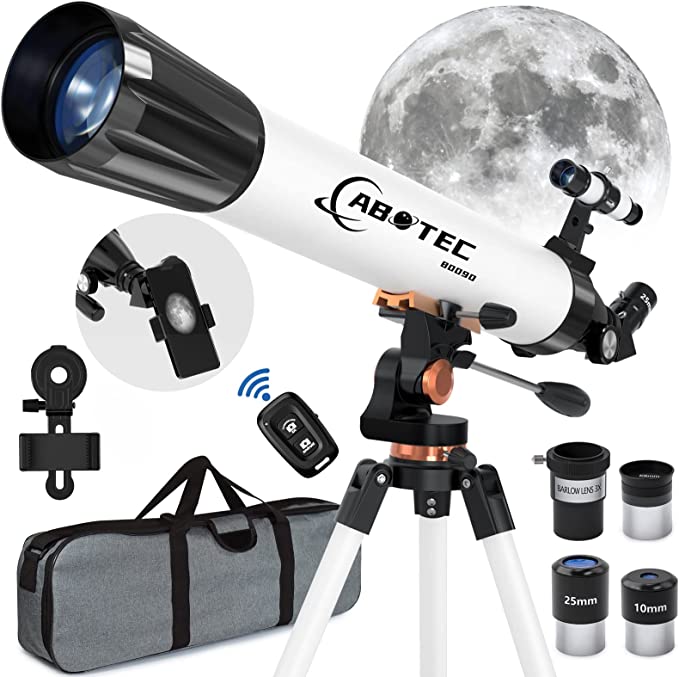
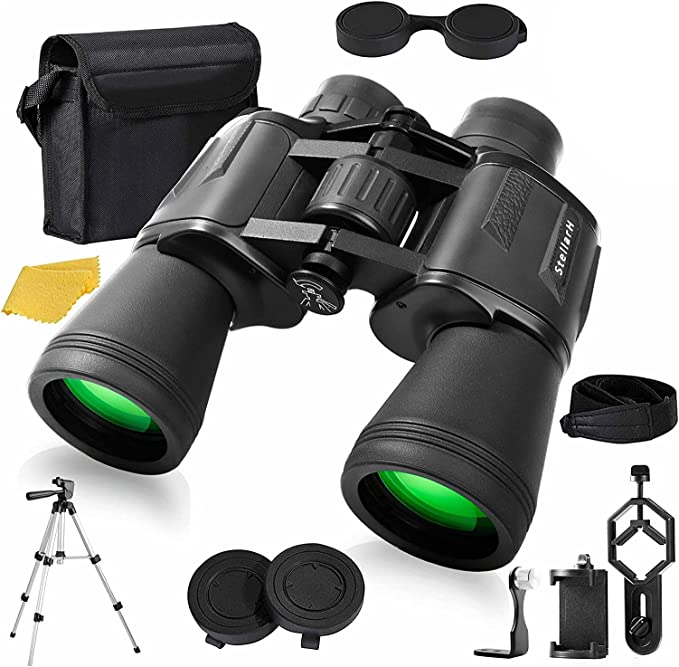
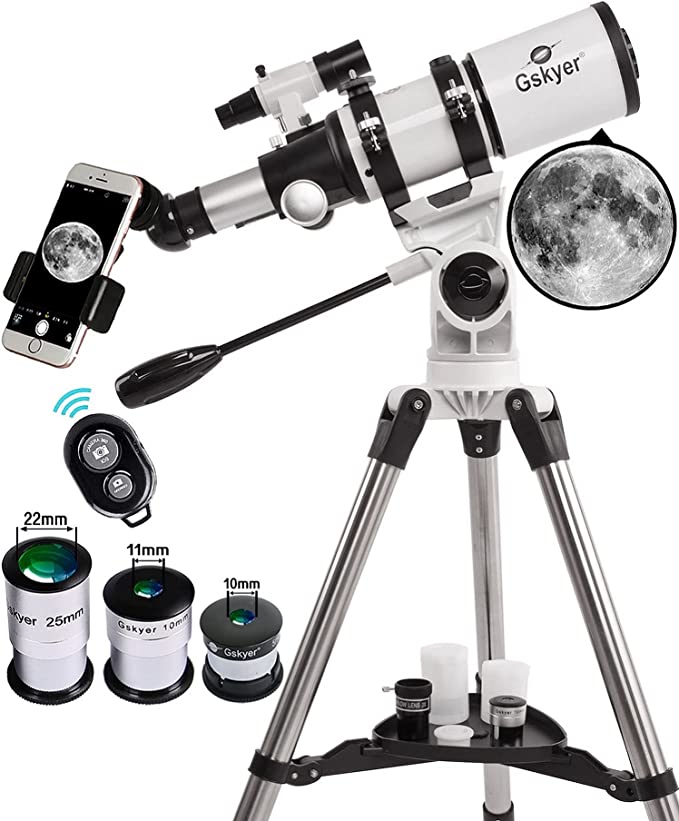
5.3 Telescope and Binocular Adventures
Invest in a small telescope or a pair of binoculars to enhance your family’s stargazing experience. Telescopes reveal details on planets, while binoculars provide a broader view of the night sky. Encourage family members to take turns observing celestial objects, fostering a shared sense of wonder.
5.4 Night Sky Rituals and Traditions
Establish night sky rituals within your family. Whether it’s a monthly stargazing outing, creating celestial-themed artwork, or sharing space-related bedtime stories, these traditions create a sense of unity and foster a love for astronomy among family members.
5.5 Celestial Creativity: Sketching and Storytelling
Encourage your children to engage in celestial creativity. Whether it’s sketching the Moon’s phases, creating stories about constellations, or crafting a visual representation of a meteor shower, these activities blend artistic expression with a love for the cosmos.
Chapter 6: The Cosmic Connection

6.1 Educational Exploration of the Universe
Stargazing offers an excellent platform for educational exploration. Use your time under the stars to discuss the science behind celestial events, explore the mythology associated with constellations, and foster a sense of curiosity about the universe. Turn stargazing into a family science adventure.
6.2 Quality Family Time under the Stars
Make stargazing an opportunity for quality family time. Disconnect from screens, set up a cozy stargazing spot, and enjoy the serenity of the night sky together. Engage in conversations about the cosmos, share stories, and create lasting memories under the stars.
6.3 Inspiration from the Cosmos
Encourage family members to draw inspiration from the cosmos. Whether it’s creating art, writing poems, or composing music inspired by the night sky, these creative endeavors not only express individuality but also strengthen the connection between your family and the wonders of the universe.
6.4 Shared Experiences and Lifelong Memories
Stargazing experiences create shared memories that last a lifetime. Whether you’re watching a meteor shower, identifying constellations, or marveling at the planets, these moments become cherished memories that bind families together through a shared love for the night sky.
Conclusion: A Year of Celestial Marvels
As we venture into the celestial wonders of 2024, the night sky beckons families to engage in a cosmic journey. From the dance of planets to the brilliance of meteor showers, each celestial event offers a unique opportunity for shared exploration and discovery. So, mark your calendars, gather your loved ones, and let the night sky be the canvas for a year filled with celestial marvels that will inspire, educate, and create lasting memories for your family. Happy stargazing!