Welcome to April, fellow travelers of the night sky! If March was the “thaw,” then April is the “bloom”—not just for the flowers in our backyards here in Kentucky, but for the light reaching our telescopes from across the cosmos.
This month, we are turning our eyes away from the local stars of the Milky Way and peering into the vastness of intergalactic space. Grab a warm jacket and a thermos of coffee; it’s time for Galaxy Season.
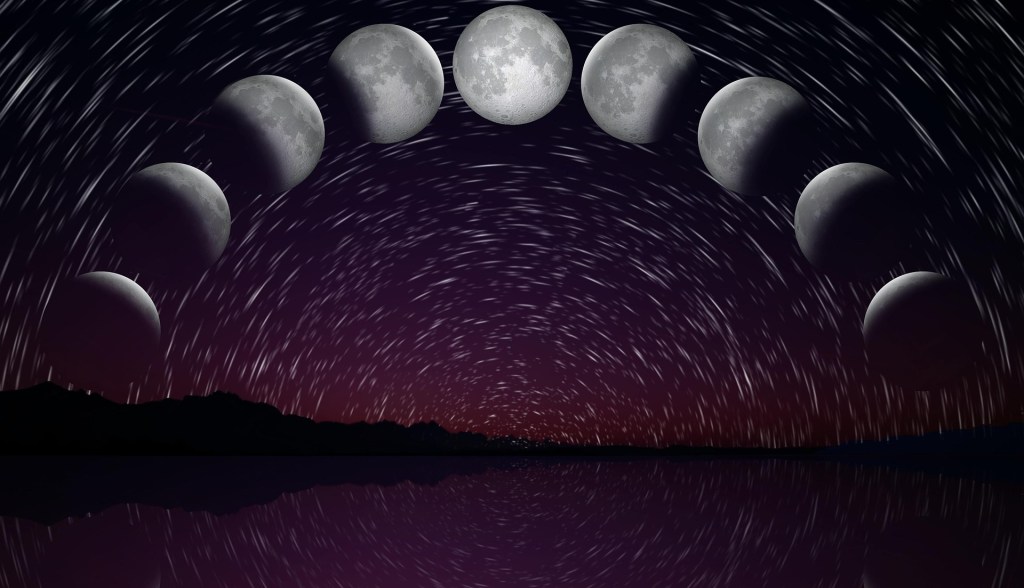
1. The Lunar Cycle: Tracking the Pink Moon

In the world of astronomy, the Moon is both our greatest subject and our biggest “light polluter.” Planning your month means working around her glow.
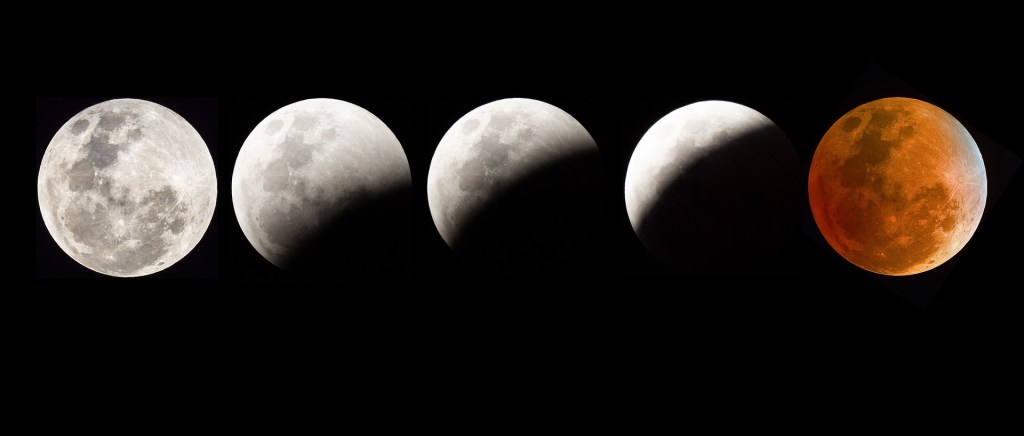
- April 1: The Full Pink Moon – Rising in the constellation Virgo, this Moon is named for the creeping phlox that blankets the ground this time of year. While the “Full” phase is beautiful to the naked eye, it’s actually the worst time to see craters because there are no shadows.
- April 17: The New Moon (The Deep-Sky Window) – This is the most important date on your calendar. From April 14th to the 20th, the sky will be at its darkest. This is your window to hunt for the faint “fuzzies” like the Leo Triplet.
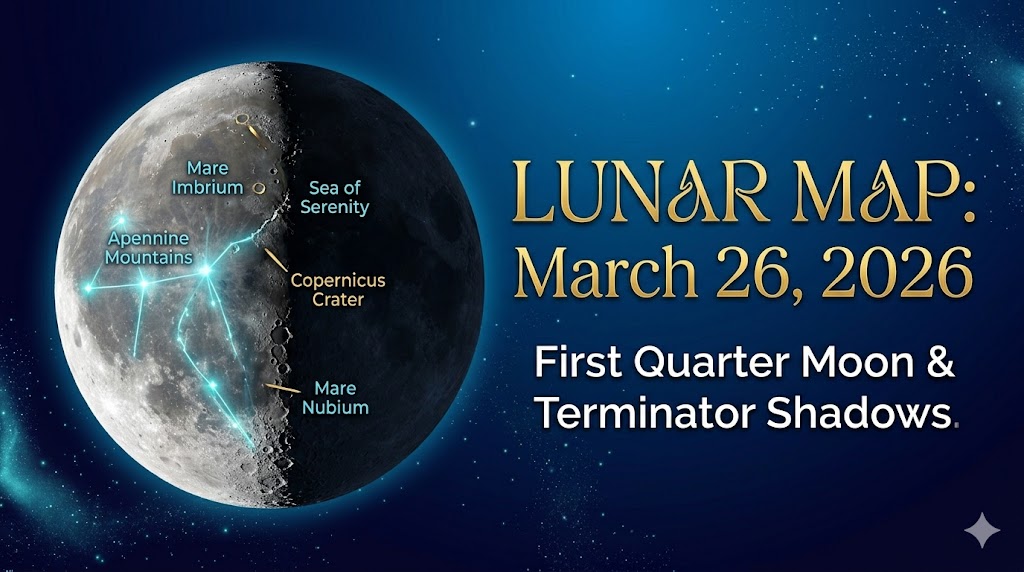
- April 24: First Quarter – My personal favorite for families. Look at the Lunar Apennines, a mountain range on the Moon that stands out in sharp relief tonight.
2. The Planet Parade: A Morning and Evening Show
2026 is giving us a split-shift for the planets. You’ll find beauty both as the sun sets and before it rises.
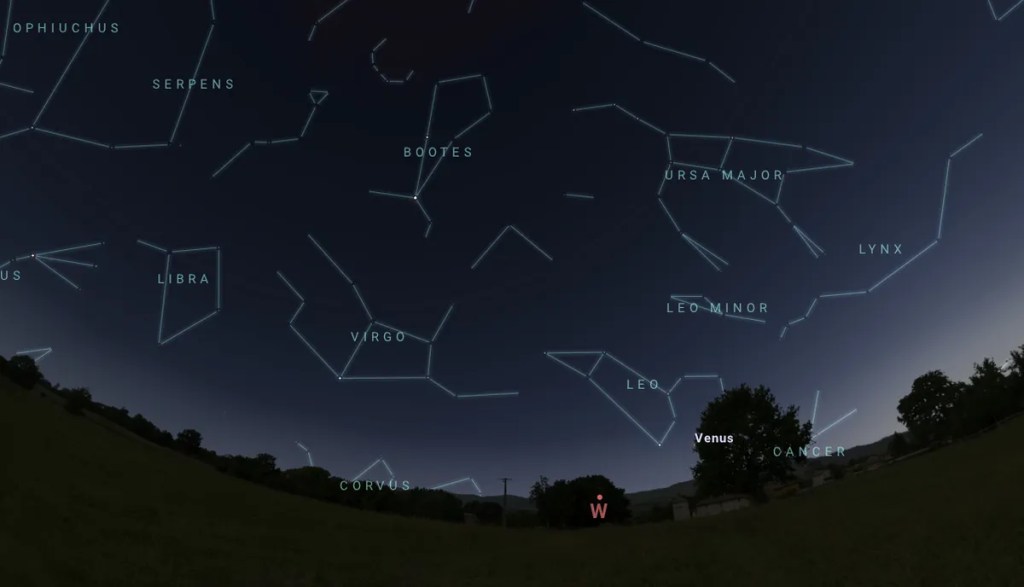
The “Jewel and the Necklace” (April 19)

If you only look up once this month, make it the evening of April 19. In the West, the brilliant planet Venus (the “Evening Star”) will climb within 2.3° of the Pleiades Star Cluster (M45).
- Stan’s Tip: To the naked eye, it looks like a bright diamond sitting next to a tiny, misty dipper. Through binoculars, you’ll see Venus surrounded by the dozens of icy-blue stars of the Seven Sisters. It is the best photo-op of the spring.
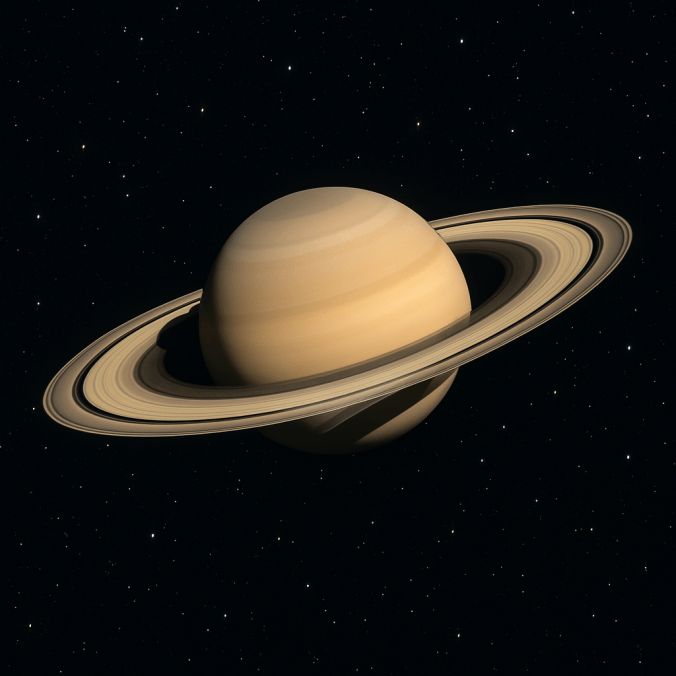
The Pre-Dawn Triple Conjunction (April 20)
For the early birds, set your alarm for 5:30 AM. Low in the East, Mercury, Mars, and Saturn will form a tight, colorful triangle. Mars will show its distinct reddish hue, contrasting against the golden-yellow of Saturn.
3. Constellations & Major Stars: Navigating the Spring Sky
In April, the “Winter Circle” is setting, and the “Spring Triangle” is rising.
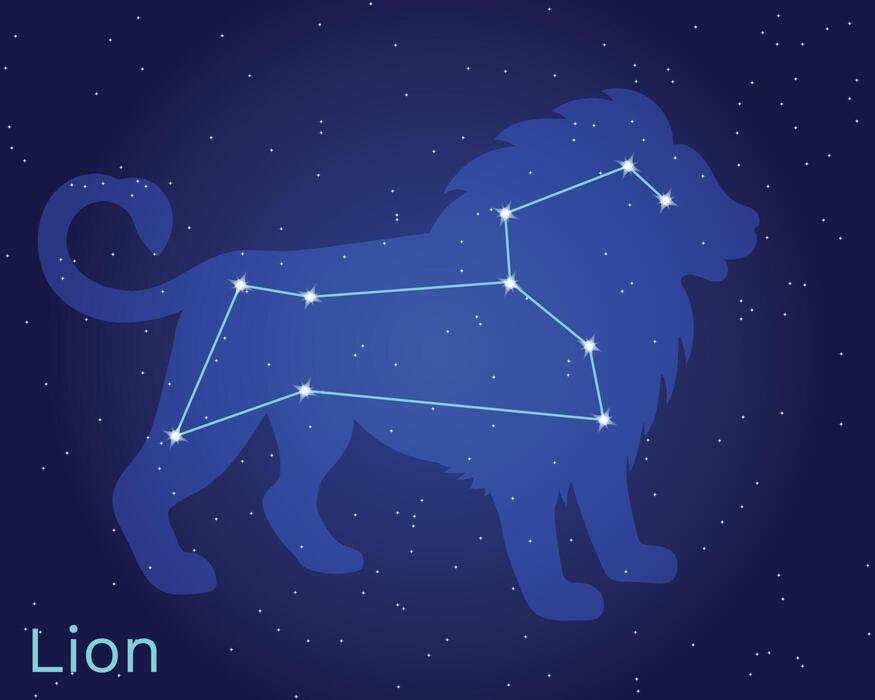
- Leo the Lion: Look directly overhead. The “Sickle” (backwards question mark) represents the head. At the base is Regulus, a blue-white star that is 79 light-years away.
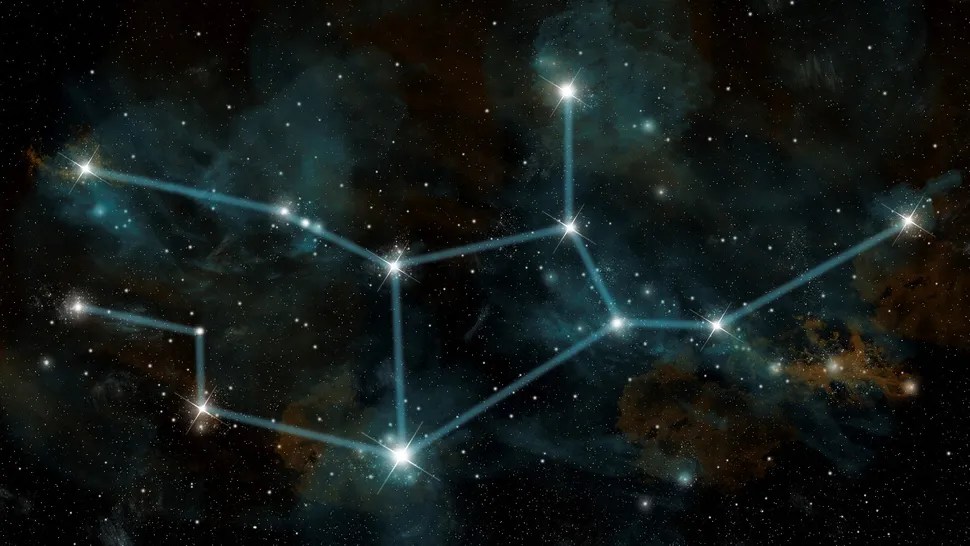
- Boötes the Herdsman: Follow the “Arc to Arcturus.” This orange giant is the brightest star in the northern celestial hemisphere and is easy to spot rising in the East.
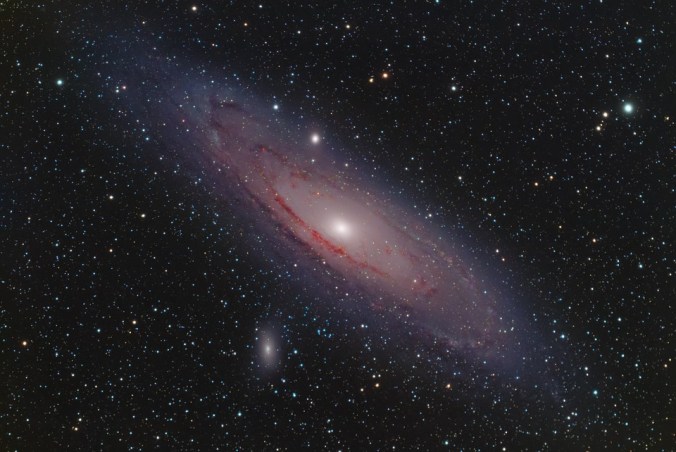
- Virgo the Maiden: From Arcturus, “Spike to Spica.” This icy-blue star marks the heart of the region where we find the great Galaxy Cluster.
4. Major Events: Meteors and Comets
The Lyrid Meteor Shower (April 21–22)
This video is relevant because it visually demonstrates the “Arc to Arcturus” and the positioning of the Virgo Cluster, making it much easier for beginners to find these objects in the actual sky.
This is a “Dark Sky” year for the Lyrids! Since the Moon is a thin crescent and sets early, the sky will be perfectly dark for the peak. Expect 15–20 meteors per hour. Look toward the bright star Vega in the constellation Lyra to find the “radiant” point.
The 2026 Comet Wildcards
April 2026 features two potential naked-eye comets.
- Comet MAPS (C/2026 A1): After swinging around the sun on April 4, look for a growing tail in the Western twilight between April 10–15.
- Comet PanSTARRS (C/2025 R3): Reaches its closest point to Earth on April 26. Look for it in Pisces low in the East before dawn.
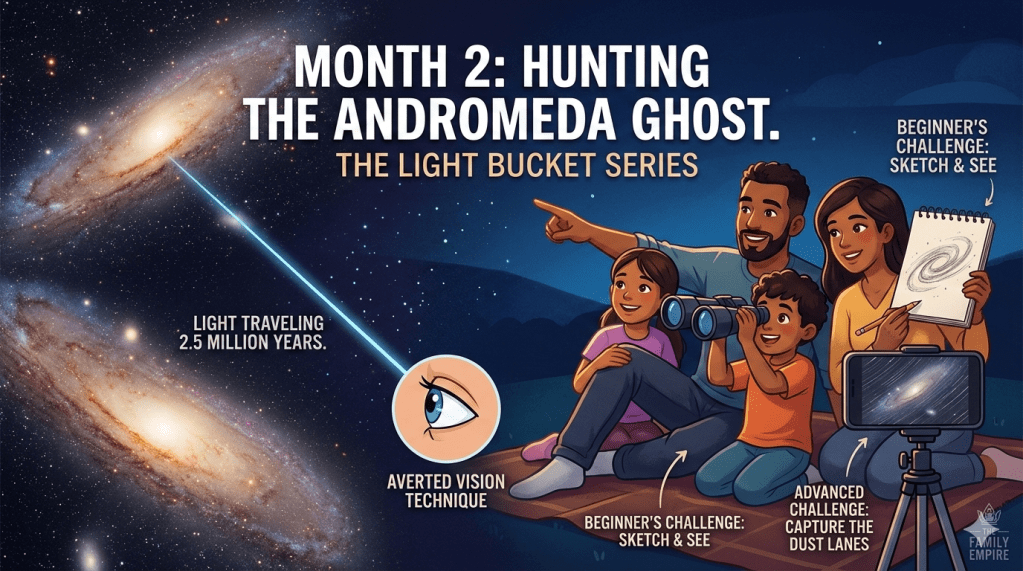
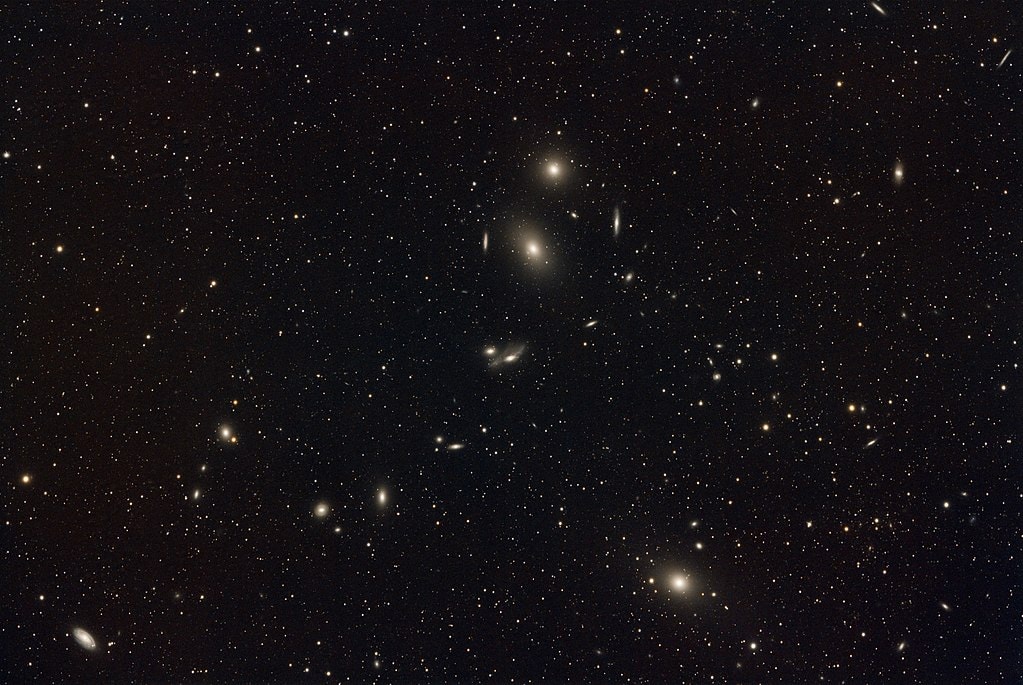
5. Deep-Sky Hunting: Galaxy Season
This is the heart of my April column. When you look toward Virgo, you are looking through a “hole” in our own galaxy’s dust.
- The Leo Triplet (M65, M66, NGC 3628): Located just below the “hindquarters” of Leo. These three spiral galaxies are 35 million light-years away.
- Markarian’s Chain: In the heart of Virgo, you can see a curved line of eight galaxies. It looks like a “Chain of Pearls” floating in the void.
6. Stan’s Gear Recommendations for April
To make these observations successful, especially for the family, here is what I’m using this month:
- For the Venus Conjunction: Celestron SkyMaster 15×70 Binoculars. These provide the wide field needed to see the Pleiades and Venus together.
- For Galaxy Hunting: Celestron StarSense Explorer DX 130AZ. If you struggle to find the Virgo Cluster, this scope uses your phone to guide you right to it.
- For Smartphone Users: Don’t just look—capture it! Use the Celestron NexYZ 3-Axis Smartphone Adapter. It lets you align your phone camera perfectly with the eyepiece for “Light Bucket” photos of the Moon or Venus.
7. Why Stargazing Matters for the Family
Astronomy is a lifelong endeavor. It teaches patience, curiosity, and a sense of scale. When you stand in the backyard with your kids or grandkids and point at light that has been traveling since the time of the dinosaurs, you aren’t just looking at stars—you are sharing a moment of cosmic history.
Stan’s Pro-Tip: Use a Nitecore NU25 Red Light Headlamp. It keeps your hands free to handle charts while protecting your “night eyes,” which take 20 minutes to fully adjust but only a second of white light to ruin!
Tease for May: The Return of the King
Make sure to come back next month! In May, we turn our buckets toward the “King of the Planets,” Jupiter, as it makes a spectacular return to the evening sky. We will also explore the Hercules Cluster, a “snowball” of 300,000 stars that is the crown jewel of the summer sky.