This article is in response to a comment from Matthew, I hope this helps with your wiring project.
Model railroading is a fascinating and rewarding hobby that combines creativity, engineering, and a love for trains. One of the most crucial aspects of building a model train layout is wiring. Proper wiring ensures that your trains run smoothly and reliably, and it allows you to control various elements of your layout. For novices, wiring can seem daunting, but with the right guidance, it can be a manageable and even enjoyable task. In this article, we’ll walk you through the essential steps to wire your model train layout.
Understanding the Basics
Before diving into the wiring process, it’s essential to understand some basic concepts:
1. Power Supply
The power supply is the heart of your layout’s electrical system. It converts household electricity into a form that your trains can use. There are two main types of power supplies:
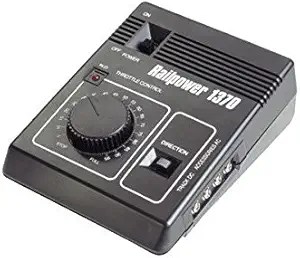
- DC (Direct Current): Traditional model train layouts use DC power, where the track voltage determines the train’s speed and direction. MRC RAILPOWER 1370 Model Train Powerpack

- DCC (Digital Command Control): Modern layouts often use DCC, which allows for independent control of multiple trains on the same track. DCC systems send digital signals through the rails to control train functions. Power Cab DCC Starter Set NCE5240025
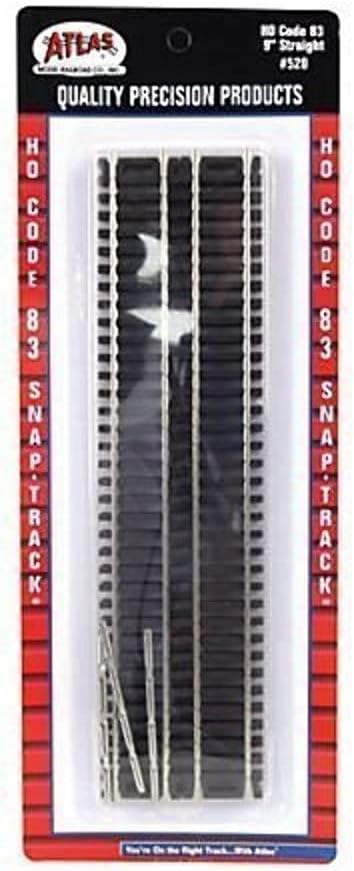
2. Track Wiring
Track wiring involves connecting the power supply to the rails so that the trains receive power. This is typically done using feeder wires and bus wires.
- Feeder Wires: Short wires that connect the track to the bus wires.
- Bus Wires: Long wires that run under the layout and distribute power from the power supply to the feeder wires.
3. Blocks and Sections
Dividing your layout into blocks or sections can help manage power distribution and control. Each block is an electrically isolated section of track with its own feeder wires.
4. Switches and Turnouts
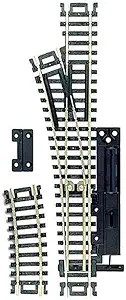
Switches (also known as turnouts) allow trains to change tracks. Wiring switches correctly is essential for smooth operation. HO Code 100 Manual Left-Hand Switch
Step-by-Step Guide to Wiring Your Model Train Layout
Step 1: Plan Your Layout
Before you start wiring, it’s crucial to plan your layout. Draw a detailed track plan, including all tracks, turnouts, and any accessories you plan to use. Identify where you will place the power supply and how you will divide the layout into blocks.
Step 2: Gather Your Materials
You’ll need the following materials for wiring your layout:
- Power supply (DC or DCC)
- Bus wires (typically 14-16 gauge)
- Feeder wires (typically 20-22 gauge)
- Rail joiners (insulated and non-insulated)
- Terminal blocks or connectors – ( I prefer Suitcase connectors they work well)
- Soldering iron and solder
- Wire strippers and cutters
- Electrical tape or heat shrink tubing
- Multimeter (for testing)
Most of these items can be found in this article Must have accessories
Step 3:Install the Power Supply
Place your power supply in a convenient location where you can easily access it. If you’re using a DCC system, follow the manufacturer’s instructions for setting up the command station and connecting it to the power supply.
Step 4: Run the Bus Wires
Run the bus wires under your layout, following the path of your tracks. It’s a good idea to use color-coded wires (e.g., red for positive and black for negative) to avoid confusion. Secure the bus wires to the underside of your layout using cable clips or staples.
Step 5: Connect the Feeder Wires
Feeder wires connect the track to the bus wires, ensuring consistent power distribution. Here’s how to install feeder wires:
- Strip the Ends: Use wire strippers to remove about 1/4 inch of insulation from the ends of the feeder wires.
- Solder to the Track: Solder one end of the feeder wire to the rail. It’s best to solder the wire to the bottom or side of the rail to keep it hidden.
- Connect to the Bus Wires: Strip a small section of insulation from the bus wires and solder the other end of the feeder wire to the bus wire. Alternatively, you can use terminal blocks or connectors to make the connection.
Step 6: Divide the Layout into Blocks
Dividing your layout into blocks helps manage power distribution and control. To create blocks:
- Isolate the Sections: Use insulated rail joiners to separate the rails at the boundaries of each block.
- Install Block Feeder Wires: Run feeder wires from each block to the bus wires, ensuring that each block is independently powered.
Step 7: Wire the Switches and Turnouts
Wiring switches and turnouts correctly ensures smooth operation and prevents short circuits. Follow these steps:
- Power the Frog: If your turnouts have powered frogs (the moving part of the switch), connect a feeder wire to the frog and run it to a switch machine or relay.
- Control the Switch: Connect the switch machine or relay to your control panel or DCC system. This allows you to change the position of the turnout remotely.
Step 8: Test Your Wiring
Before running your trains, it’s essential to test your wiring to ensure everything is connected correctly. Use a multimeter to check for continuity and proper voltage at various points on the track. Look for any short circuits or areas with poor electrical contact.
Step 9: Troubleshoot Common Issues
If you encounter any issues, here are some common problems and solutions:
- Short Circuits: Check for any metal objects or tools touching the rails. Ensure that insulated rail joiners are correctly installed at block boundaries.
- Poor Electrical Contact: Clean the track and wheels of your trains. Ensure that all solder joints are secure and that feeder wires are properly connected.
- Inconsistent Power: Check for loose connections in the bus and feeder wires. Ensure that the power supply is functioning correctly.
Step 10: Enjoy Your Layout
Once you’ve tested and verified your wiring, it’s time to enjoy your model train layout! Run your trains and experiment with different operations. As you gain experience, you can add more features and accessories to enhance your layout.
Model Railroad supplies and accessories
Tips for Successful Wiring
- Label Your Wires: Use labels or colored tape to identify different wires and their functions. This will make troubleshooting and future modifications easier.
- Keep It Neat: Organize your wires using cable clips, zip ties, or wire looms. A tidy wiring setup is easier to manage and less prone to issues.
- Document Your Work: Keep a wiring diagram or notes on your layout’s wiring. This will be invaluable for future reference and troubleshooting.
- Start Simple: If you’re new to wiring, start with a basic layout and gradually add more features as you become more comfortable with the process.
- Ask for Help: Don’t hesitate to seek advice from experienced model railroaders or online forums. The model railroading community is full of knowledgeable and helpful enthusiasts.
Conclusion
Wiring a model train layout may seem intimidating at first, but with careful planning and attention to detail, it can be a manageable and rewarding task. By following the steps outlined in this guide, you’ll be well on your way to creating a reliable and enjoyable model railroad layout. Remember, practice makes perfect, and each wiring project will build your skills and confidence. Happy railroading!