Building an HO scale model railroad is a fun, creative, and rewarding family project. This guide covers everything a beginner needs to know-from planning and preparing the roadbed to choosing the right track and tools, step-by-step installation, and long-term maintenance. Each section is easy to follow and designed to help you achieve smooth, reliable operation and a realistic look.
1. Planning Your Layout
Start by sketching your track plan on paper or using planning software. This helps you visualize your layout and ensures it fits your available space. Mark the centerlines for your track on your baseboard using a pencil for accurate placement later. A well-thought-out plan saves time and prevents mistakes down the line13.
2. Preparing the Baseboard
A sturdy, flat base is essential for a reliable layout. Use plywood or foam board supported by a simple wooden framework. Make sure the surface is level and strong enough to support your scenery, track, and trains3.
Tools you’ll need:
- Saw (for cutting wood)
- Drill and screwdriver
- Measuring tape and ruler
- Pencil and set square
3. Understanding HO Scale Track Types

HO scale (1:87.1) is the most popular choice for model railroaders, offering a balance of detail and manageable size1.
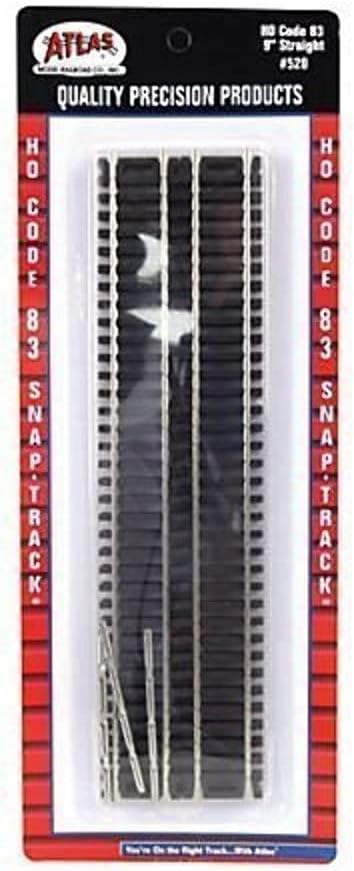
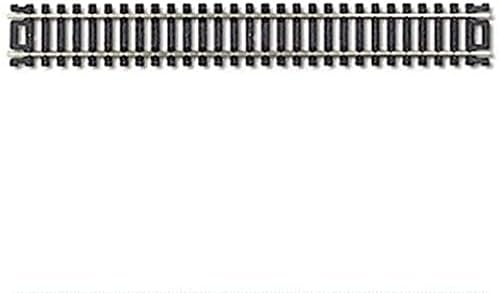
Code 100 vs. Code 83 Track
| Track Type | Description | Pros | Cons |
|---|---|---|---|
| Code 100 | Taller rail (0.100″) | Durable, easy for beginners, compatible with older trains | Less realistic appearance |
| Code 83 | Lower, more prototypical rail (0.083″) | Realistic look, preferred for modern layouts | Slightly more delicate, not always compatible with vintage models |
- Code 100 is robust and forgiving, making it ideal for beginners.
- Code 83 offers a more realistic look, perfect for those focused on detail.

Sectional vs. Flex Track

- Sectional Track: Pre-formed, easy to assemble, ideal for beginners and temporary layouts.
- Flex Track: Bendable, allows custom curves and more realistic layouts but requires careful cutting and fitting.
Integrated Roadbed Track
Some brands offer track with built-in roadbed (e.g., Bachmann EZ Track), simplifying installation for beginners and families.
4. Choosing and Preparing the Roadbed
The roadbed raises the track, provides sound dampening, and gives a realistic profile.
| Roadbed Type | Pros | Cons |
|---|---|---|
| Foam | Lightweight, easy to shape, quiets noise | Slightly more expensive |
| Cork | Traditional, durable, easy to work with | Can dry out or crumble over time |
| Integrated Track | Simplifies installation, portable | Less realistic, limited flexibility |
- Foam (e.g., Woodland Scenics) is popular for its ease of use and sound dampening.
- Cork is a classic, affordable choice.
- Integrated roadbed track is best for quick setups and portability.
Step-by-Step: Preparing the Roadbed
- Mark Your Track Path:
Use your track plan to draw the centerline on your baseboard. - Cut and Fit the Roadbed:
For curves, cut slits in the roadbed to help it bend smoothly. Dry-fit the roadbed along the marked centerline. - Secure the Roadbed:
Apply white glue or double-sided tape to attach the roadbed. Press firmly and use pins or small weights while the glue dries. Ensure it’s level and follows the centerline. - Smooth the Surface:
Once dry, check for bumps or gaps. Sand any rough edges or uneven spots gently.
5. Essential Tools for Accurate Track Laying
- Track alignment gauges (for correct rail spacing)
- Track cutters (for cutting track sections)
- Needle-nose pliers (for bending rail ends and inserting joiners)
- Small hammer or rubber mallet (for gently tapping in track nails or pins)
- Measuring tape or ruler
- Pencil/marker
- Straightedge or flexible curve
- Small level
- Adhesive (white glue or double-sided tape)
- Sandpaper or small file
6. Laying the Track: Step-by-Step
- Position the Track:
Lay track sections on the prepared roadbed, aligning with the centerline. Shape flex track as needed. - Connect and Secure:
Join track sections using rail joiners. Use alignment gauges for correct spacing. Secure track with small nails, pins, or a dab of glue (avoid glue near moving parts). - Test and Adjust:
Run a piece of rolling stock over the track to check for bumps or misalignments. Adjust before final securing. - (Optional) Ballasting:
Spread model railroad ballast along the track for realism. Mist with a 50/50 water-glue mix (add a drop of dish soap) to secure, avoiding moving parts.
7. Maintenance and Repair Tips
- Regular Cleaning:
Use a soft cloth or track cleaning car to remove dust and dirt. Avoid harsh chemicals. - Inspect Joints:
Check rail joiners and connections for gaps or looseness. - Check for Warping:
Look for any warping or shifting in the roadbed or track, especially after temperature changes. - Repair as Needed:
If a section becomes loose, re-glue or re-nail it. Replace damaged track or roadbed promptly. - Wheel and Coupler Checks:
Make sure rolling stock wheels and couplers are clean and in good condition to prevent derailments. - Schedule Maintenance:
Create a simple checklist to regularly inspect track, roadbed, and rolling stock.
8. Tips for Success
- Start simple: Use sectional track and foam or cork roadbed for your first layout.
- Test as you go to catch and fix issues early.
- Take your time-patience leads to better results.
- Involve family members in planning and assembly for a fun, shared project.
Suggested Images
- Step-by-step photos: marking the baseboard, fitting roadbed, laying track, testing with rolling stock.
- Close-ups of track types (Code 100 vs. Code 83).
- Examples of foam and cork roadbed installation.
References
- Train scale guide – Webflow1
- How to Build a Model Railway | Step-by-Step Guide for Beginners & Railfans – YouTube3
- Walthers Model Railroading Products5
With these steps, you’ll be on your way to building a smooth-running, reliable HO scale railroad that the whole family can enjoy!
For Model Railroad Supplies check amazon.com
Citations:
- https://uploads-ssl.webflow.com/65f0212e0d7ed90e8f284129/681956687209e4ec9278c24d_58250850358.pdf
- https://lancemindheim.com/model-railroad-blog/
- https://www.youtube.com/watch?v=ZbPkf5B4zXo
- https://www.tiktok.com/discover/how-to-put-together-train-tracks
- https://www.walthers.com/about-us
Answer from Perplexity: pplx.ai/share